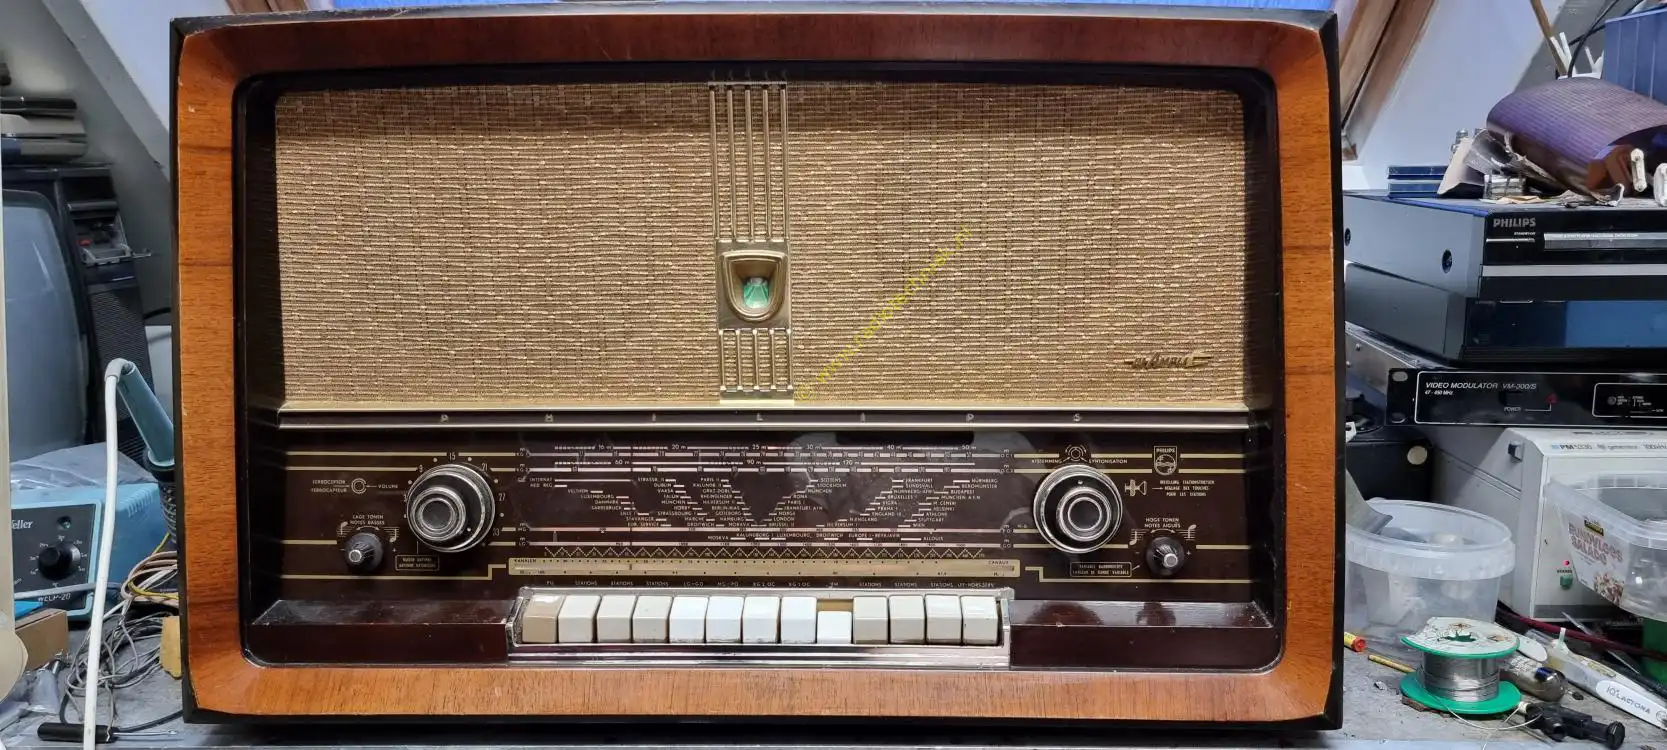
A radio was an expensive purchase long ago. Now worn out, broken and no speakers.
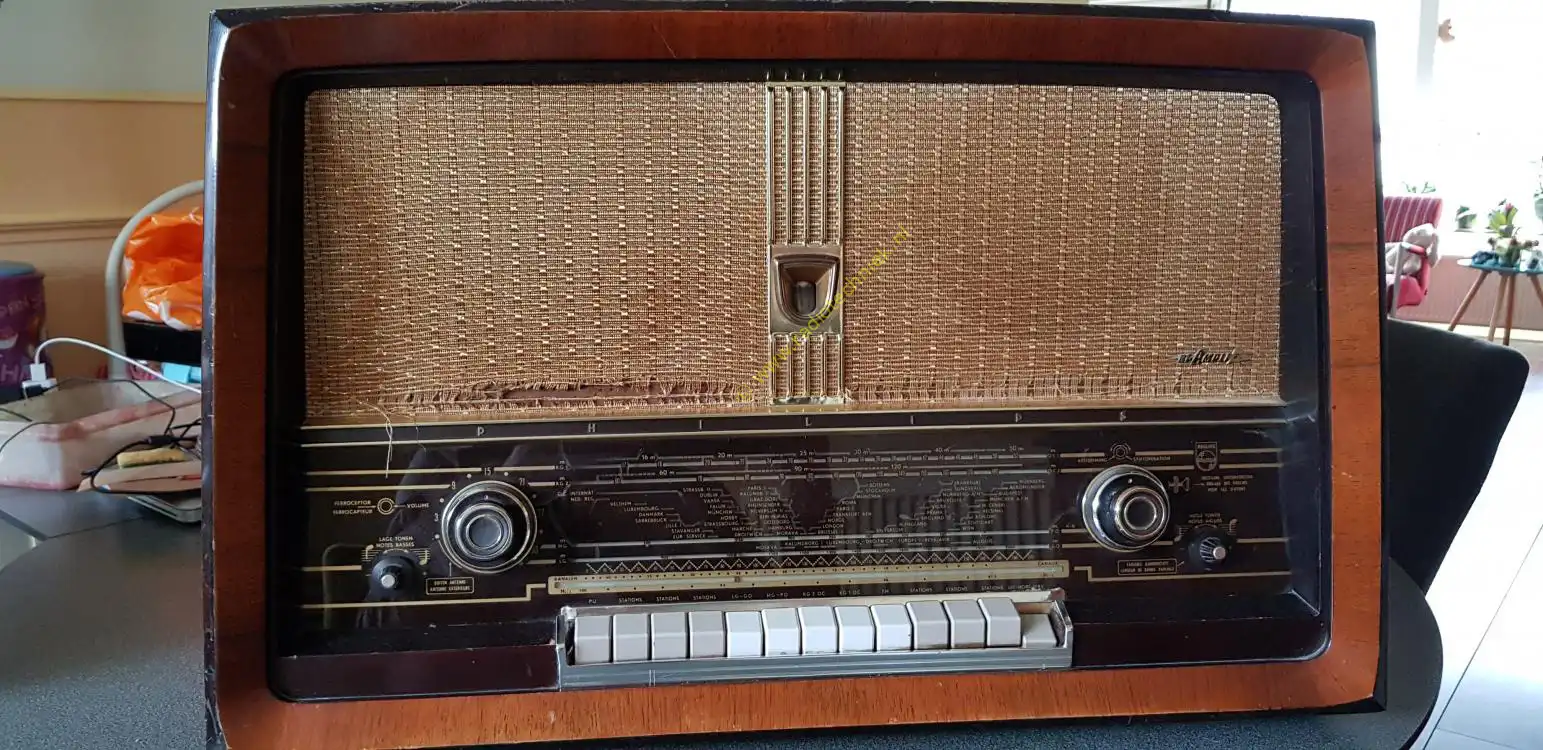
A beautiful original device. With a lot of work.
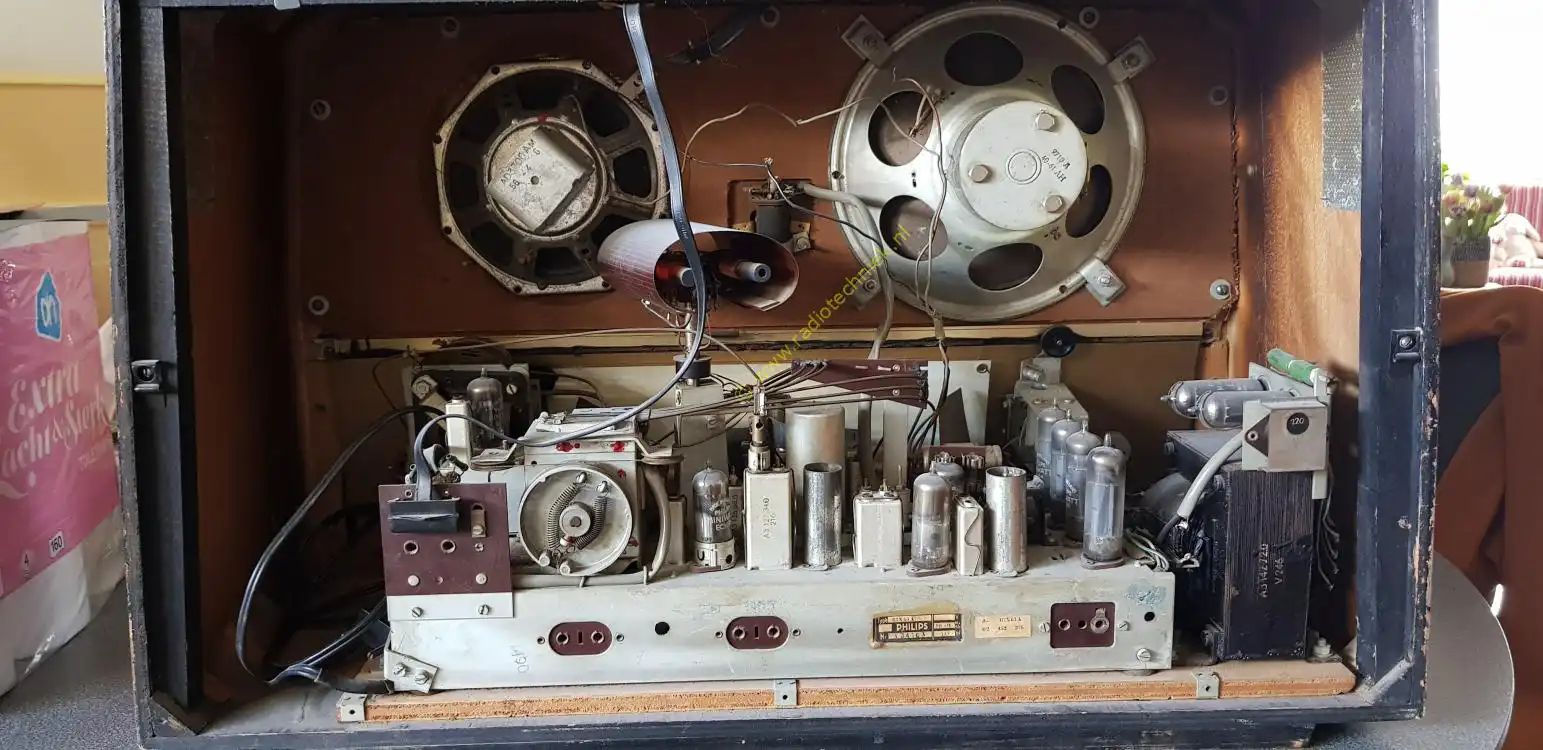
Found the speakers and mounted them in the cabinet for the photo.
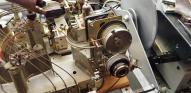
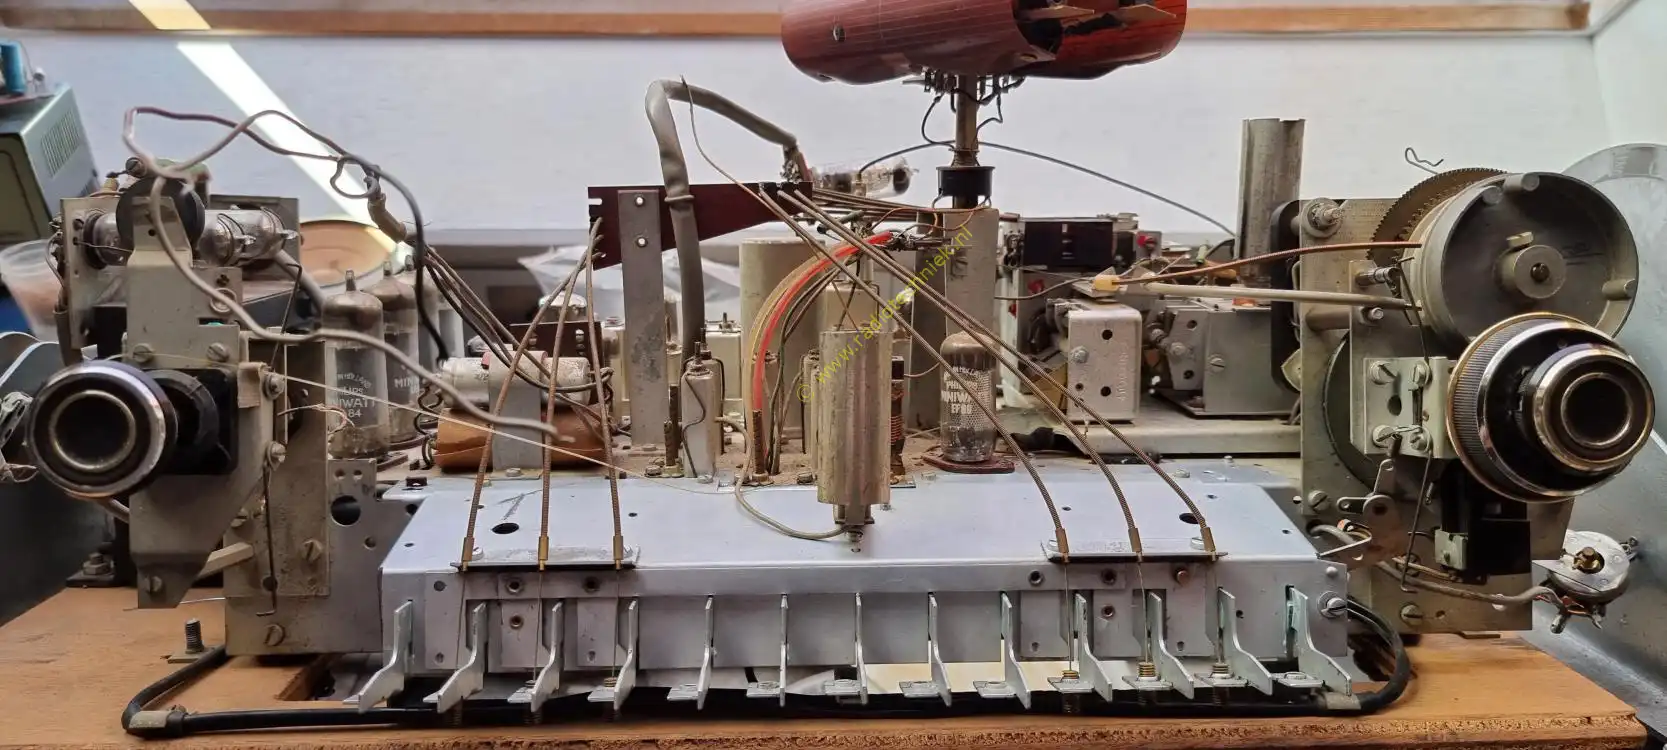
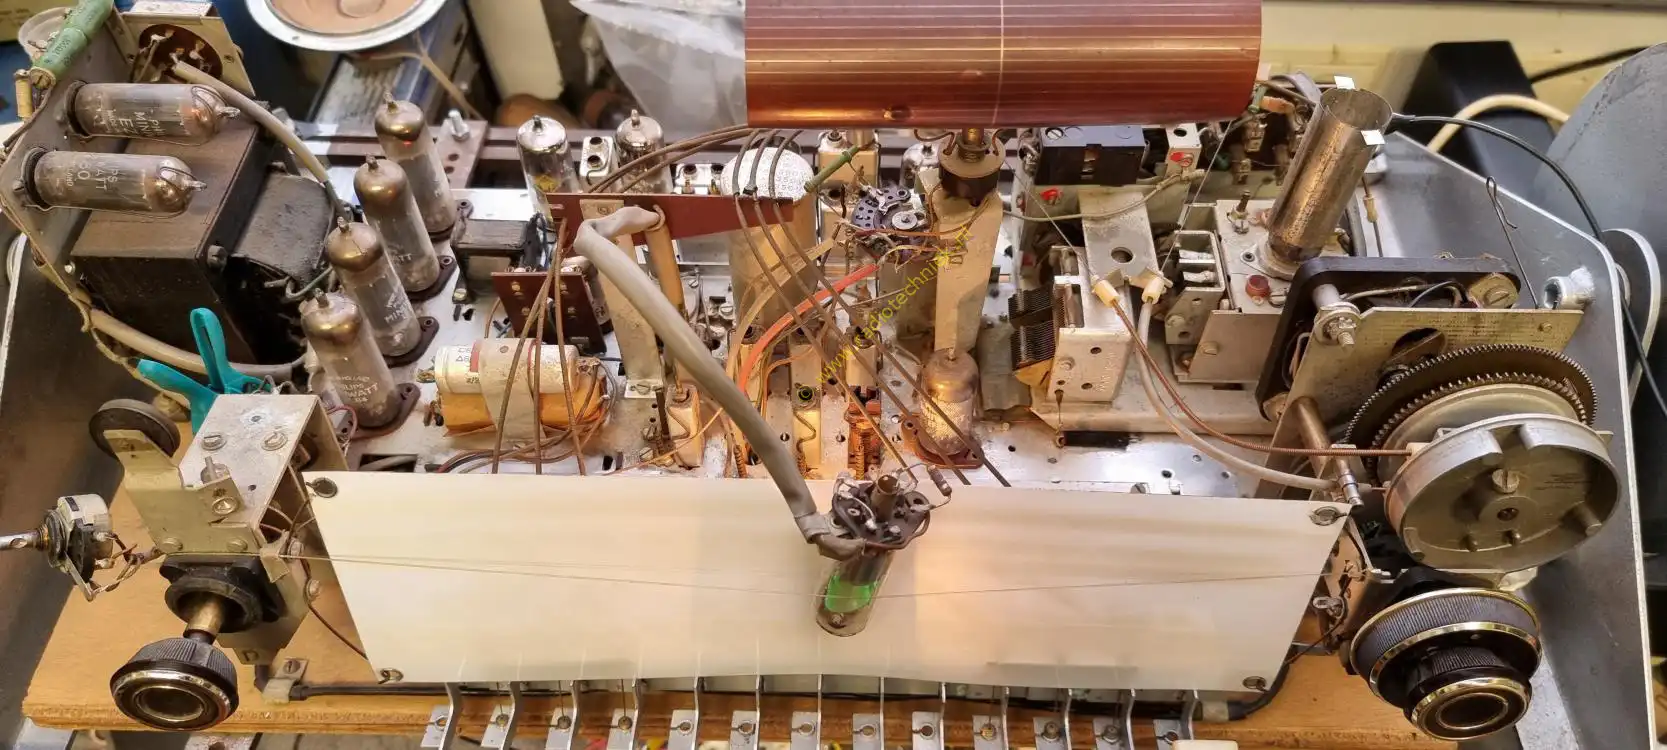
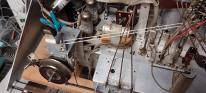
Let's take a look at the engine tuning.
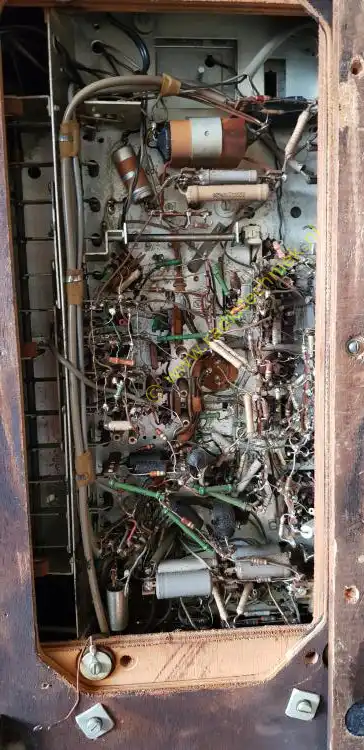
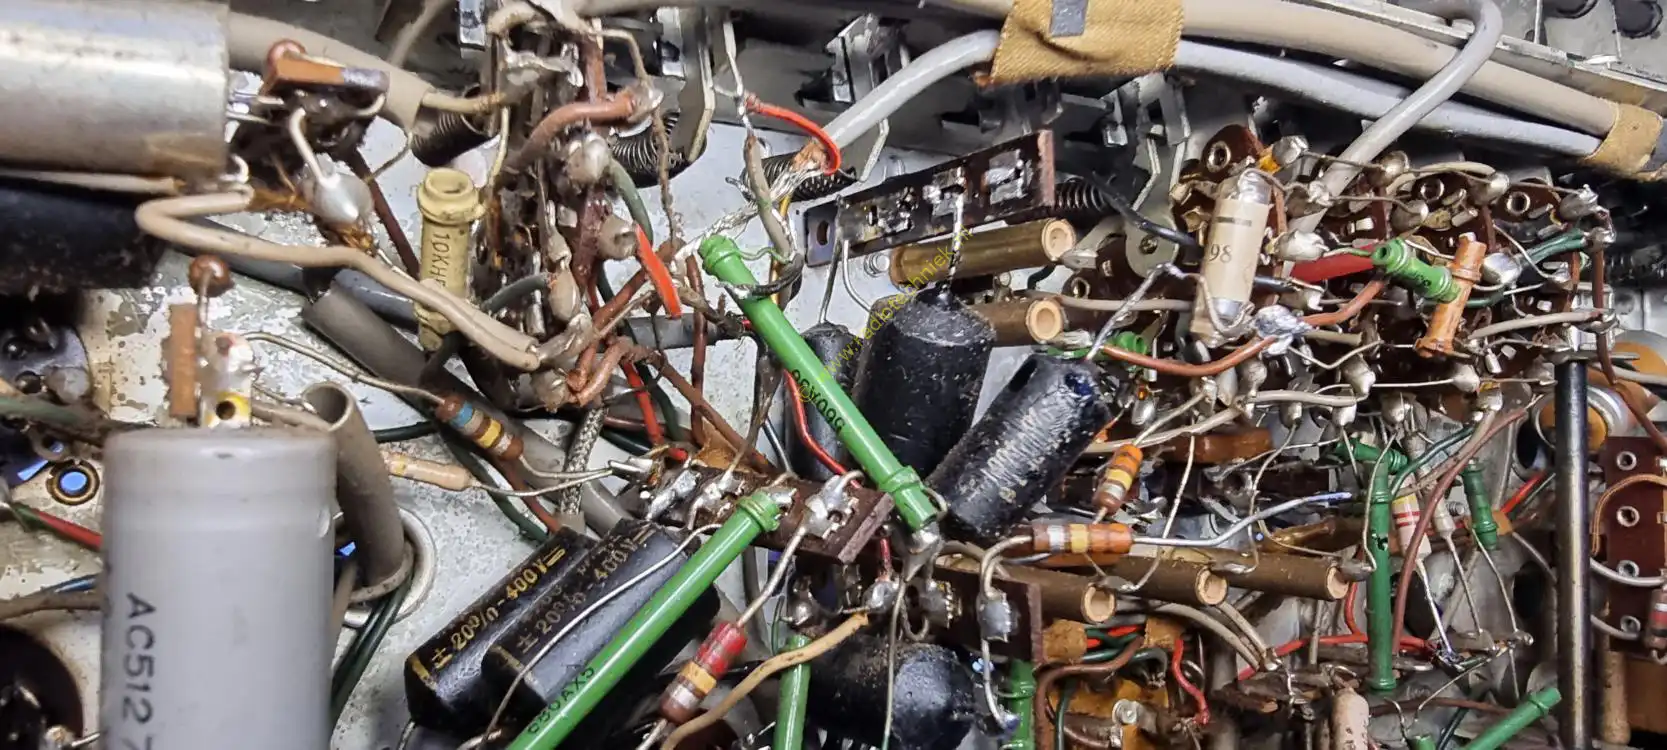
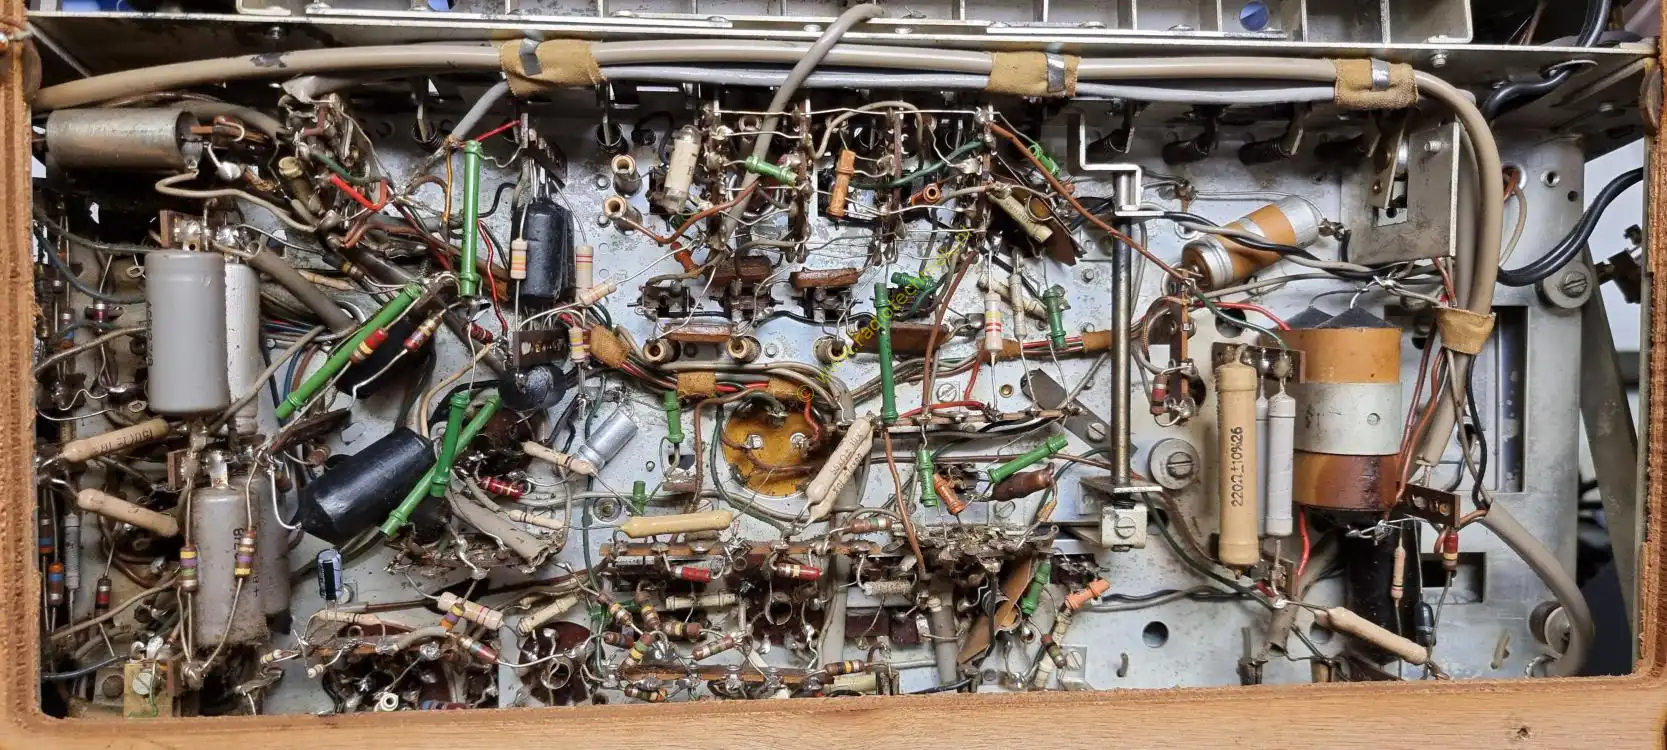
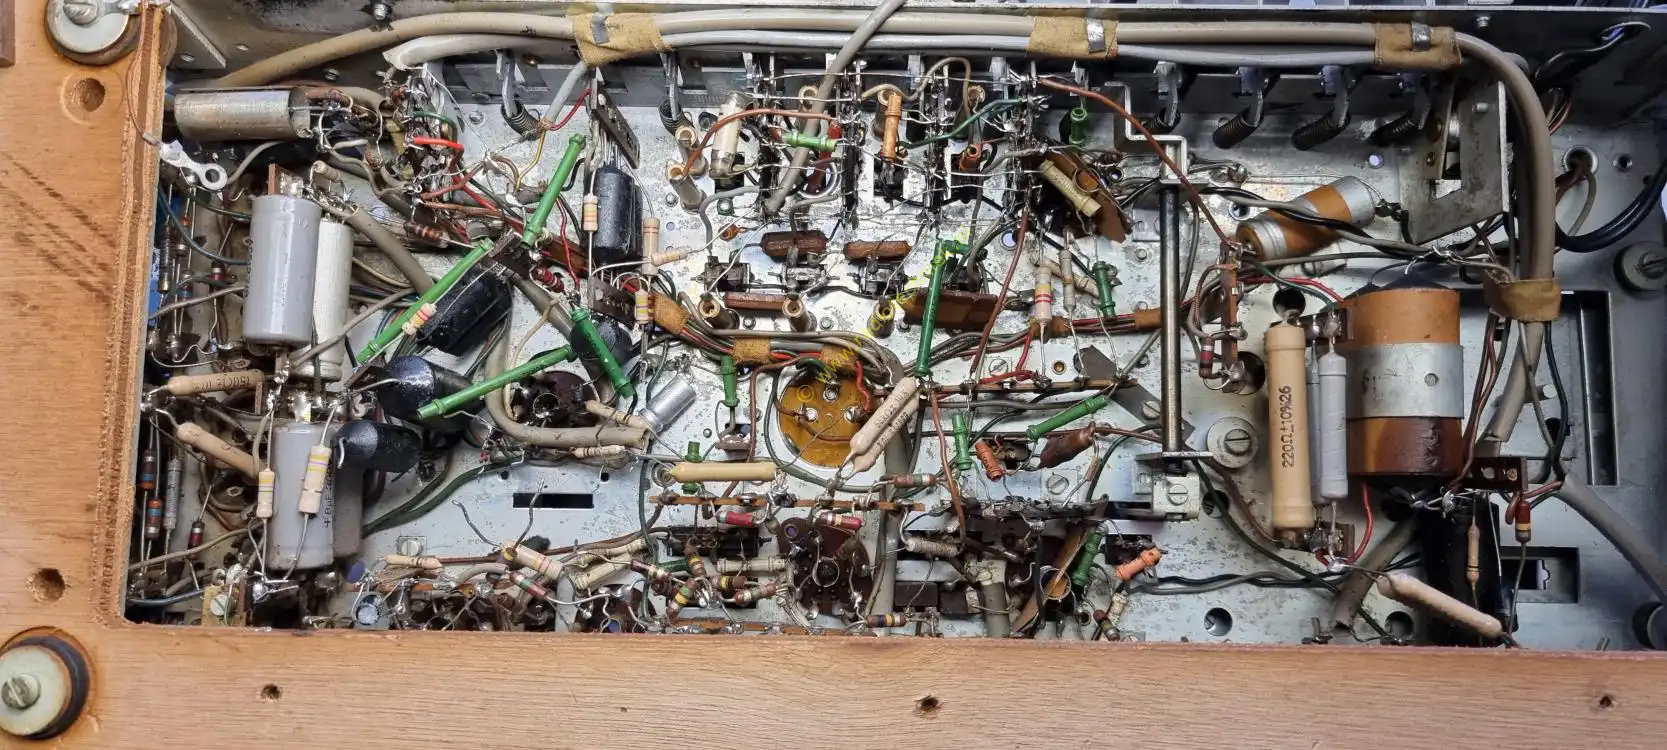
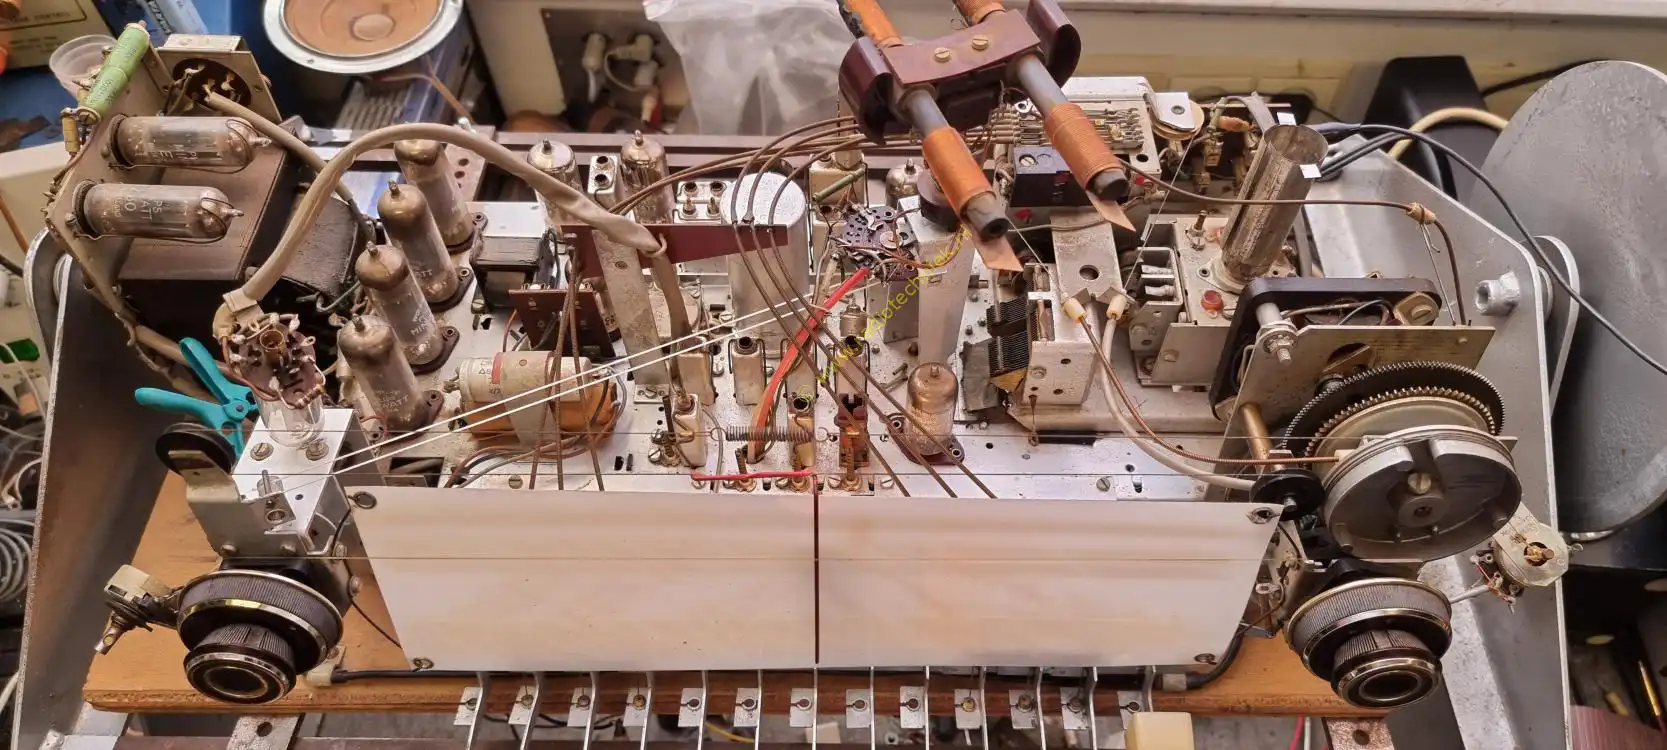
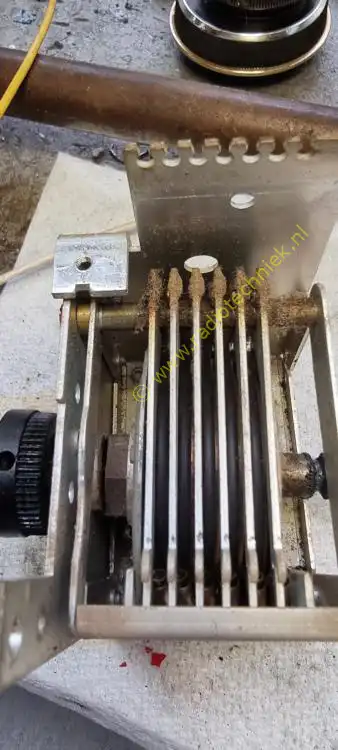
The chassis is very dirty. Defect time for restoration.
Something may have gone wrong.
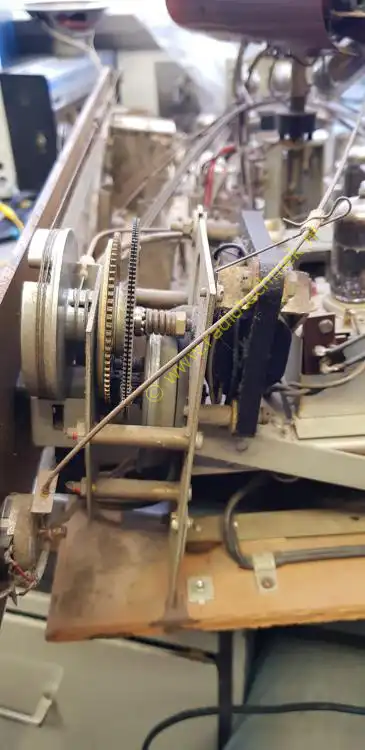
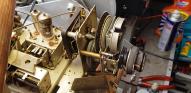
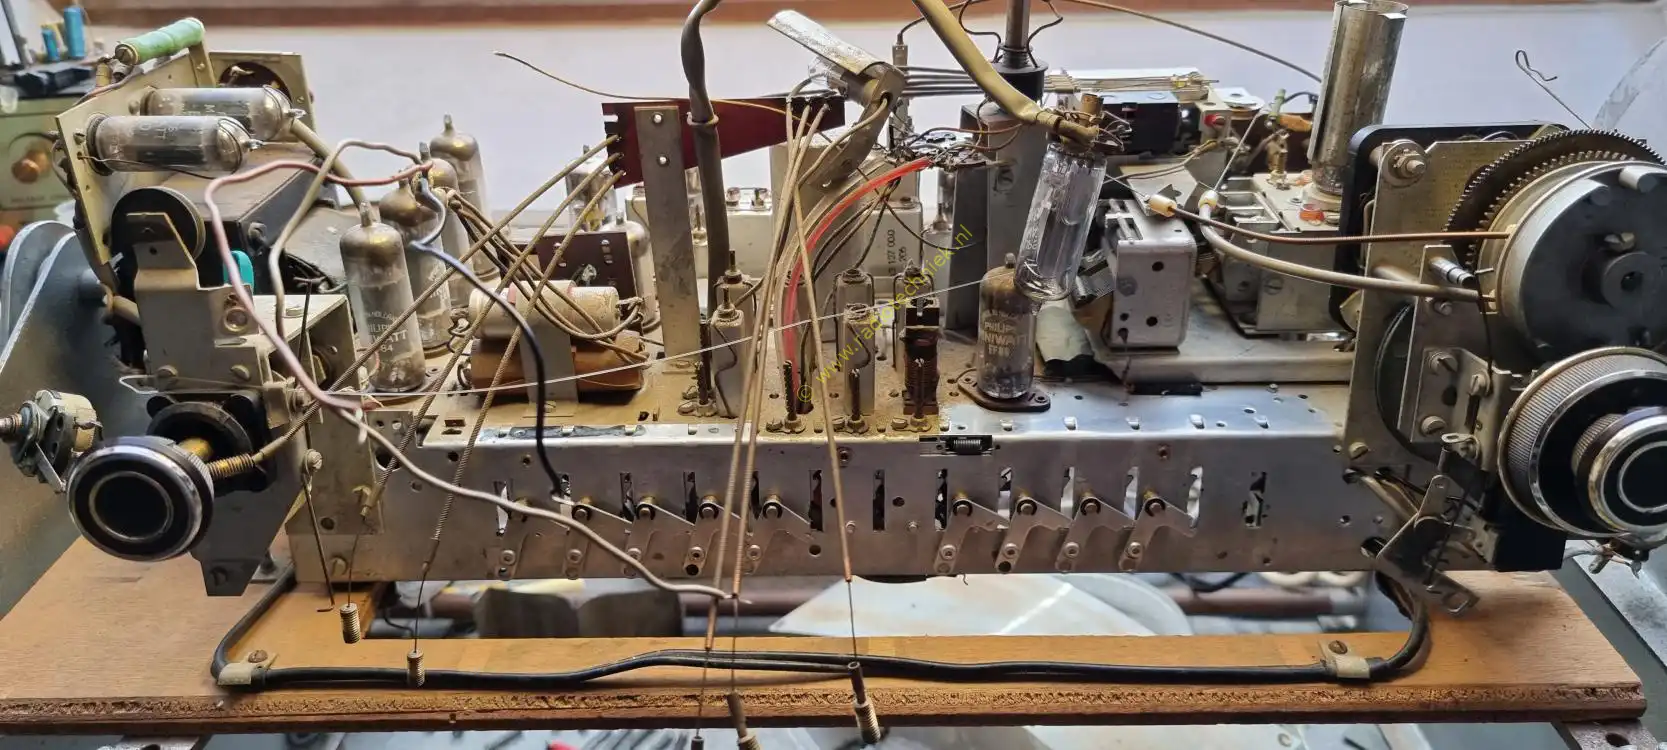
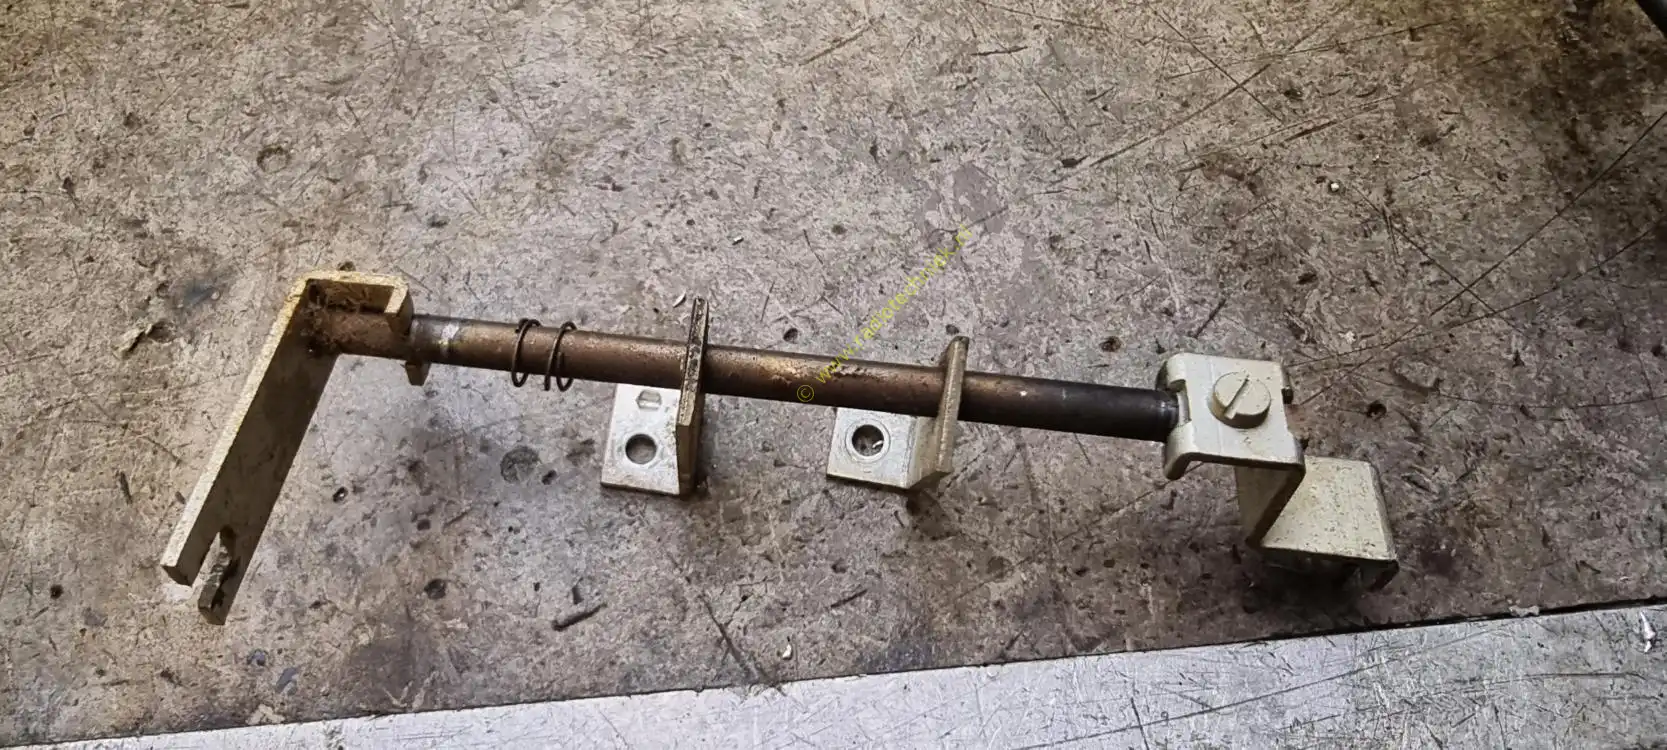
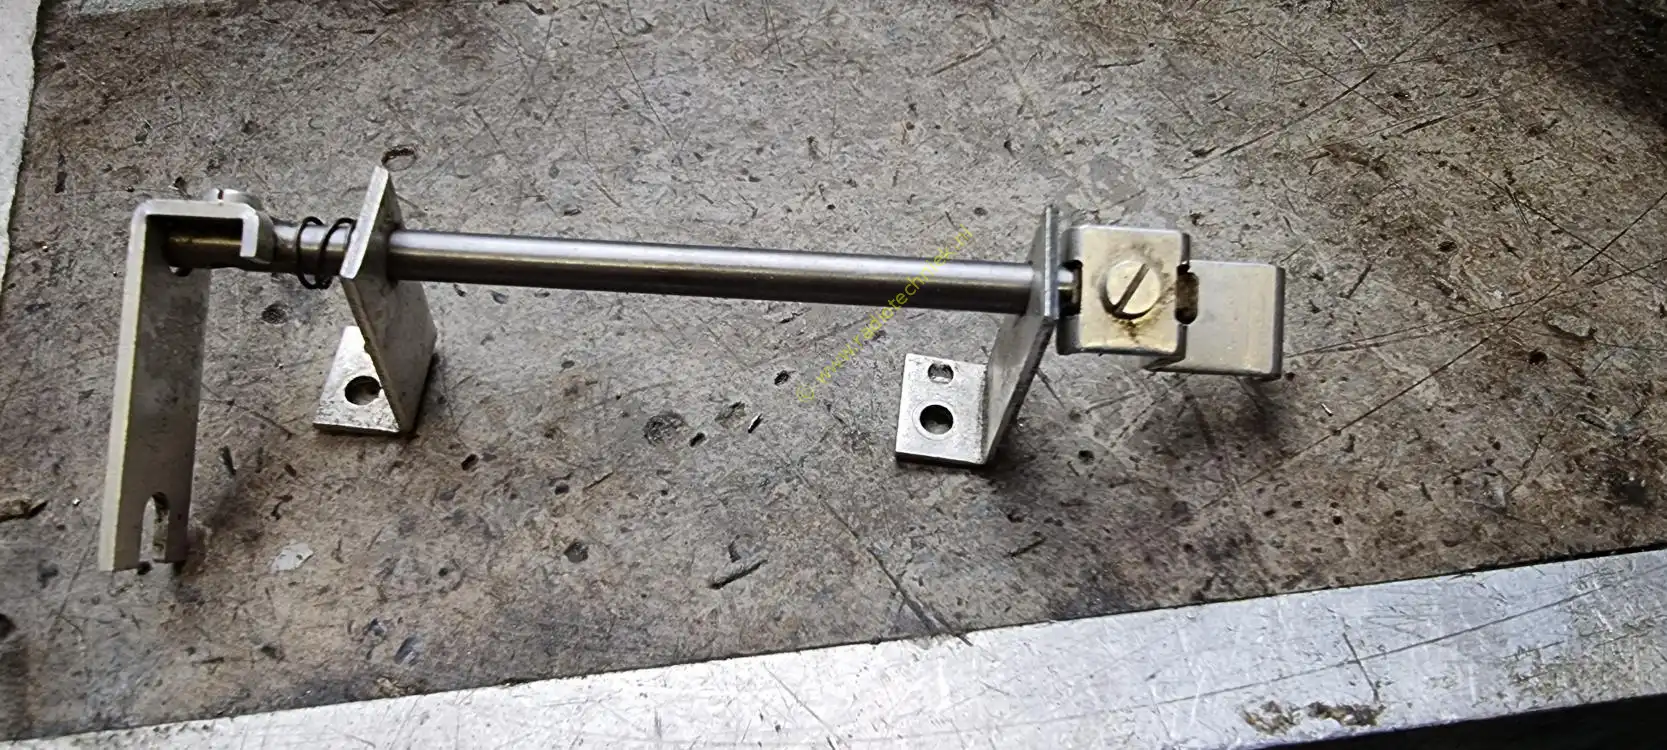
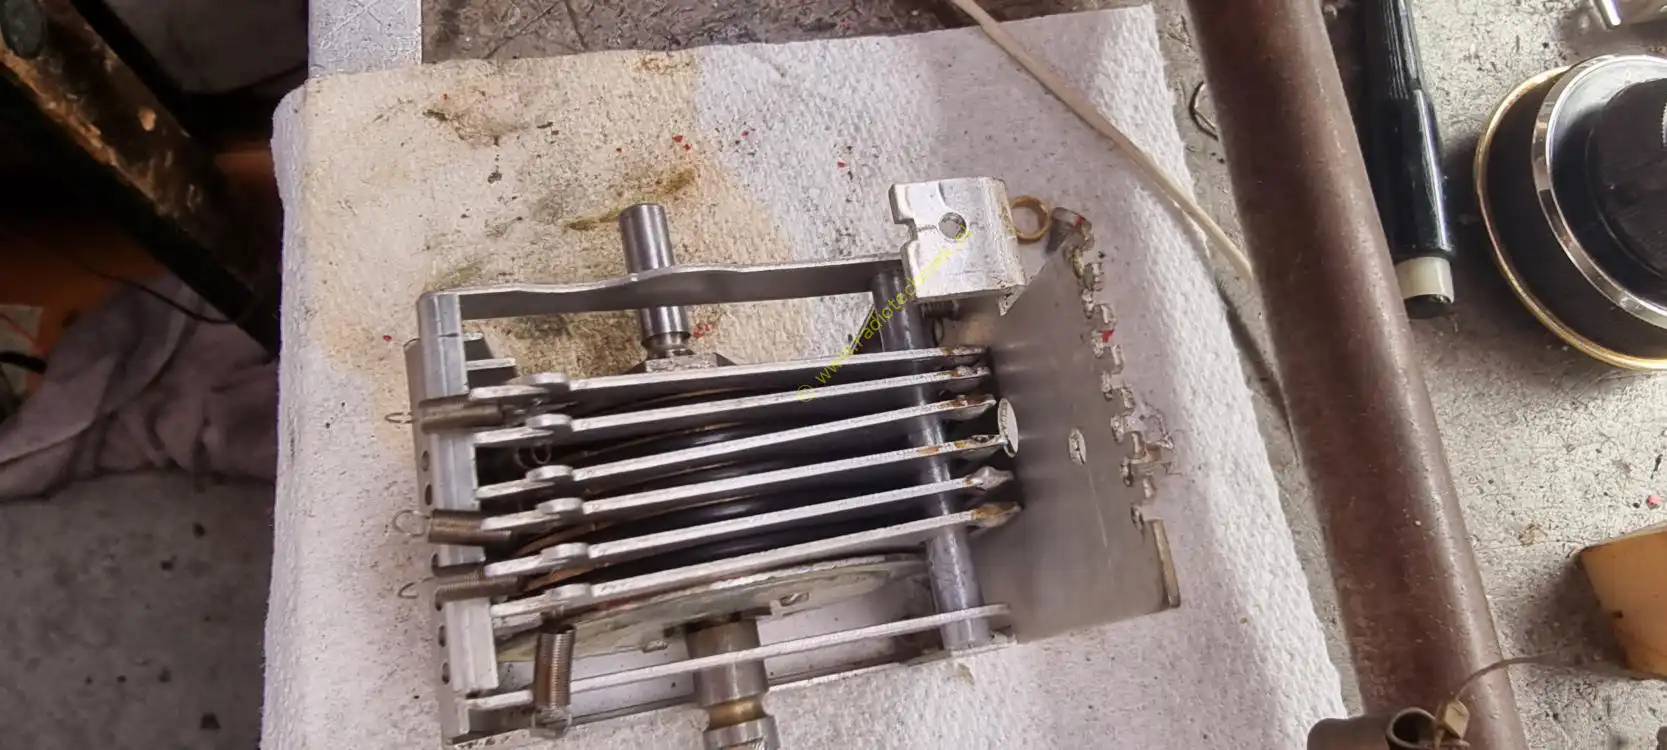
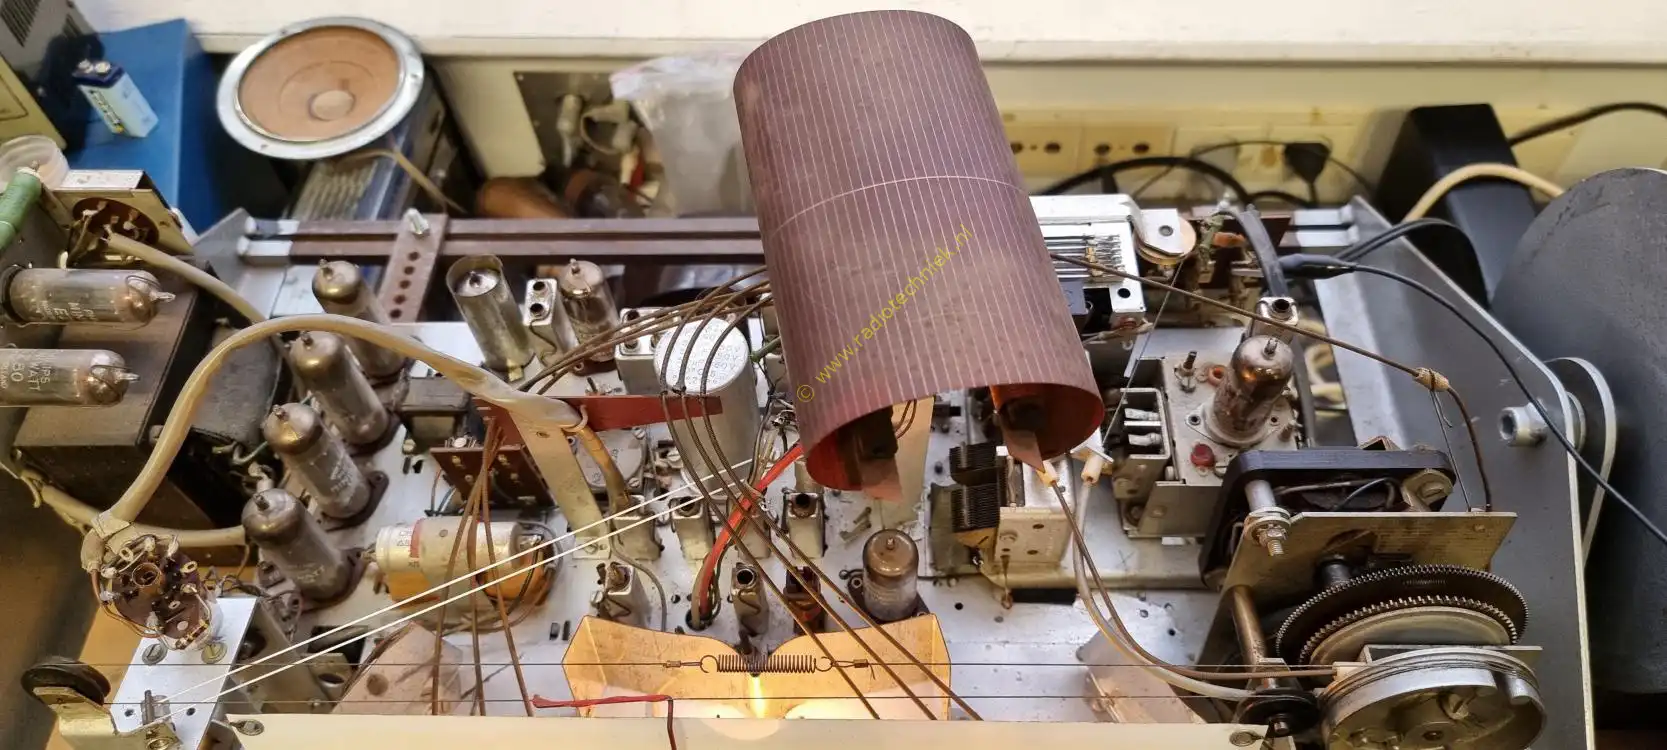
The drive line of the motor tuning.

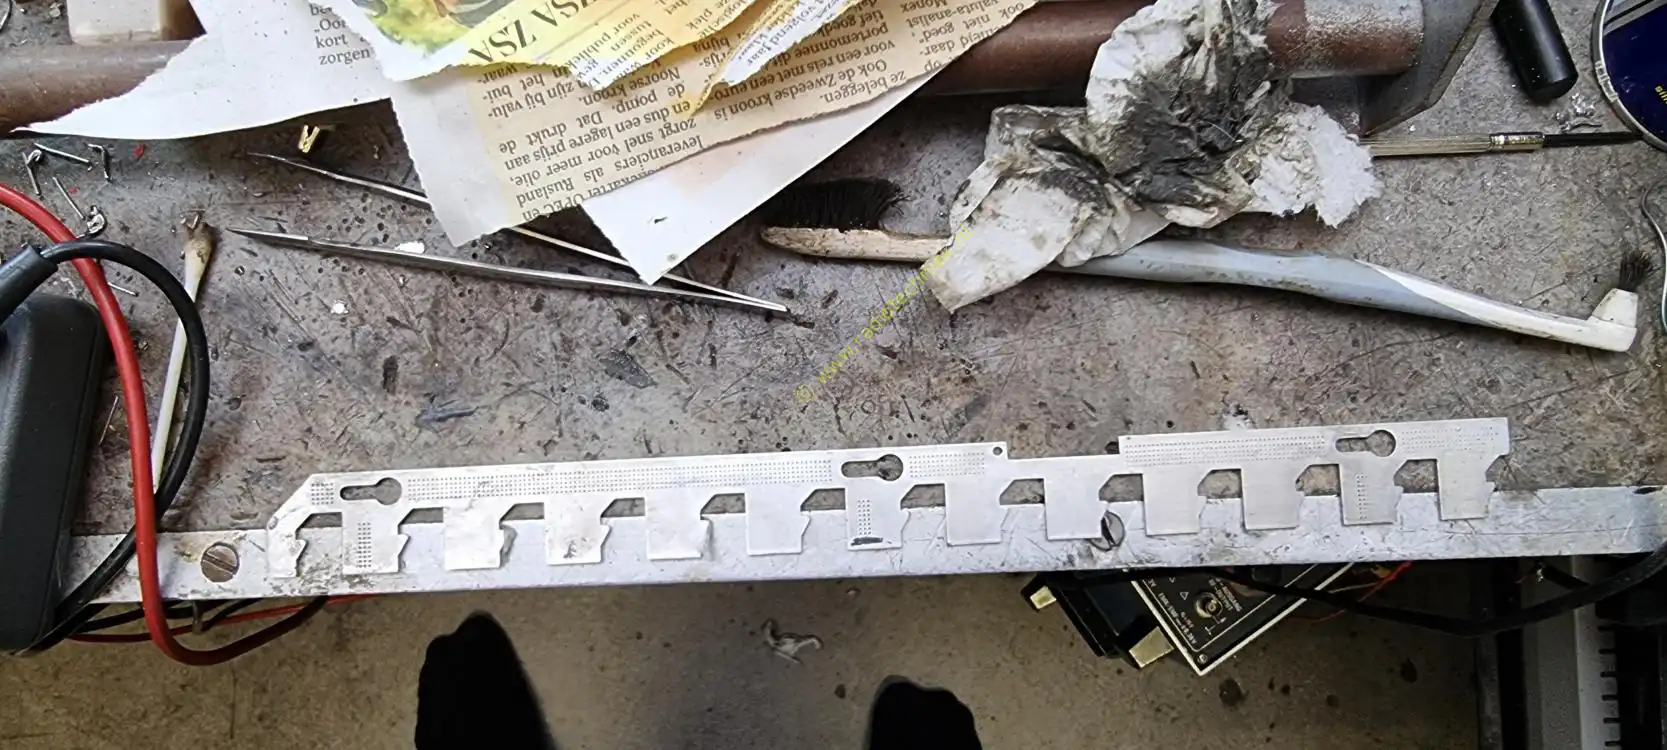
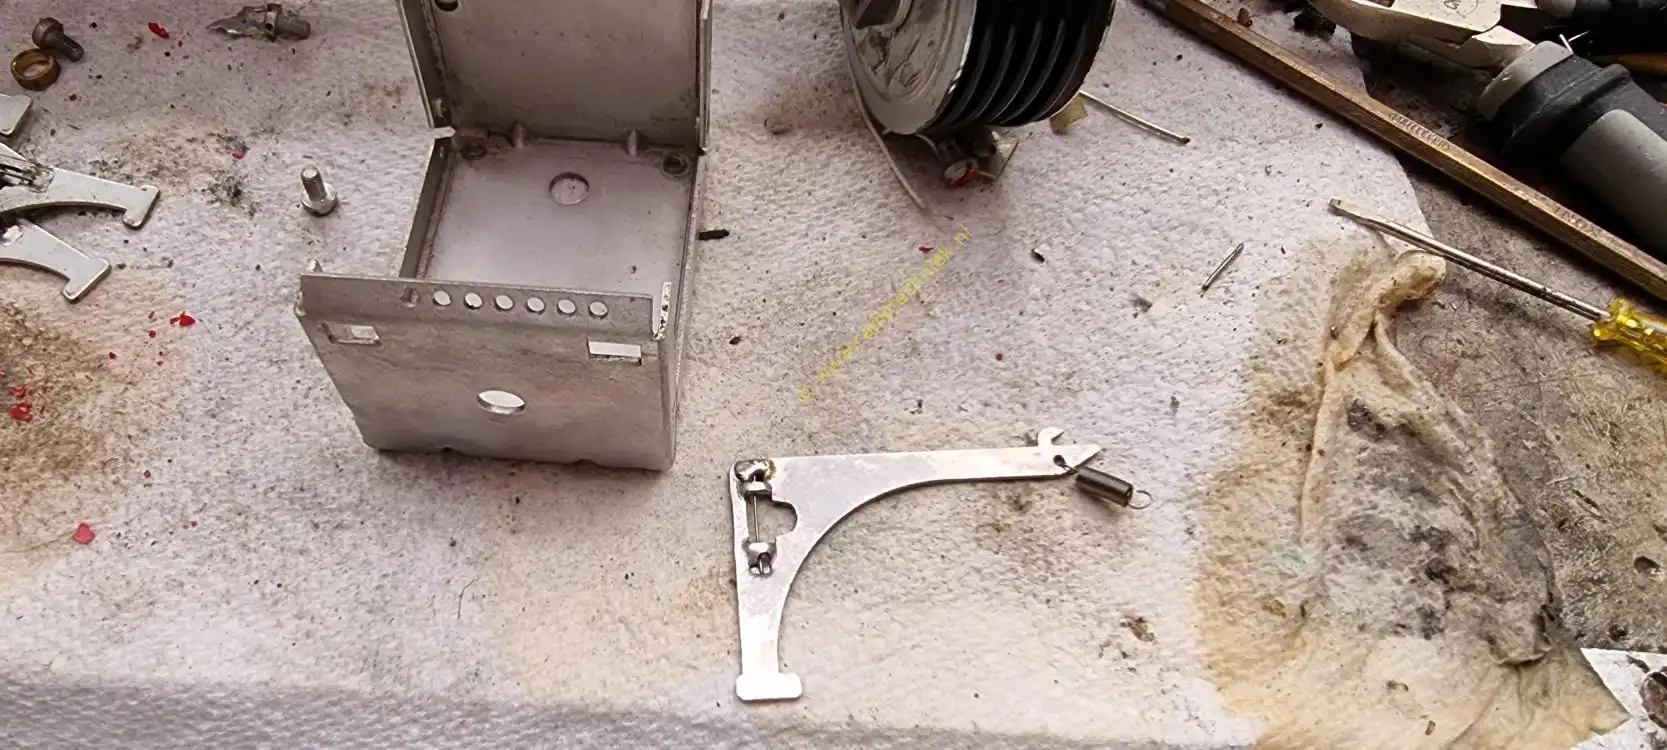
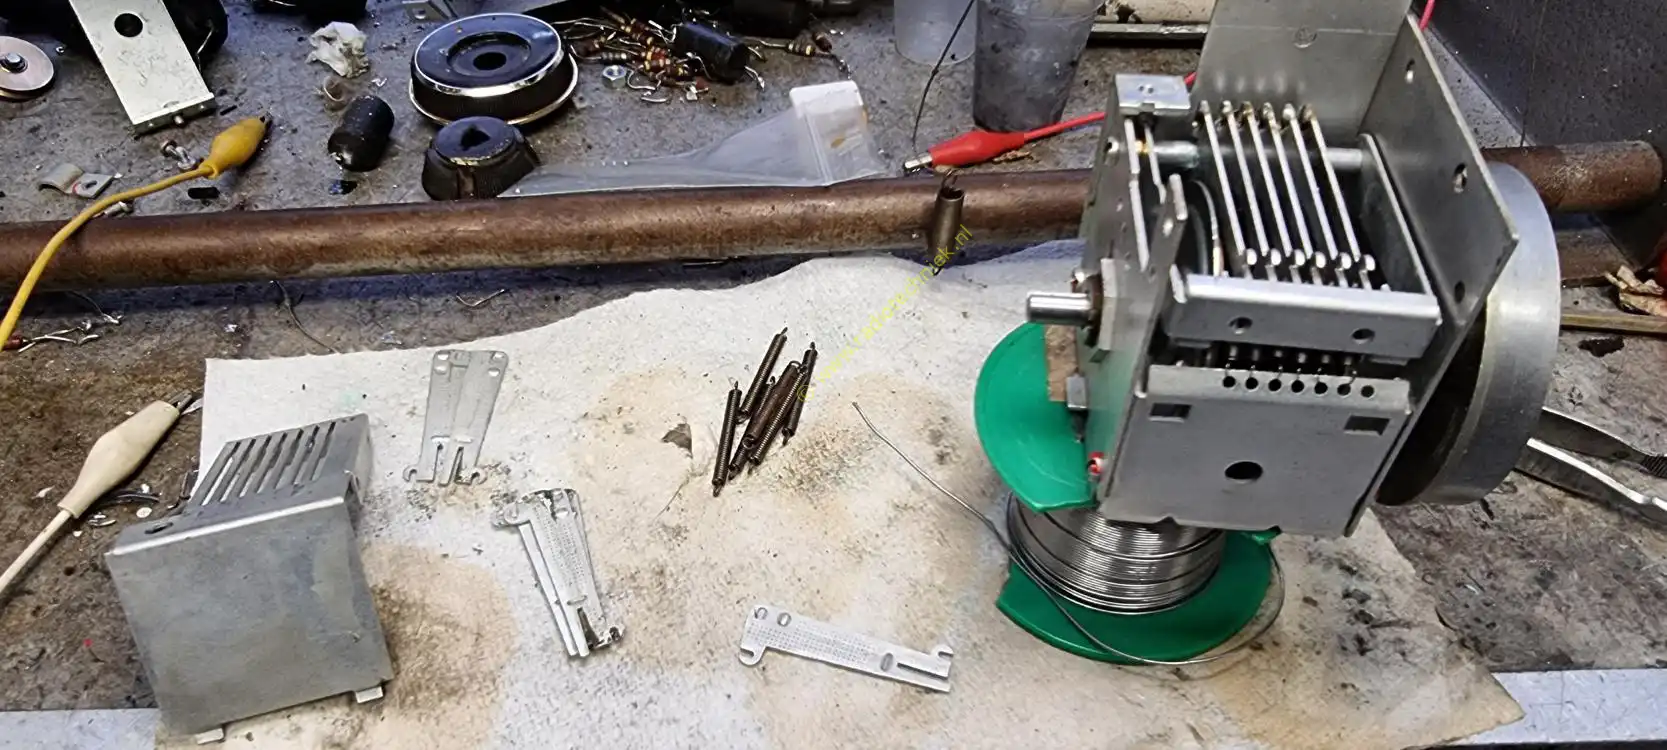
The drive for cleaning.

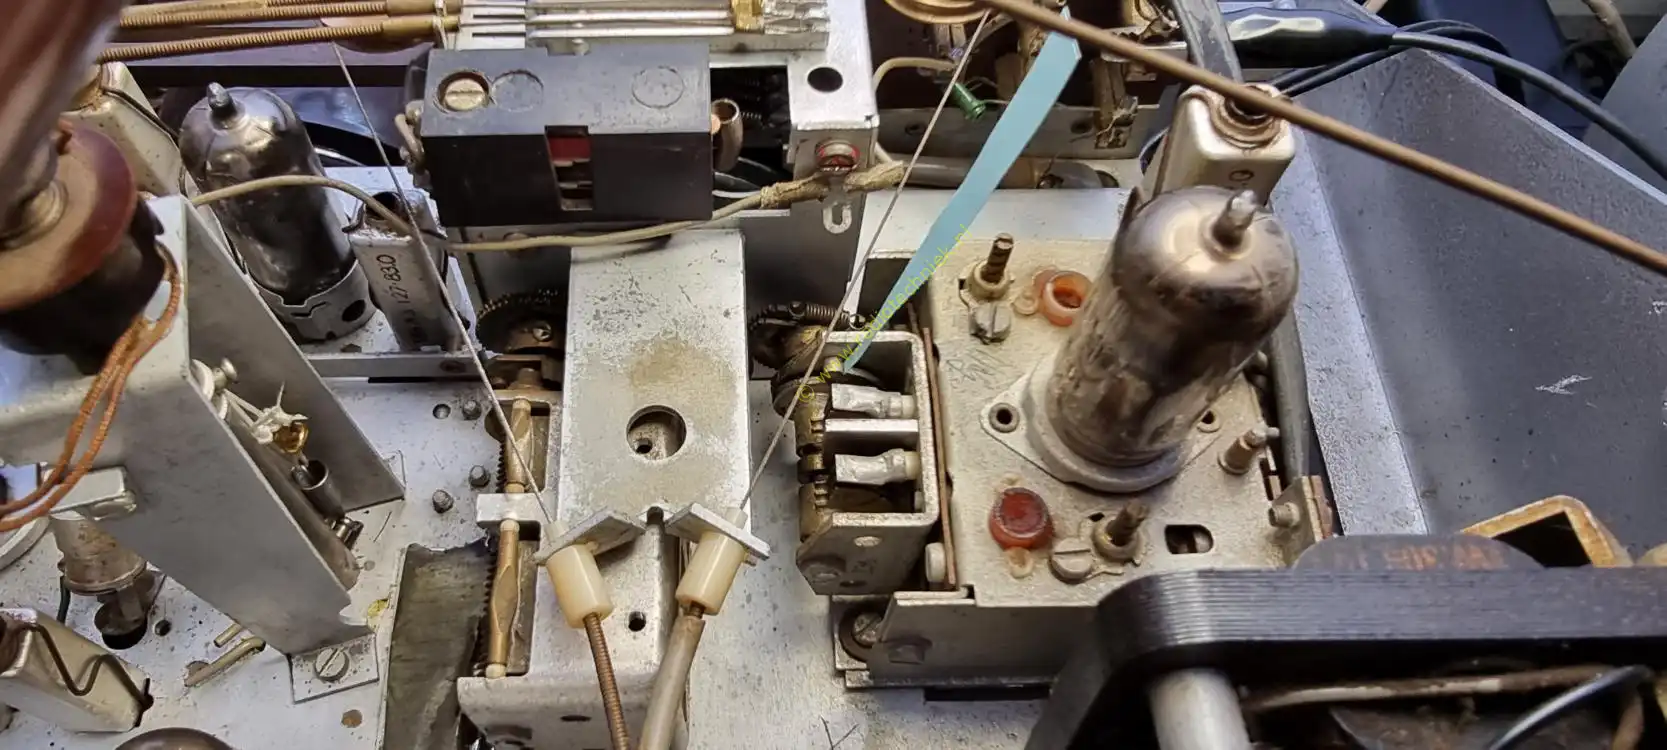
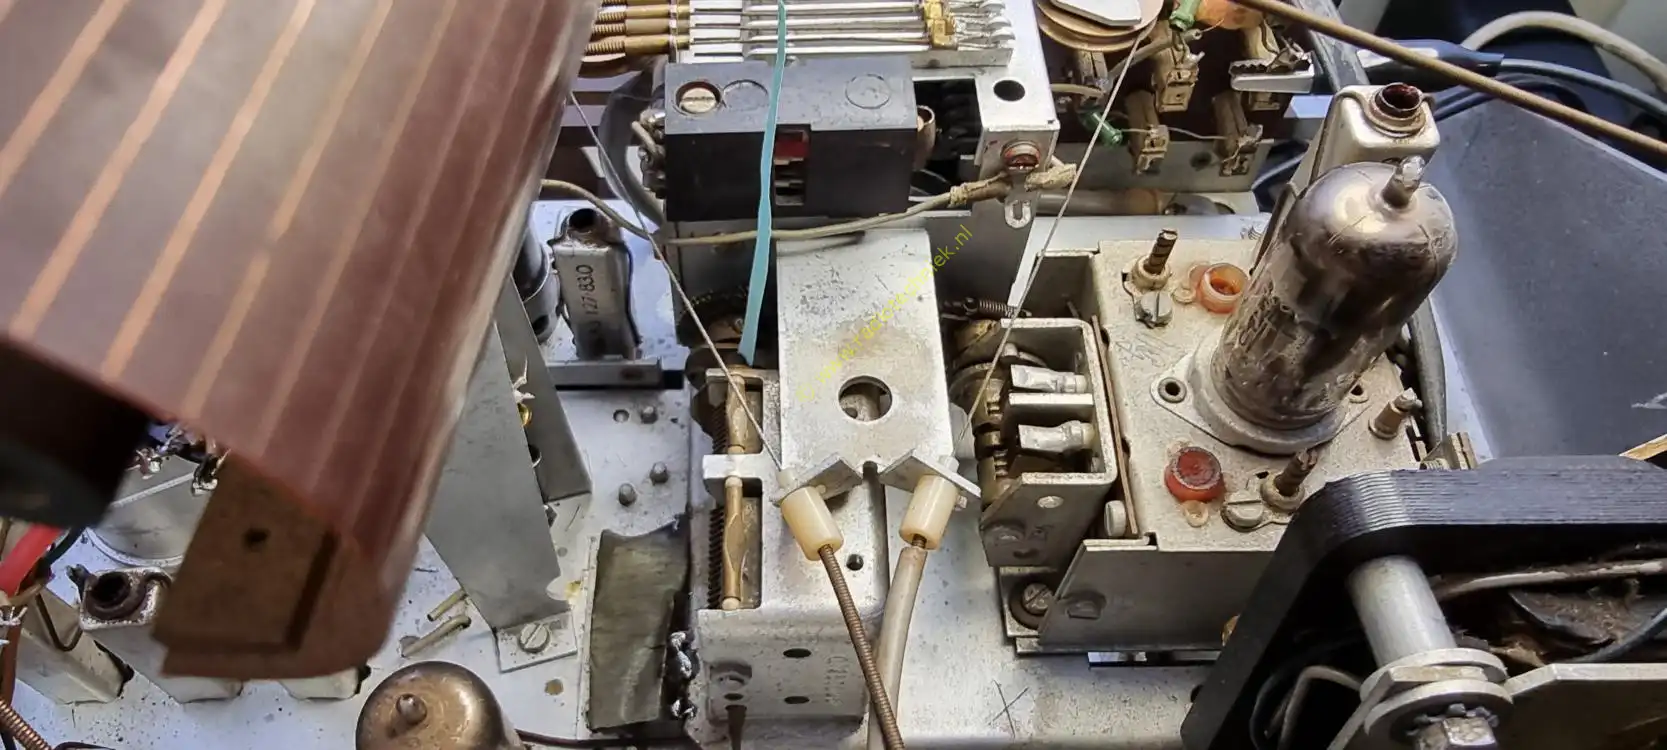
Here's how the link works. This linkage keeps the knob from turning when the motor drives the tuning.
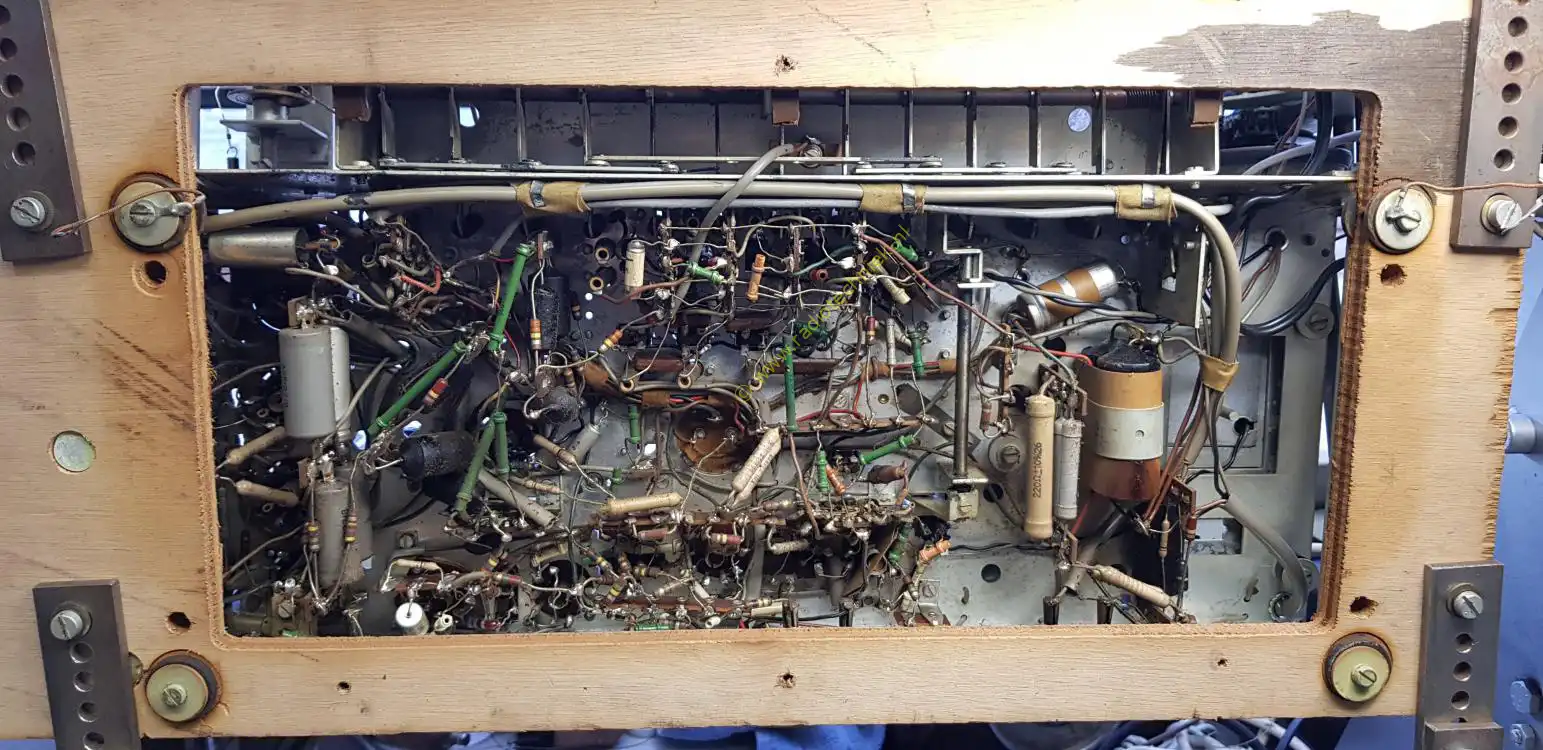
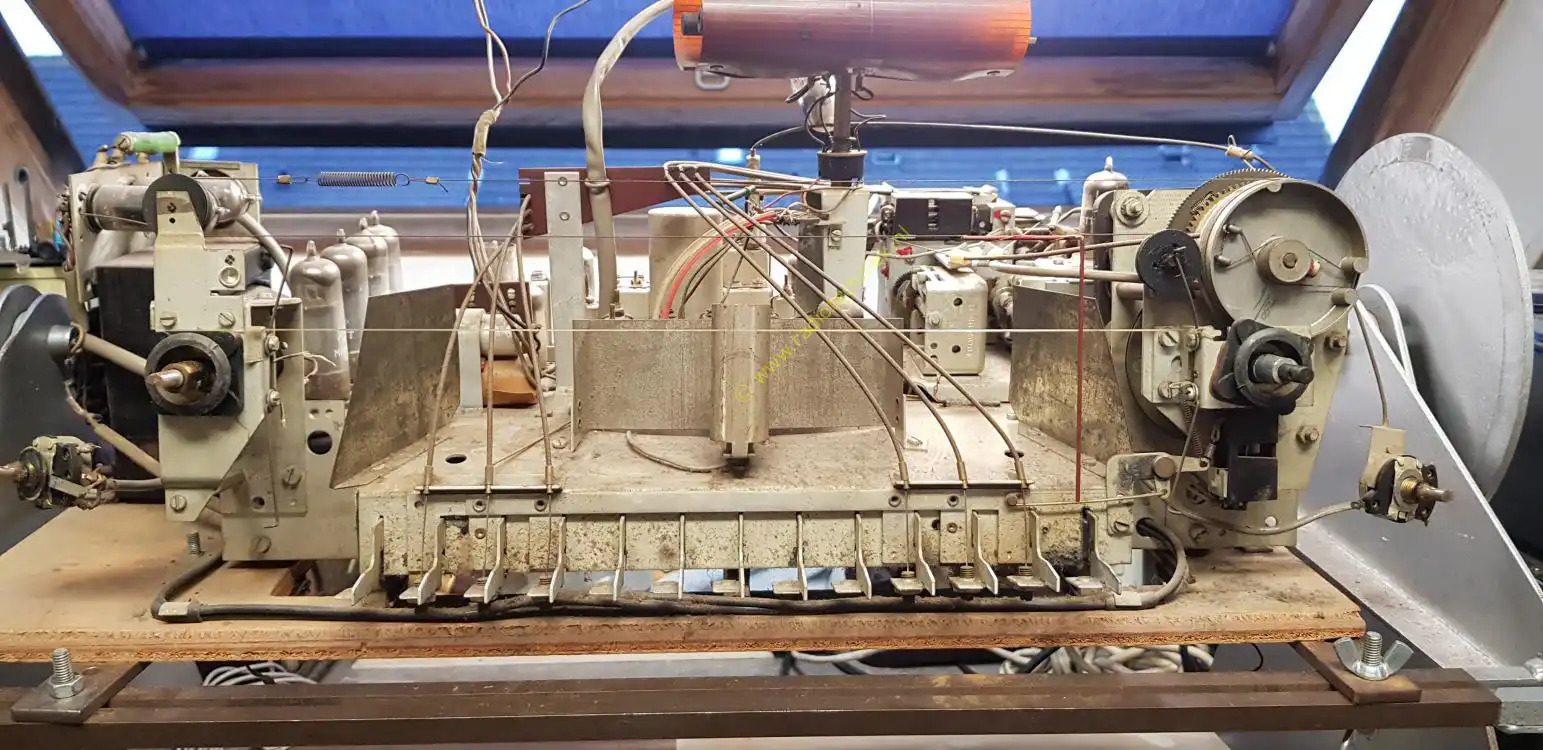
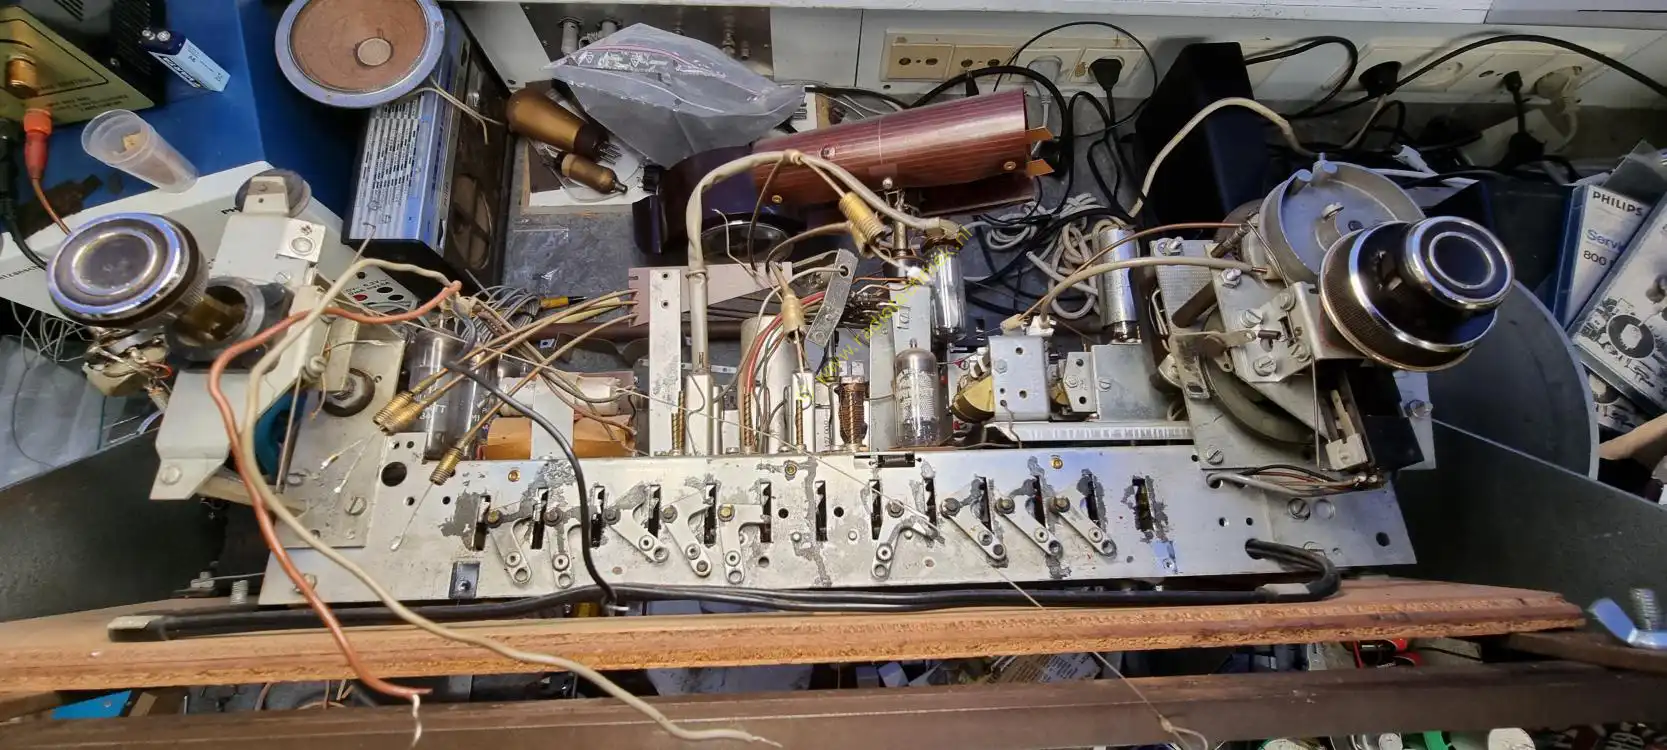
The chassis in the repair trestle.

Also for this device need capacitors. So we're going to make them.

And here are the first two tar capacitors replaced. Can you see which ones have been replaced?
If you don't know which tar capacitors were replaced then it was the motor capacitors. Here's a test of the motor drive. You can see the tuning knob turning in my hand. The clutch is not connected yet.
Here's a test of the mechanism. The tuning capacitors are coupled, you can tune manually with the motor. But if you use a preset you will see that hand tuning is blocked. Just watch the movie.

The first sound test. Much remains to be done.

A sound test of the amplifier. Tone control does not work at all.

Test of the FM receiver.
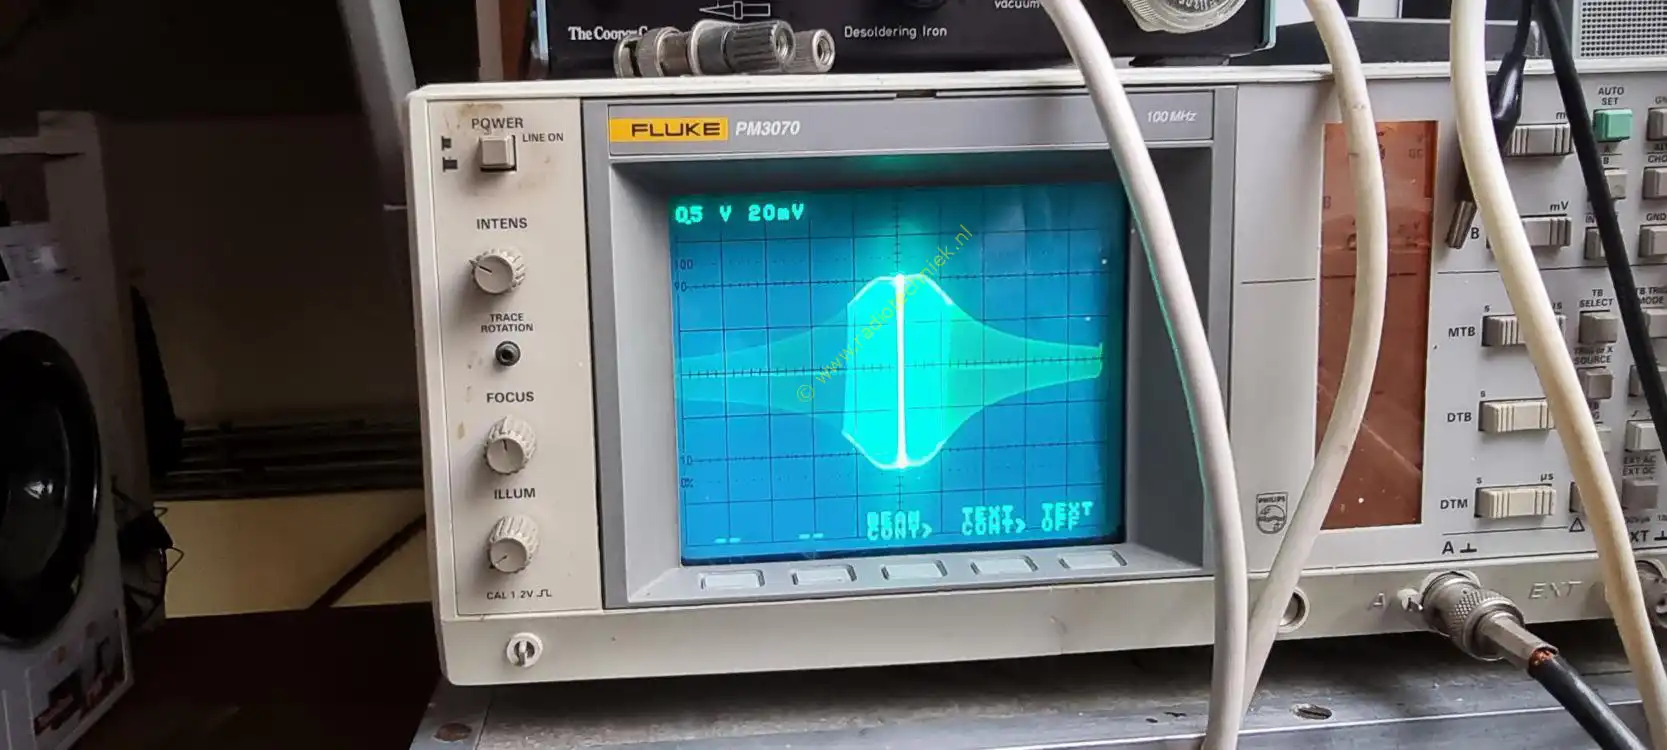
Adjusting the FM intermediate frequency.
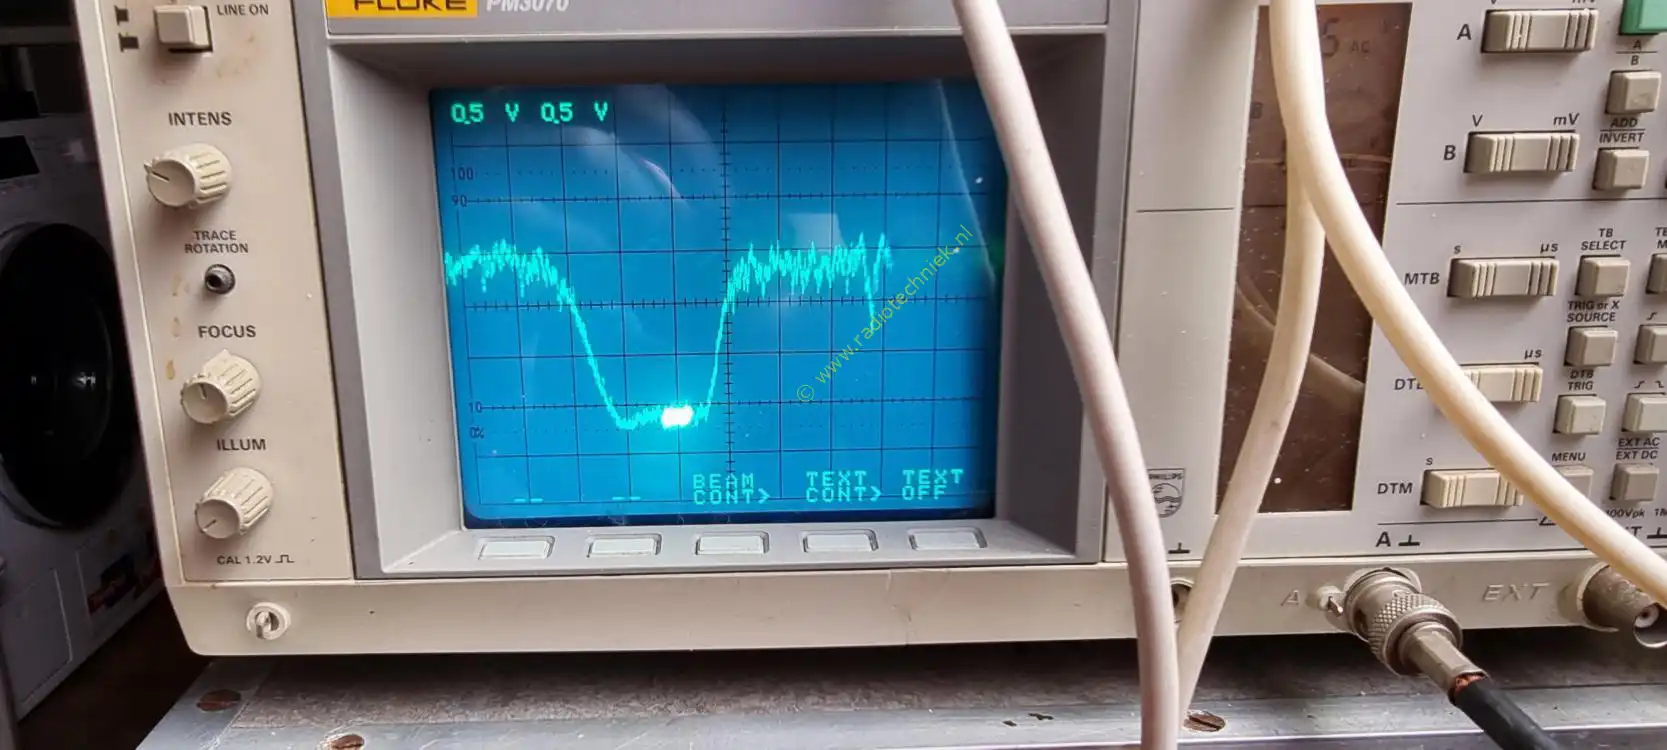
Pass curve FM intermediate frequency.
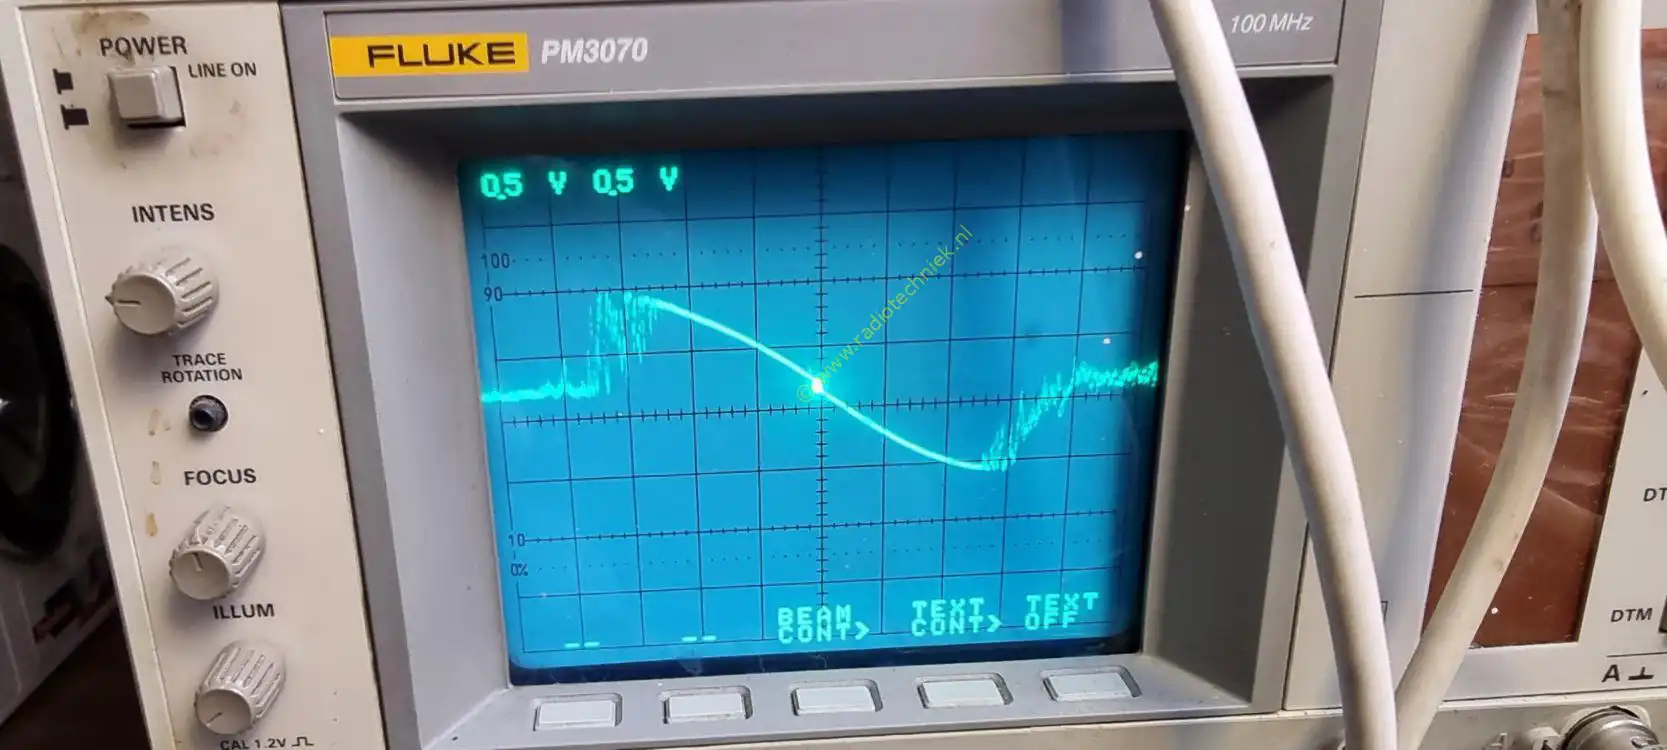
S curve
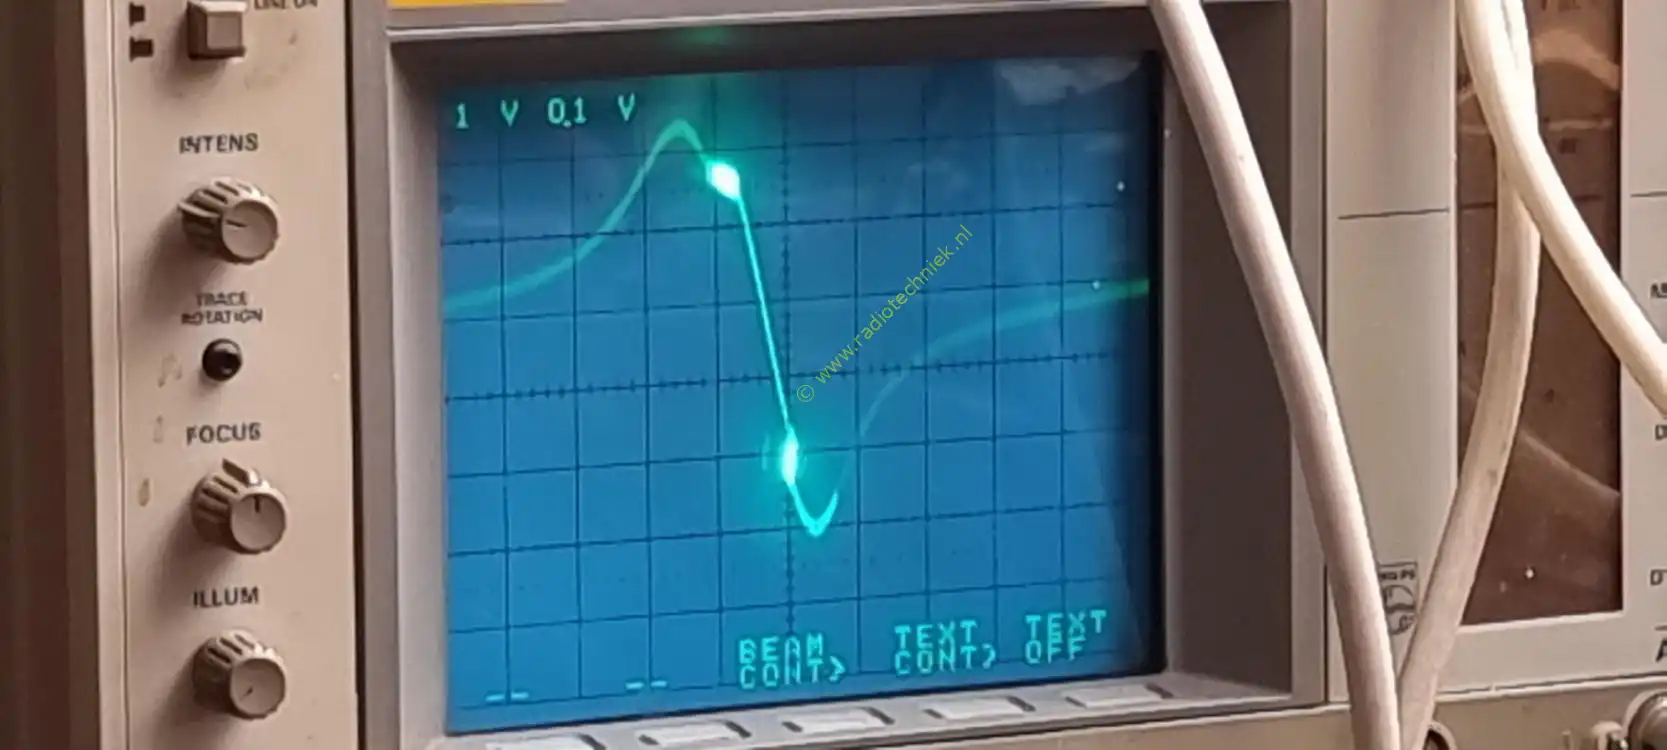
S curve with other settings.
Replacing parts. Here the removal of faulty capacitors.
And here are the new capacitors placed back.
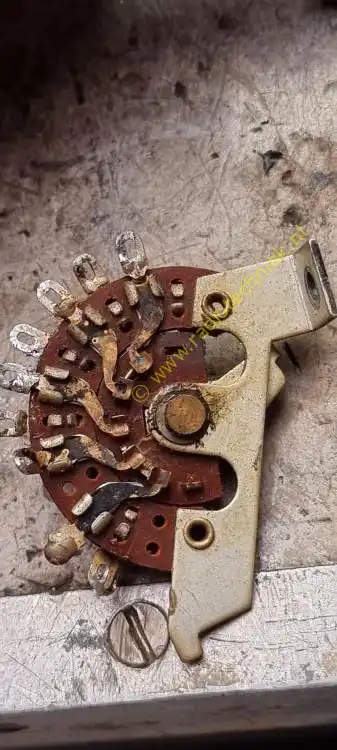
A dirty switch.
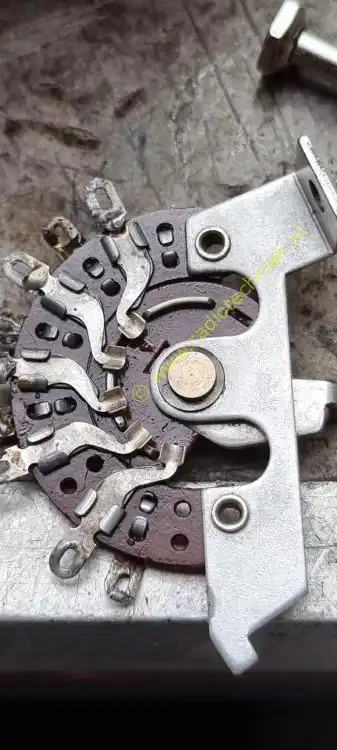
Same switch shiny and clean.

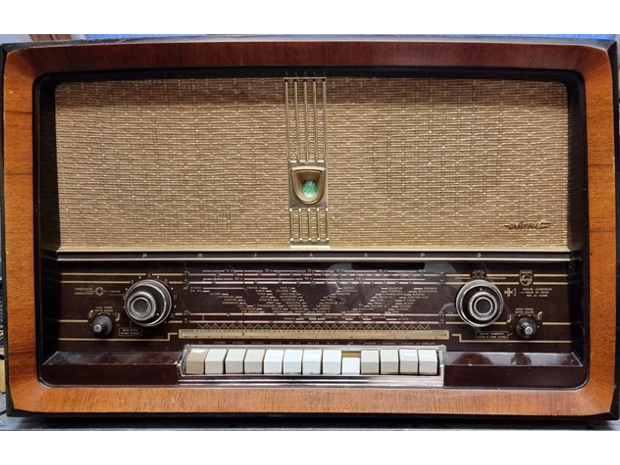
Such a beautiful restoration. The 1950s image is preserved.
This is a mess the grease has hardened. Cleaning is the only solution.
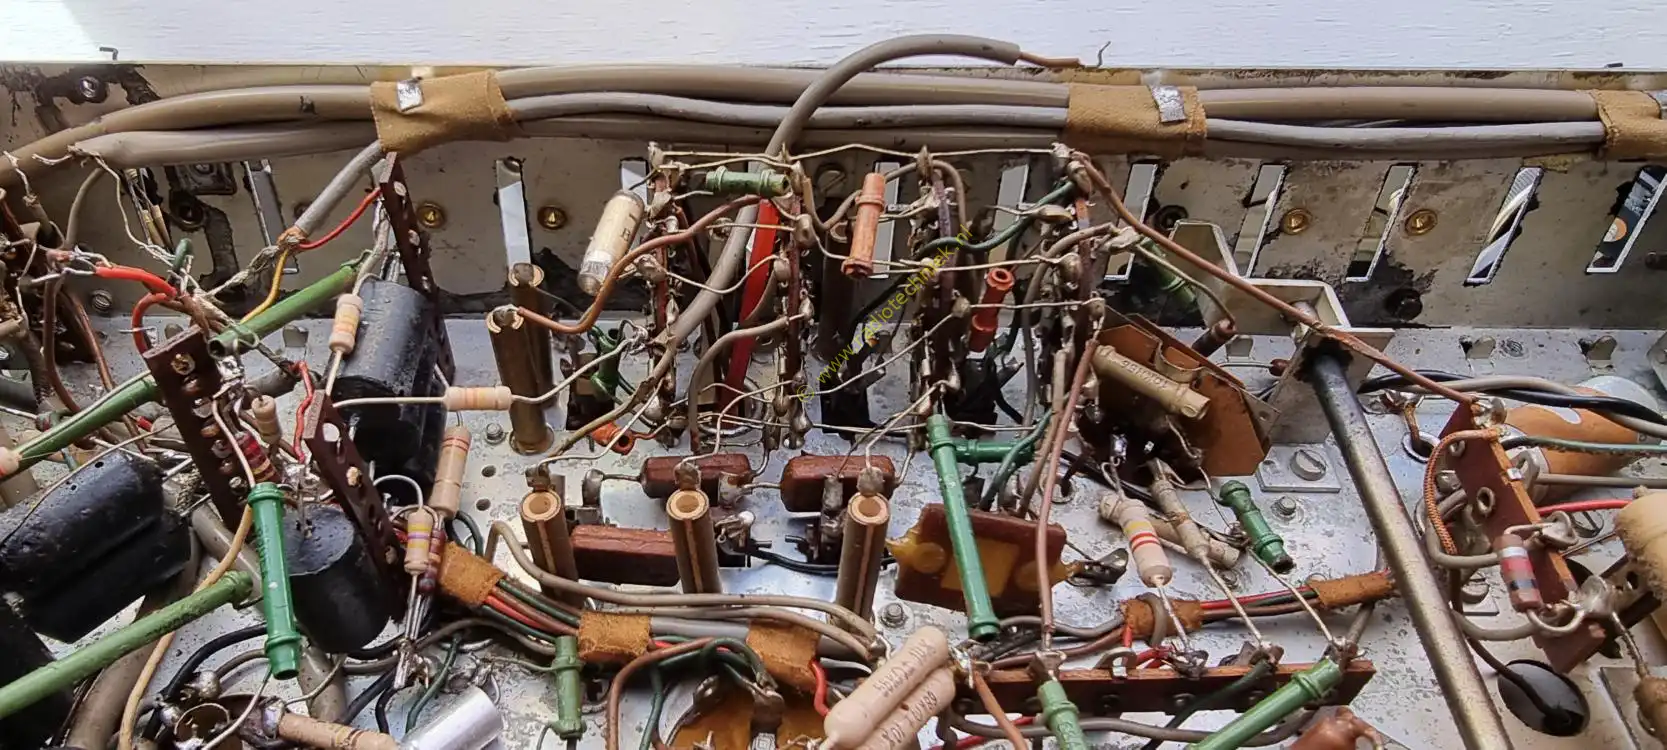
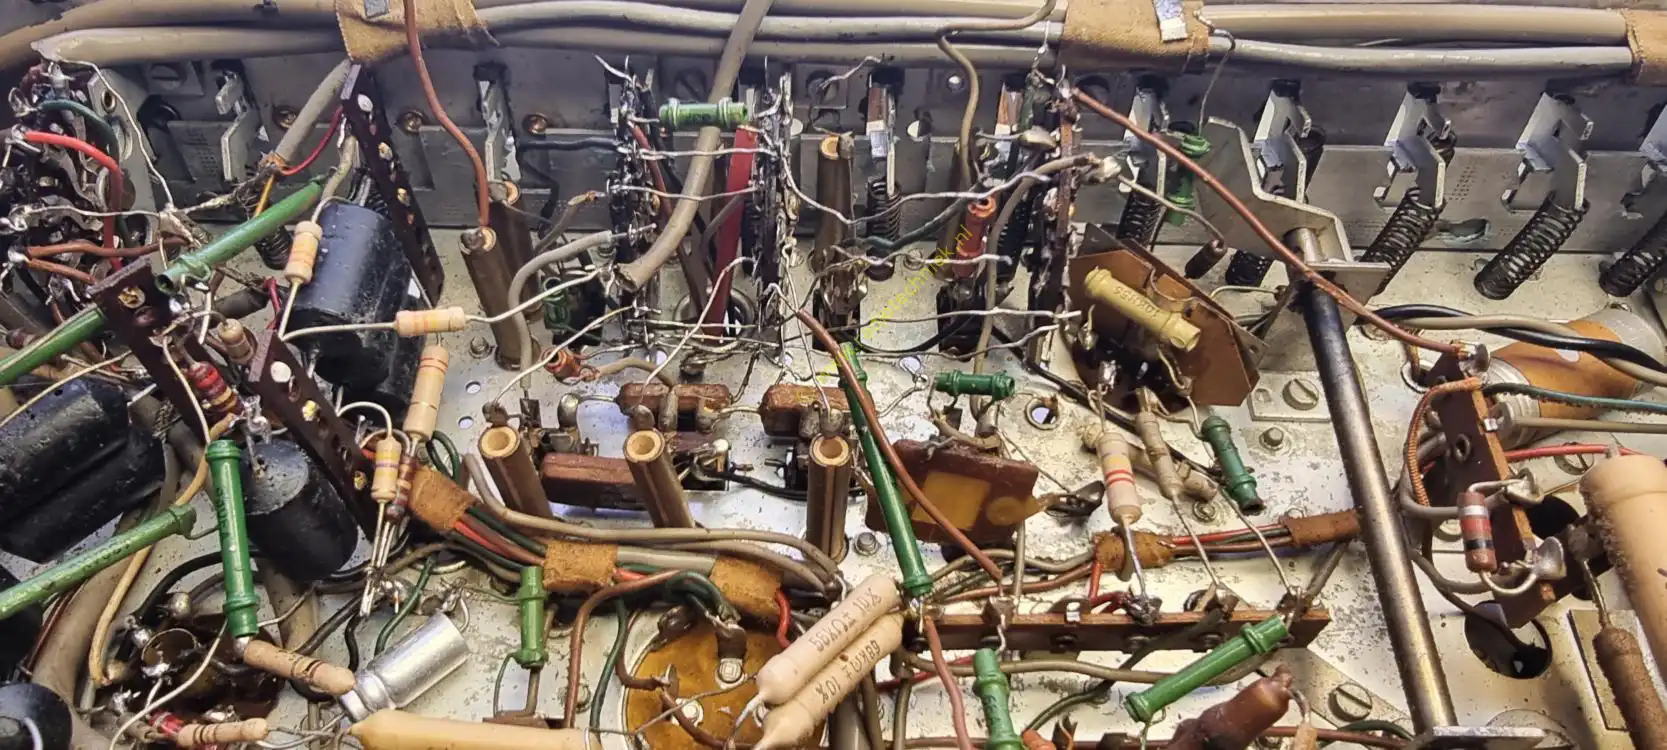
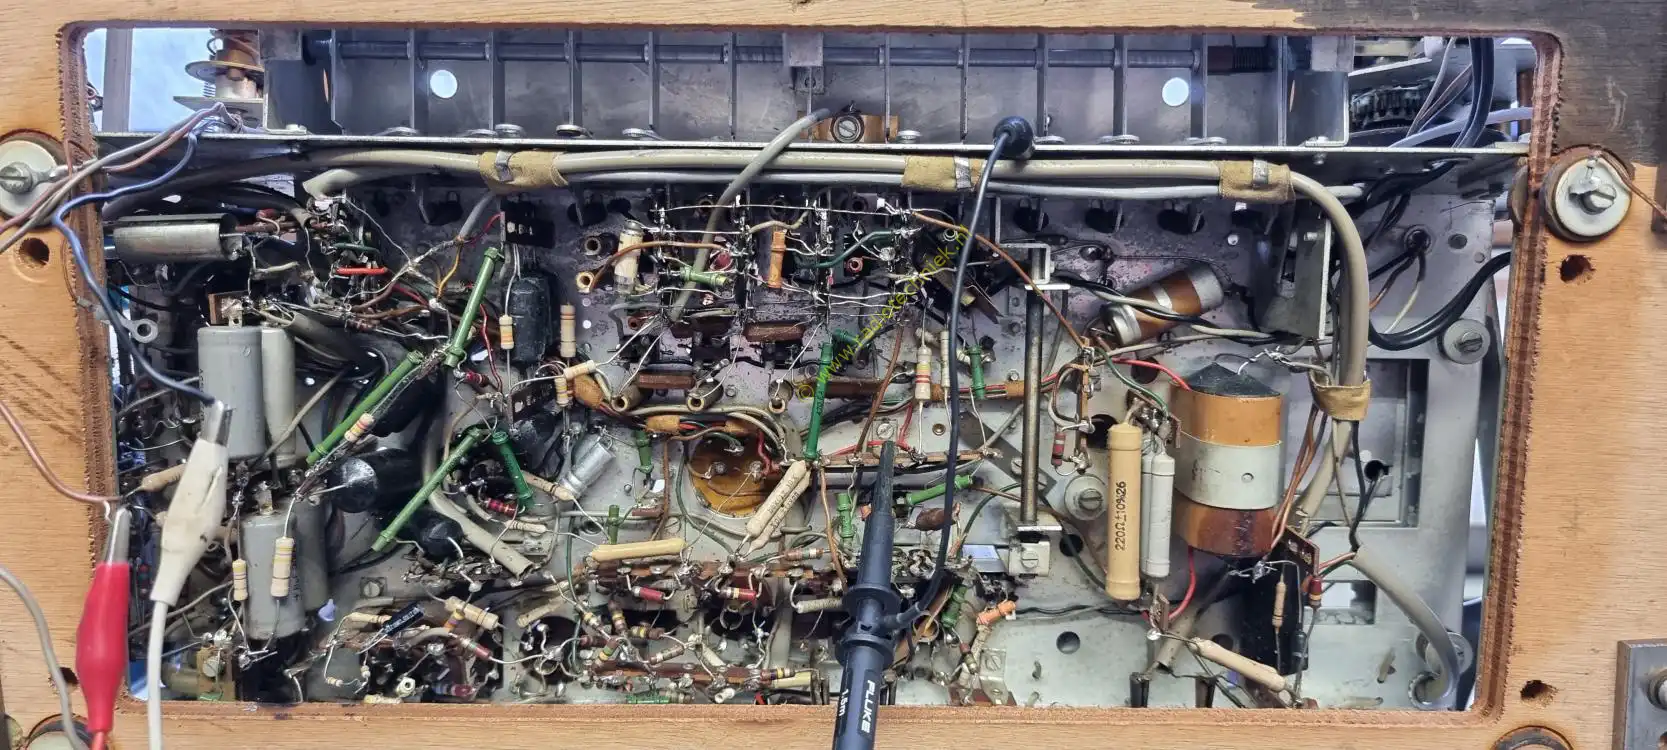
The inside is also very dirty.
The button locking mechanism shines beautifully.
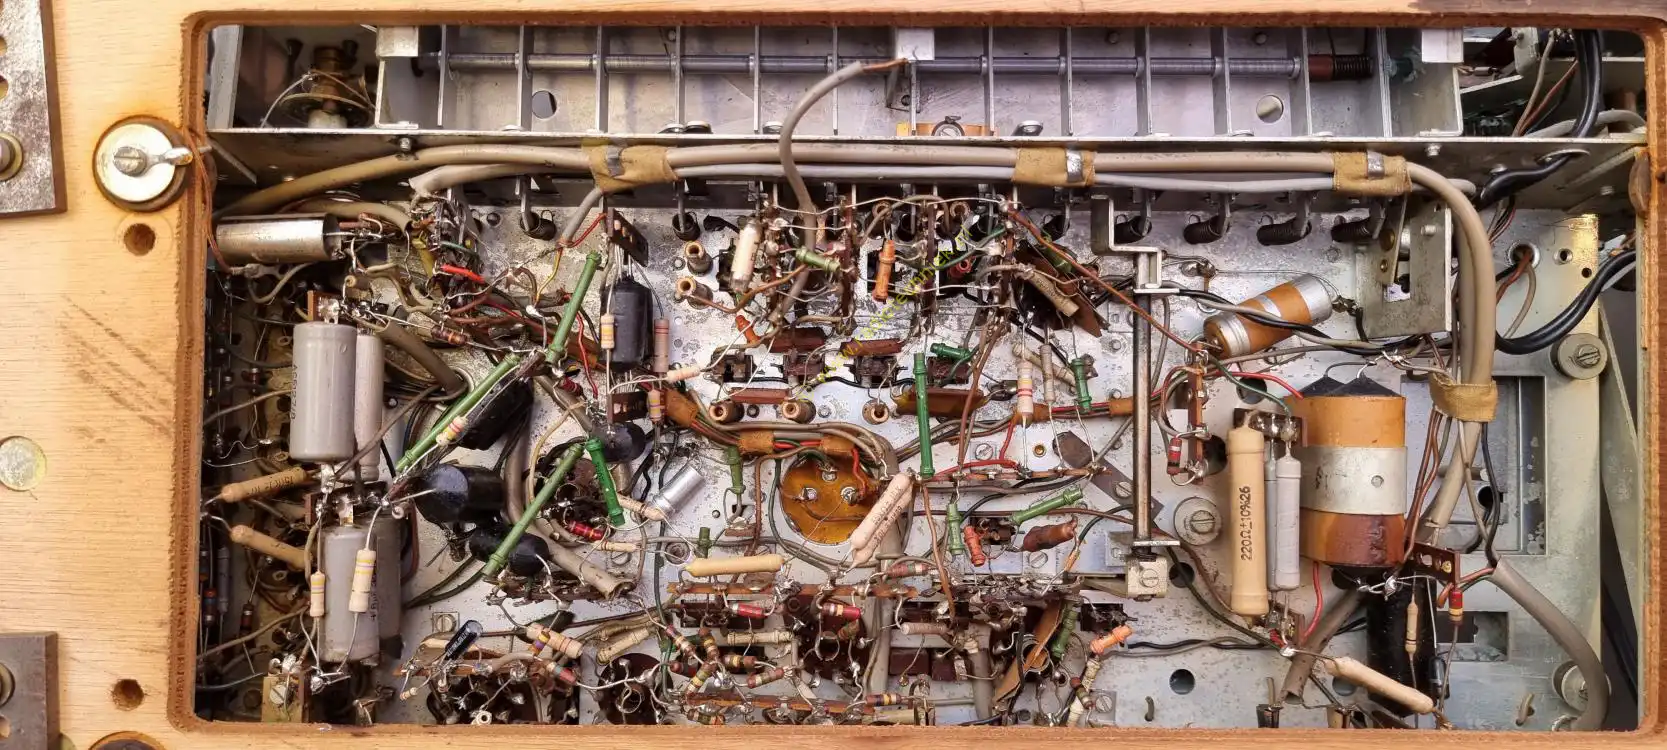
And here's the chassis. This is what it looks like when the old grease and dust is gone.
The push button mechanism has been reassembled.
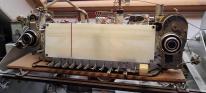
The front of the chassis looks like new again.
Replacing more tar capacitors.
Check measurements in between.
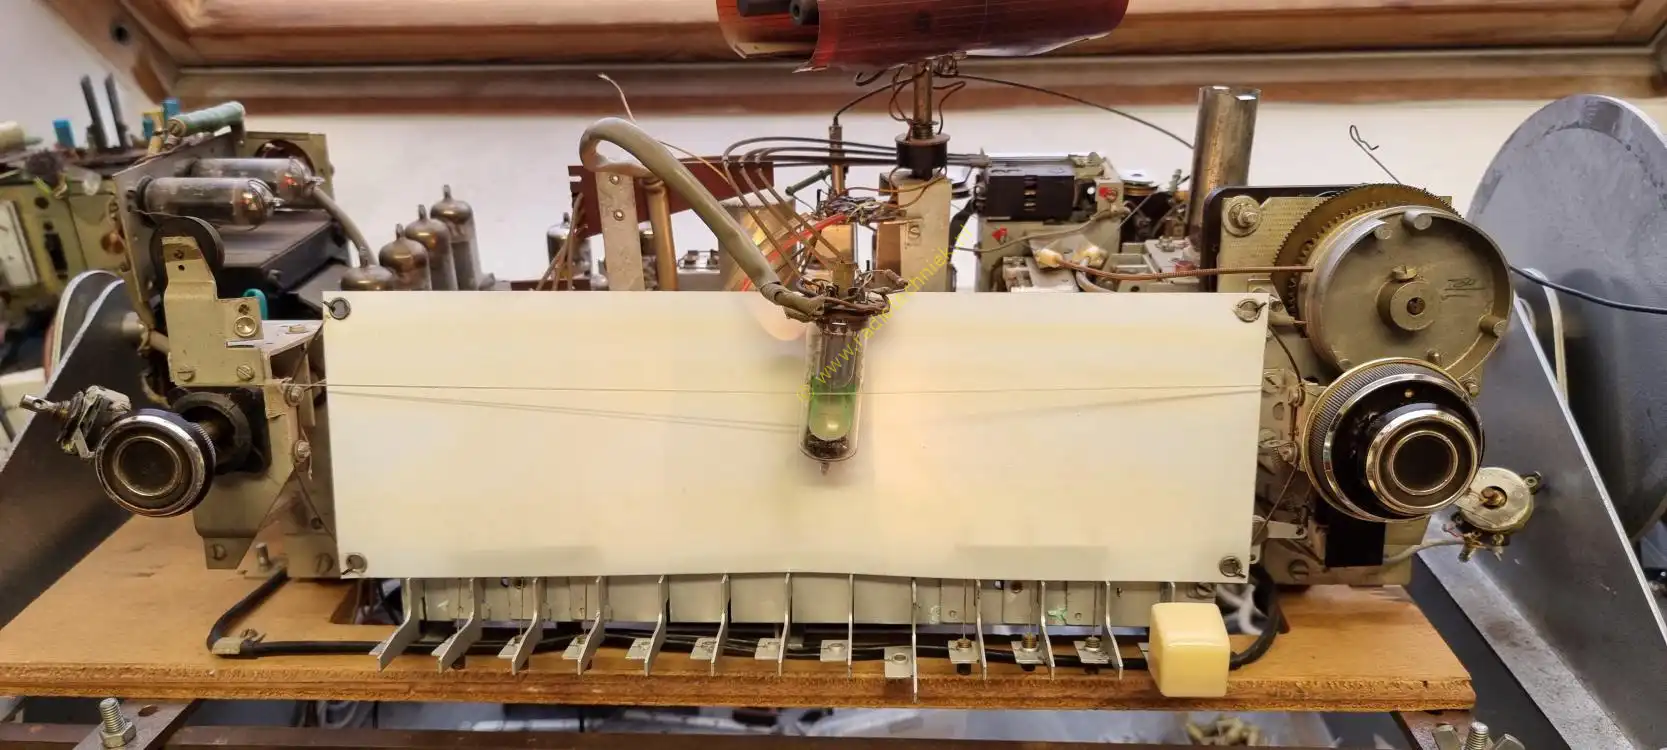
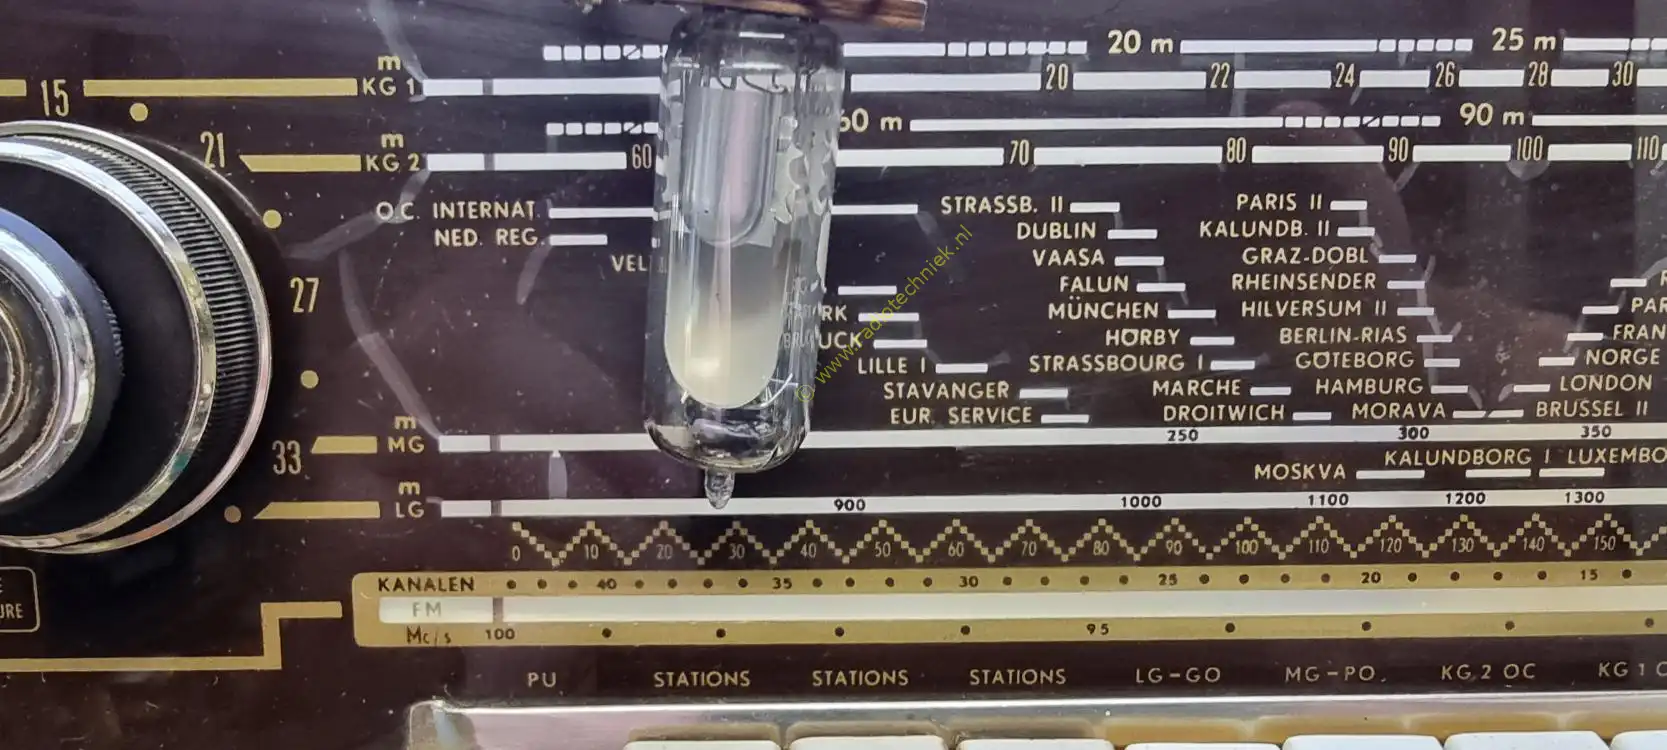
A rabbit's eye for control.
All wave range switches have now been removed from the chassis and cleaned.
A piece of mechanism heavily soiled.
Same piece of mechanics here. It shines beautifully again.

The piece of mechanism was placed back.
The top of the chassis has now also been cleaned.

And after all this work, the radio sounds like this. Everything works again, tone control, among other things. Which made the sound very good.
Replacing the string to rotate the antenna.
Everything is complete again time for engine tuning test.
Here's the first test. during the test, take a look at the tuning knob, which does not rotate.
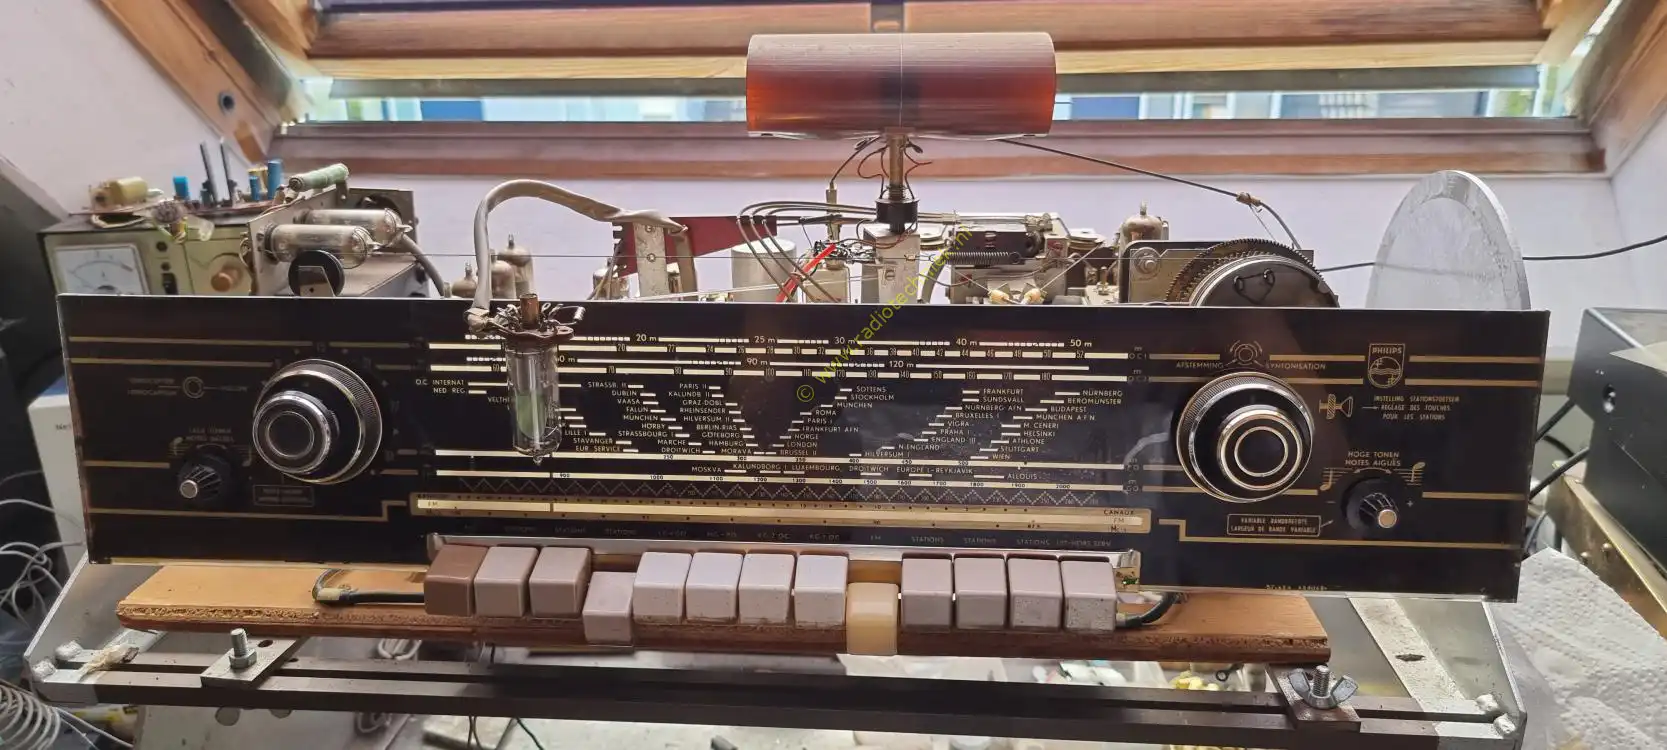
Dial reinstalled.

Engine tuning preset test with AM and FM stations. Buttons fall off. But everything works fine.
Because programming the preset stations is very difficult. Is it wise to clean the mechanical memory of the engine tuning.

But be careful when disassembling. There are loose balls in the bearings. You just lose these when disassembling. Don't ask how I know this.

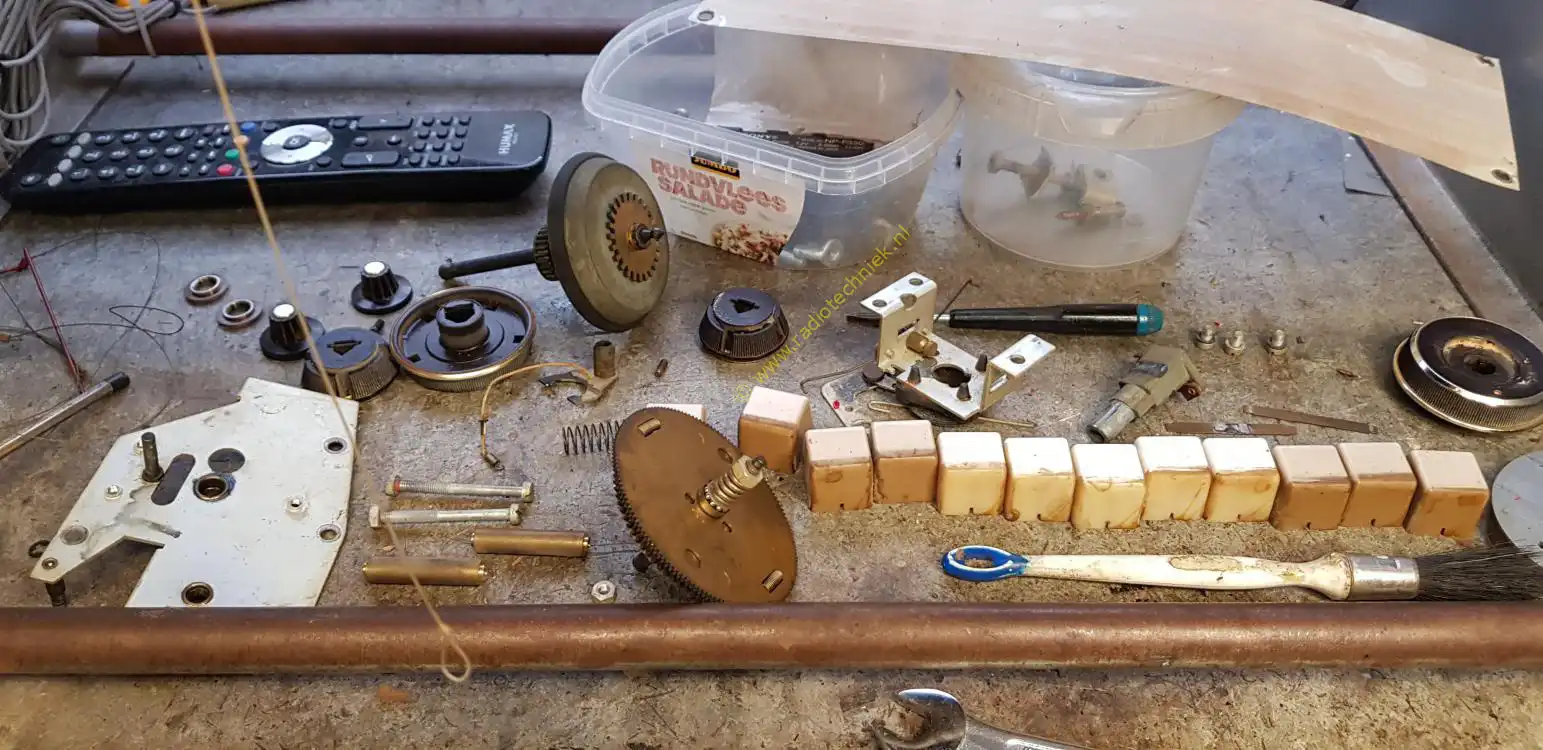
Completely disassembled here and yes it was very very dirty.
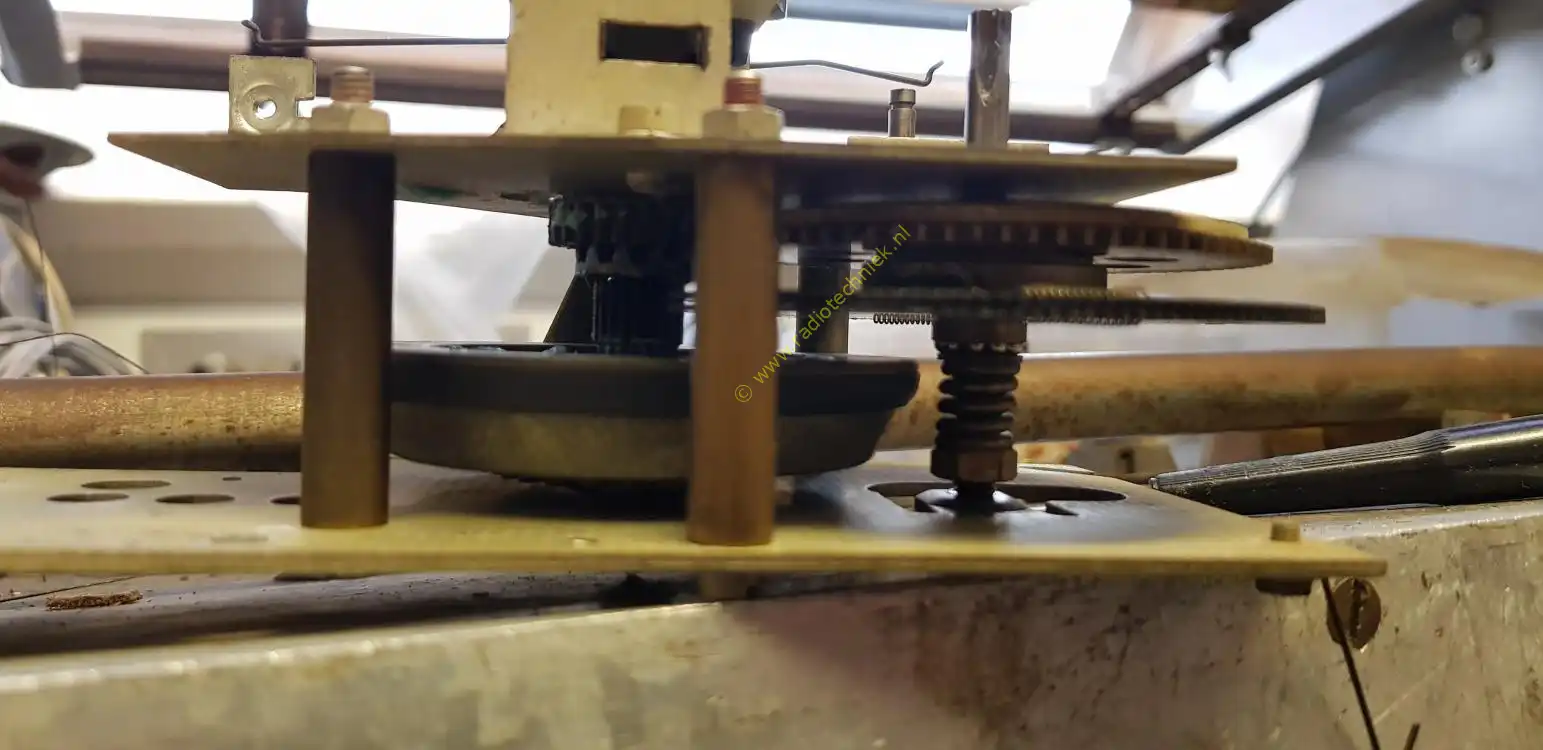
The mechanism that determines the position where the station is programmed.
Assembling the unit is a crime. Attaching the springs is very tricky. Or almost impossible.
The tricky part is in there.
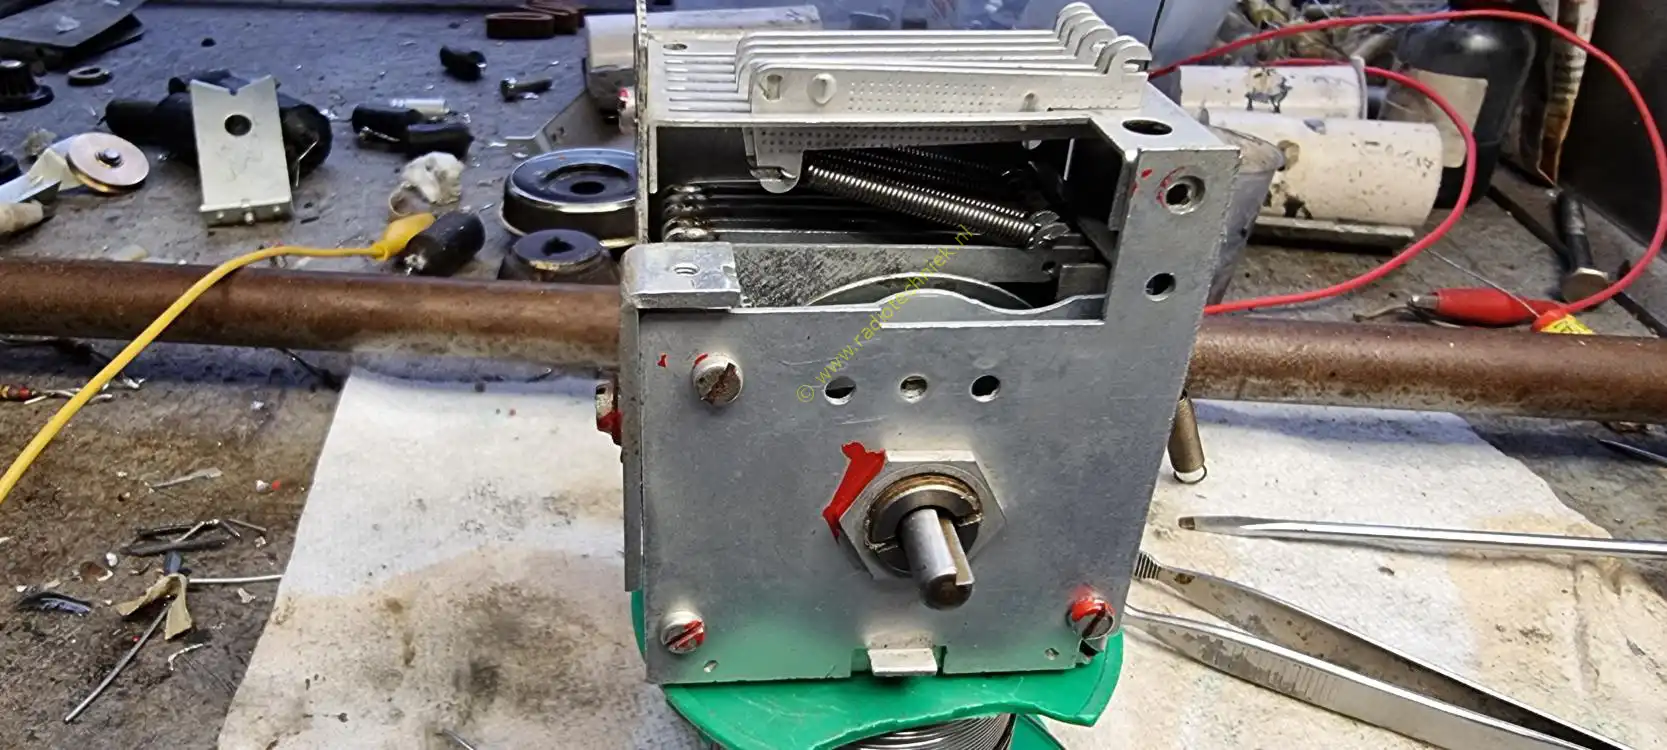
The last part too.
Everything is back together and working again.
Tuning the tuners It is important that they can tune the entire range. So adjust the end stop on the end stop memory unit with a piece of paper.
The same applies to the AM tuning capacitor.
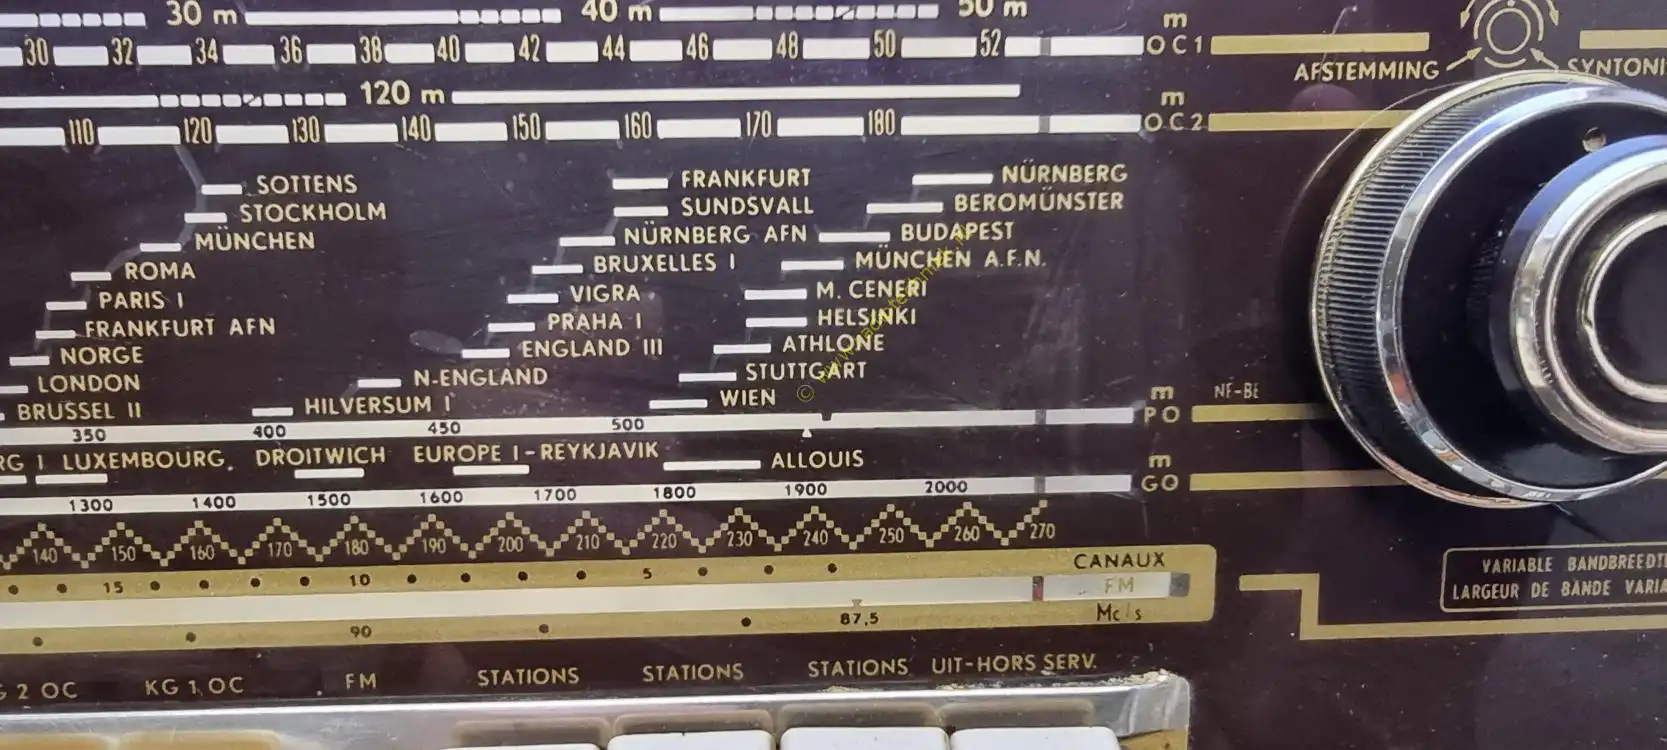
Setting the dial pointer. Here the pointer placed at the beginning of the dial.
At the end of the dial it hits exactly 100MHz on the dial.
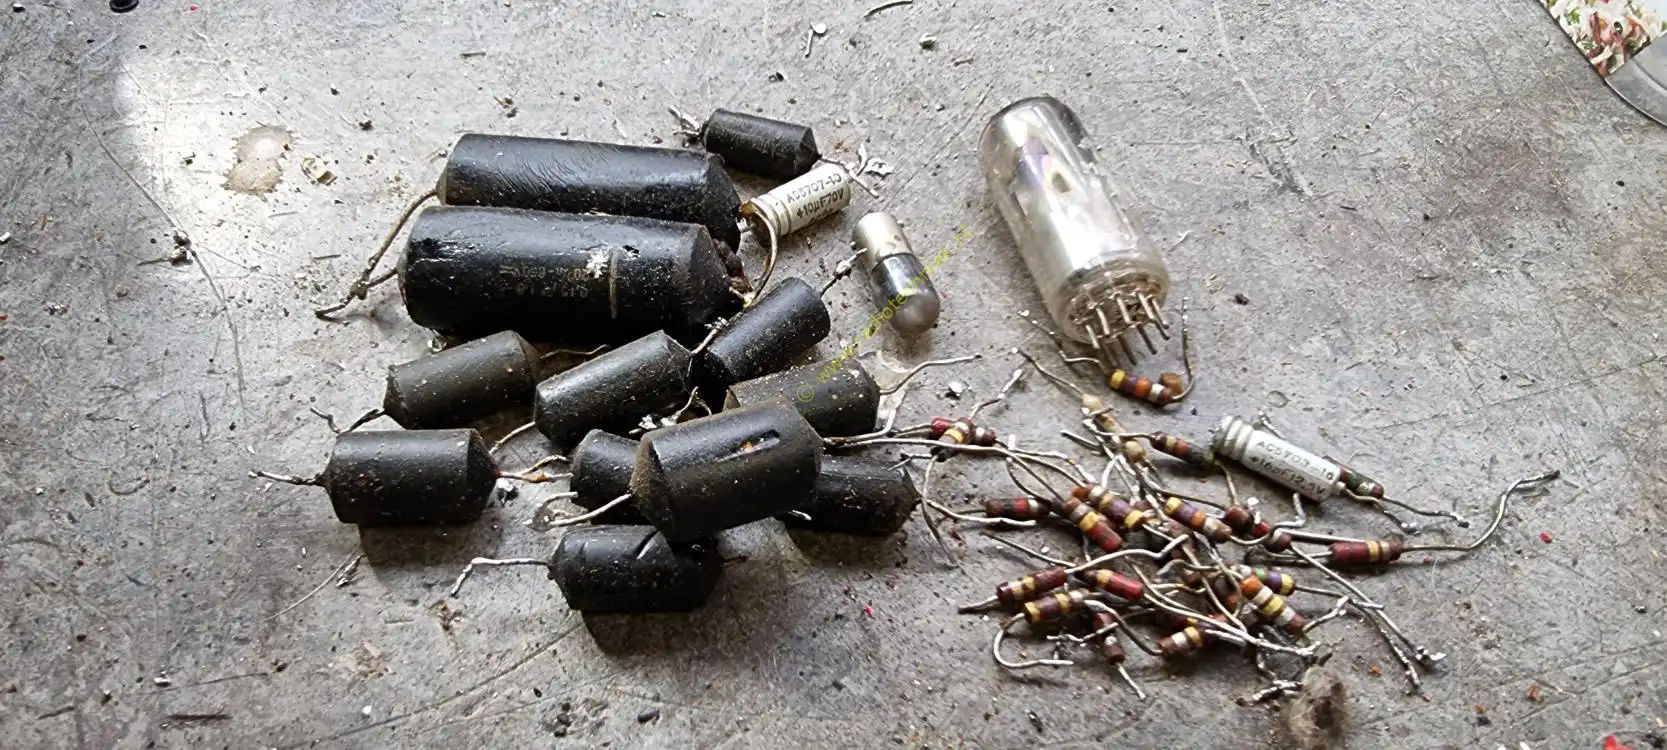
The replaced parts.

The chassis back in the cabinet.
The Philips B7X63A is a complex radio. Adjustment is very important. But also the mechanics. There is a lot involved in getting this device to play well again.