
I bought this Philips 2802 as a scrapper. But everyone knows that a Philips 2802 is very rare. So a demolition Philips 2802 does not exist.
The unit came with a complete set of coils. Unfortunately no coil box. And the radio covers are missing. So we're going to restore. And that will be a nice surprise.
Unfortunately, the Bakelite chassis was broken and pieces were missing. and because I had never tried to restore that before, I tried something.

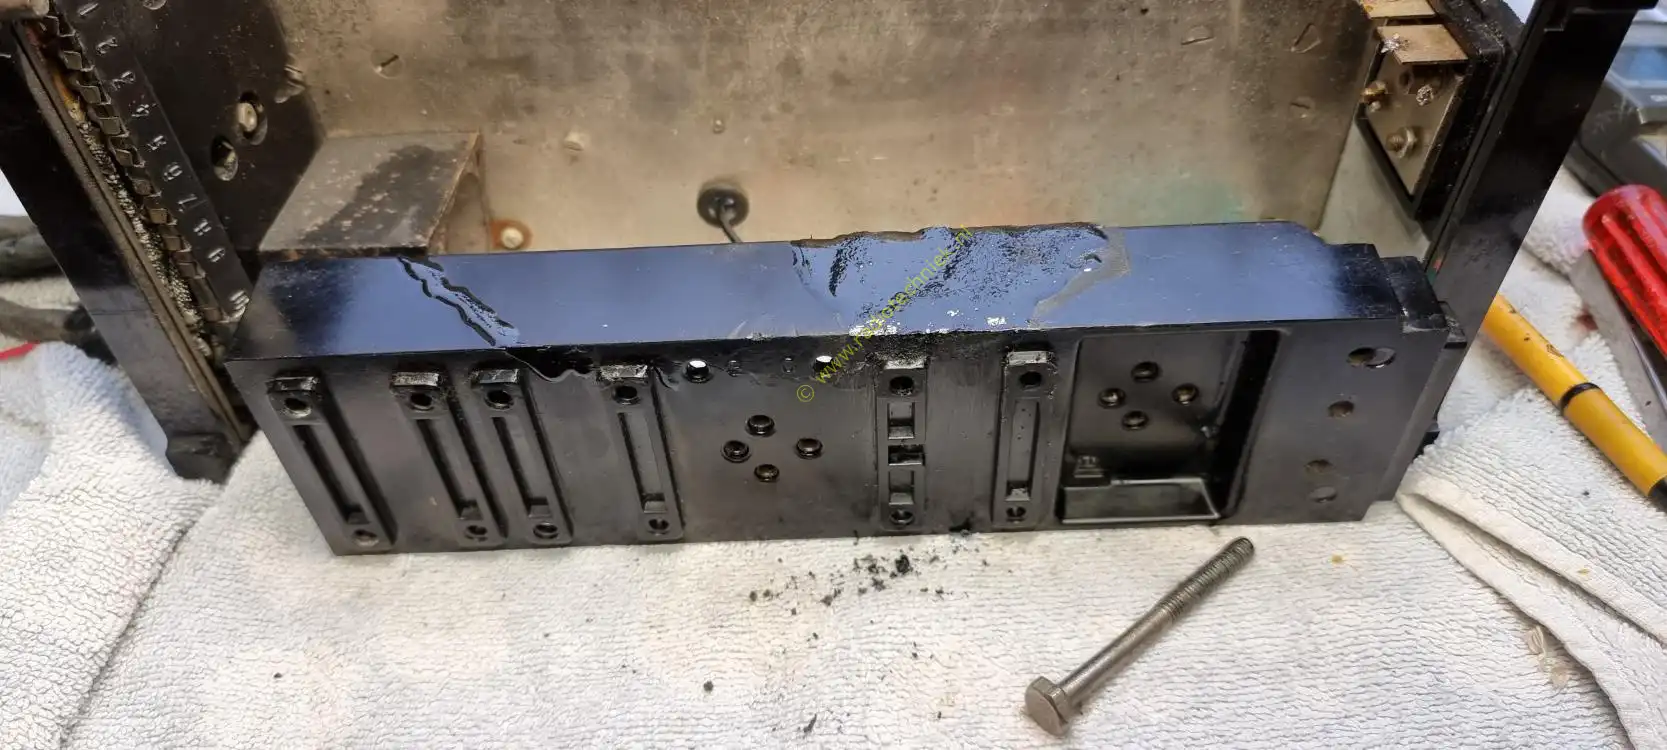
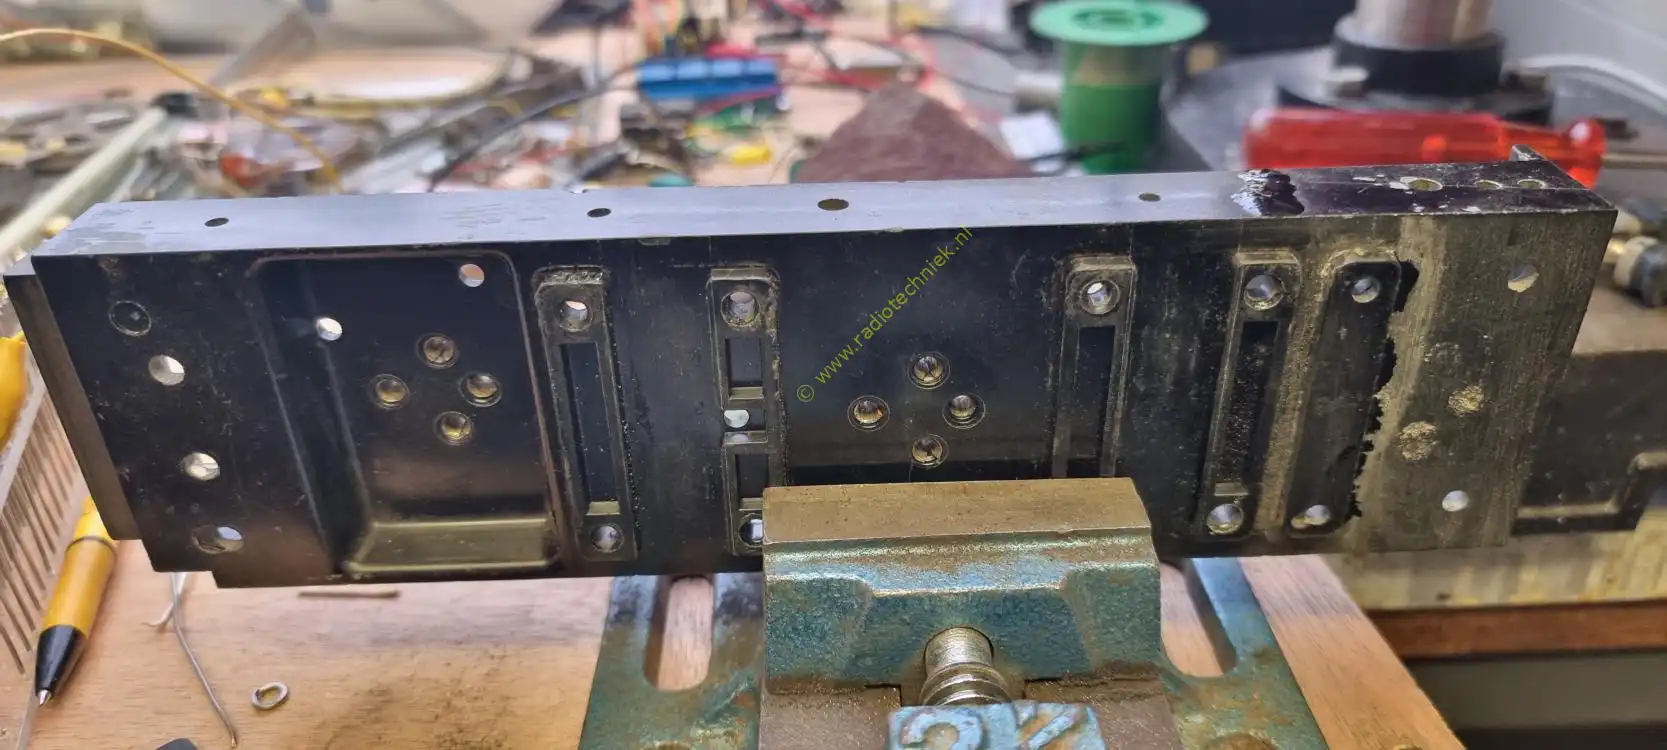
Here you can see how badly the Bakelite chassis was torn. And actually it couldn't be repaired.
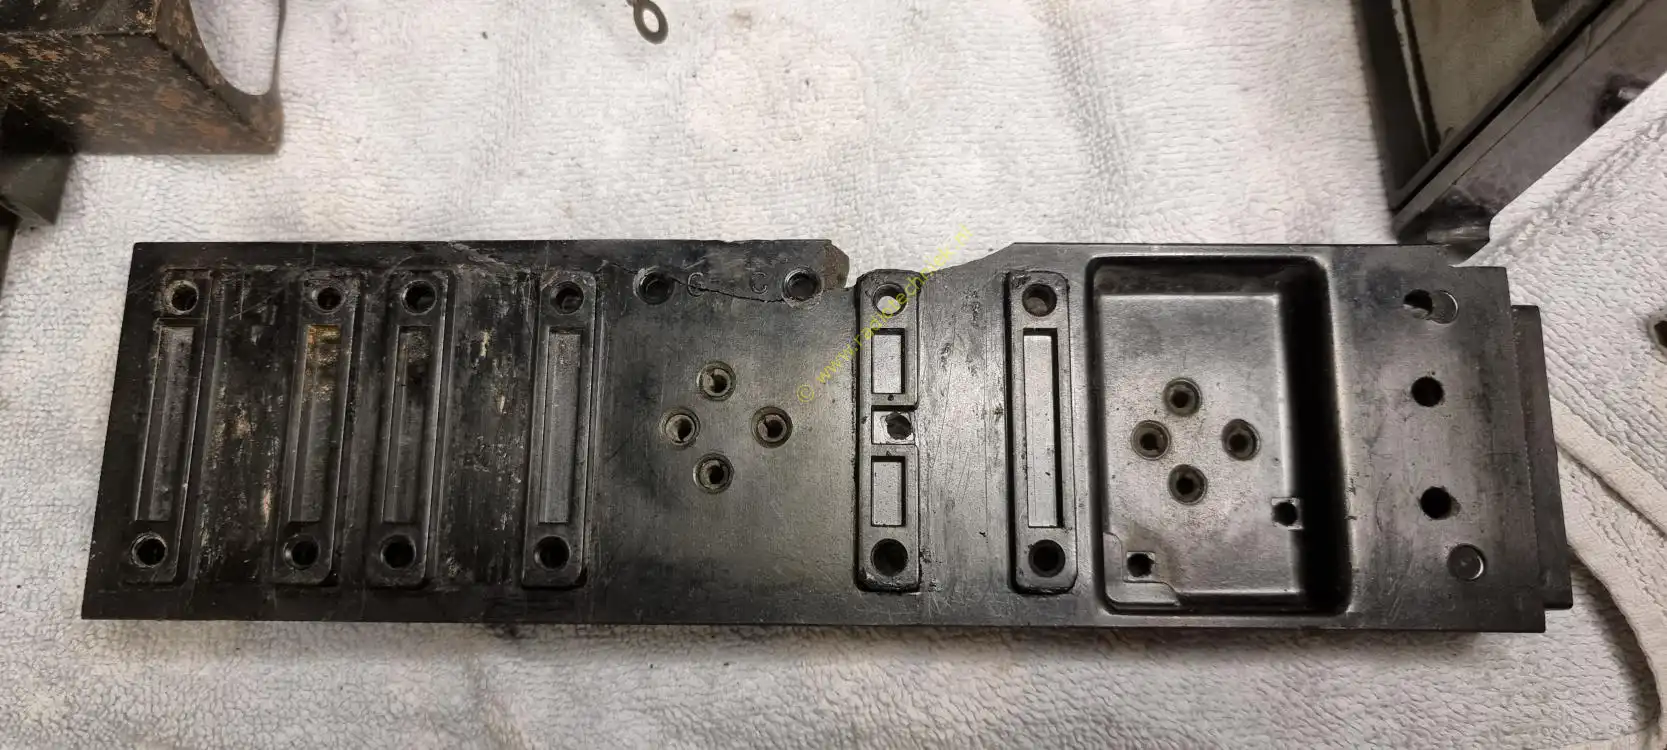
Some more photos to get an impression.
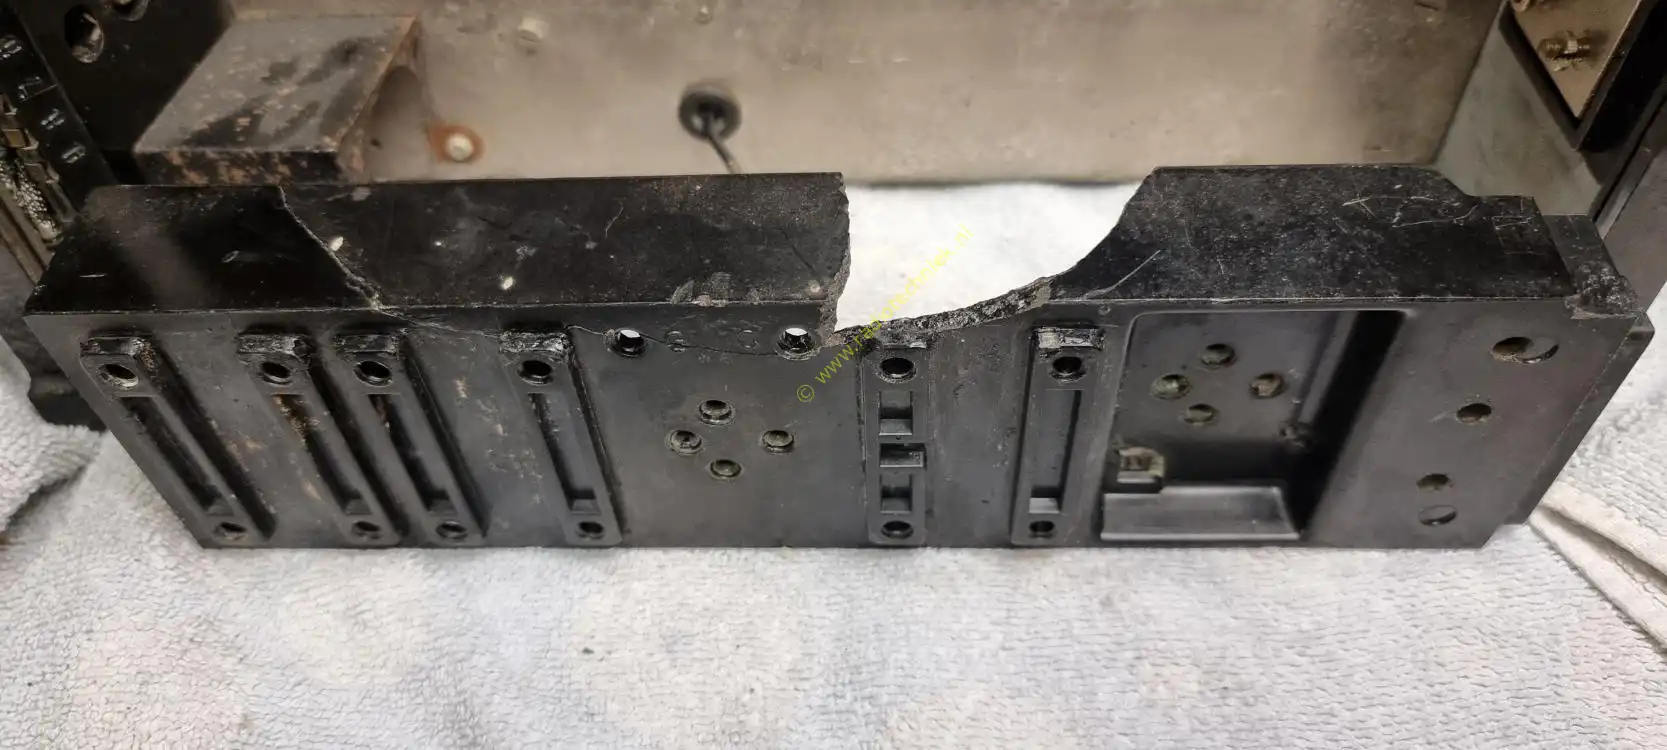
A large part broken from the edge.
Ok enough, time to clean the Bakelite.
We try to repair the Bakelite with casting resin.
And here the first result.
That was certainly not what I had hoped for. But we're going to experiment some more.
We use more casting resin to see how far we can polish it.
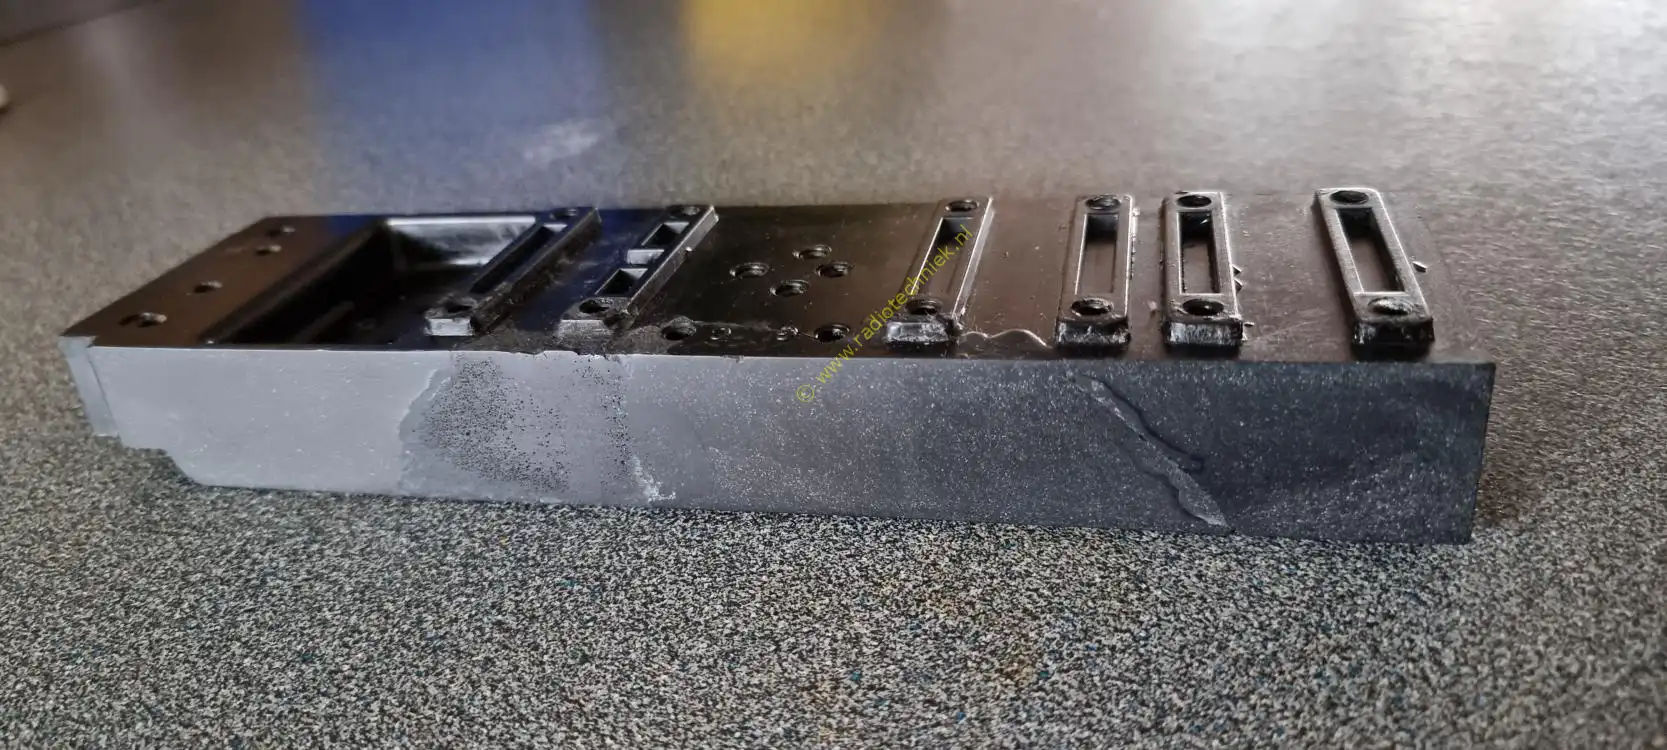
And this is the second result.
And this is the final result. To be honest it wasn't what I expected. But for the time being, the Philips 2802 could be restored.

Disassembling the radio did not cause any difficulties. However, the wrong screws had been used.
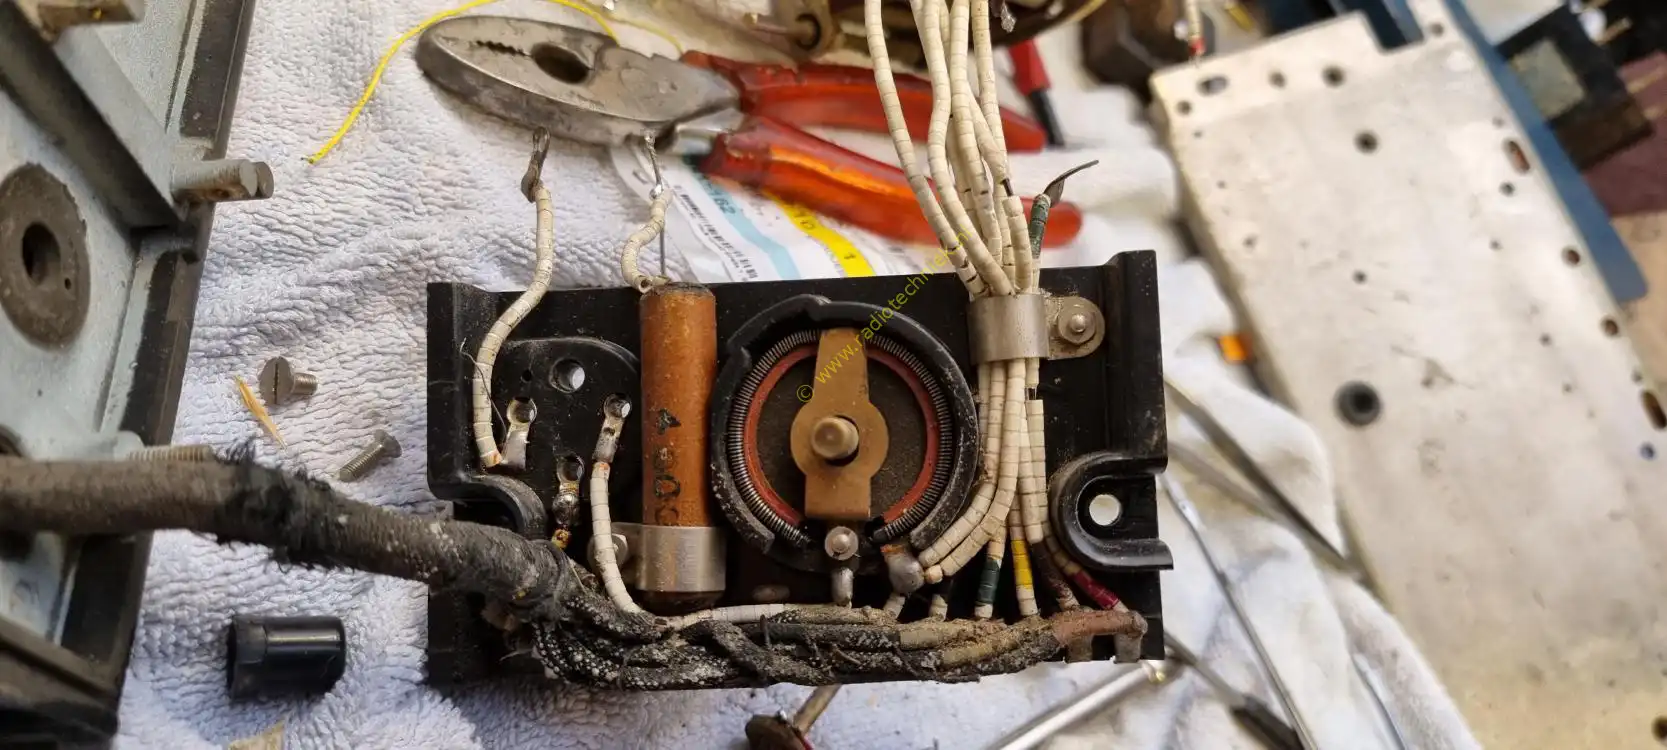
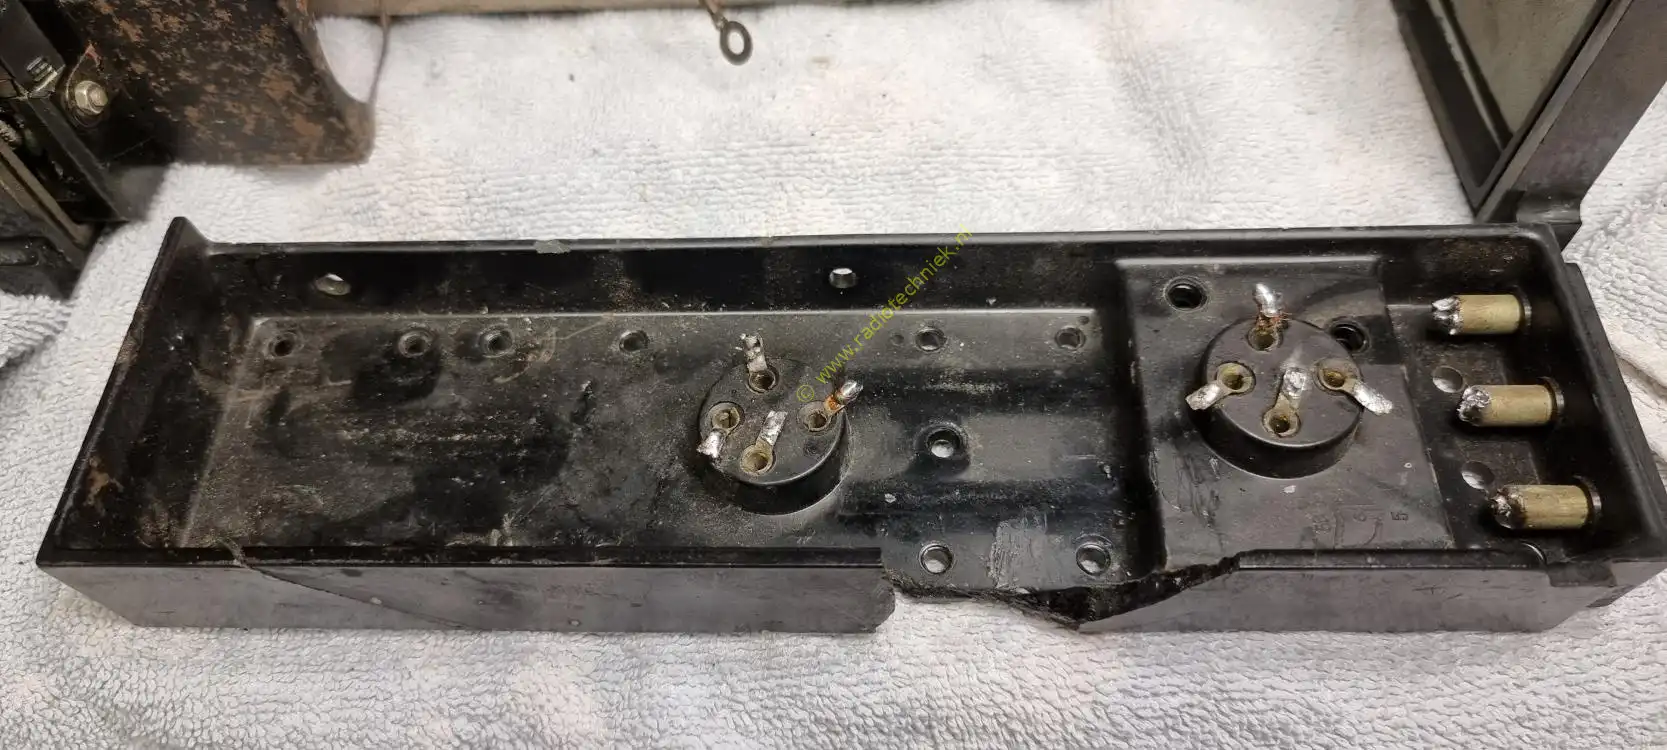
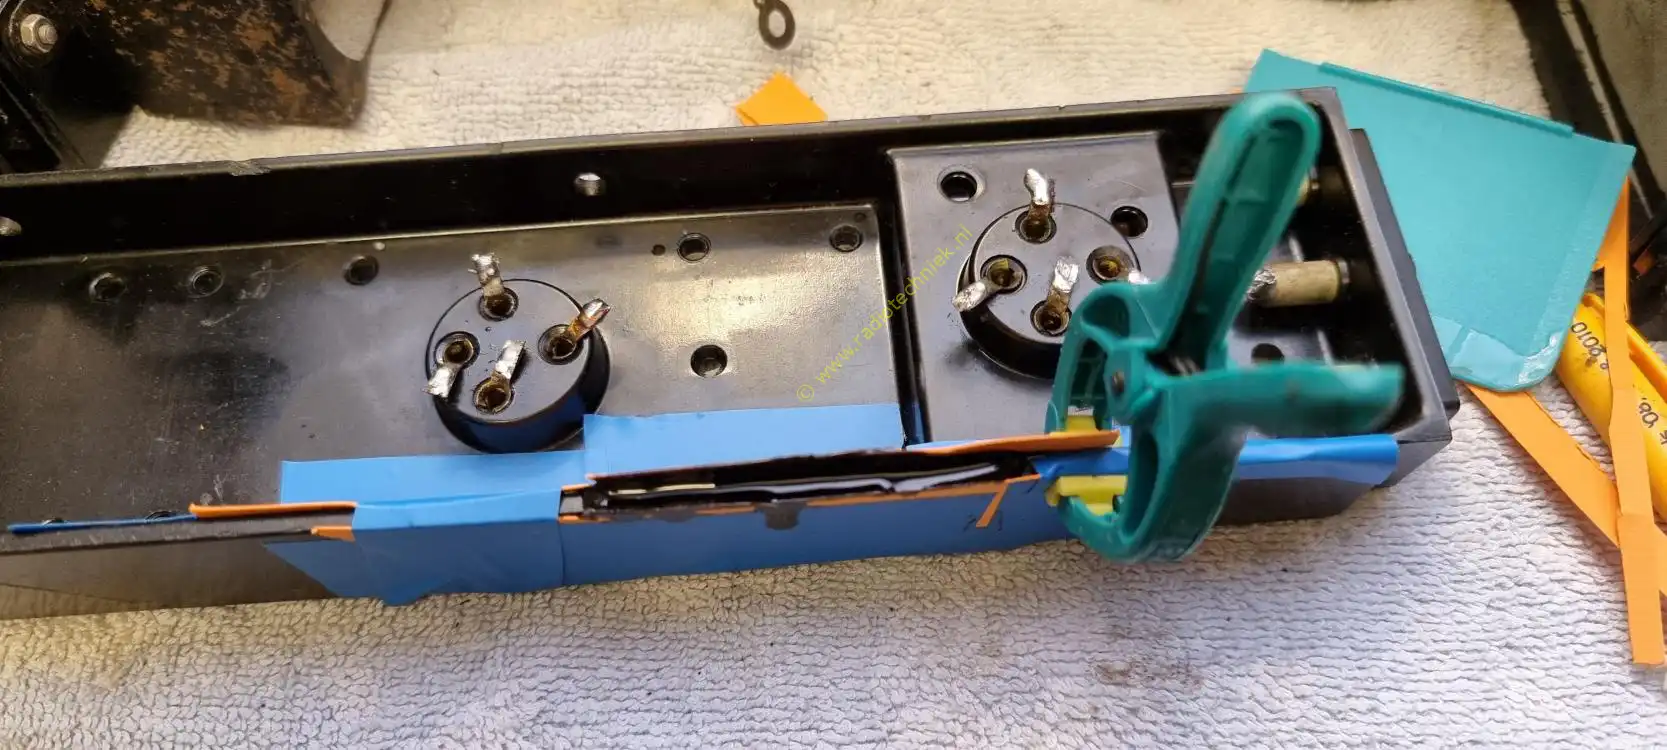
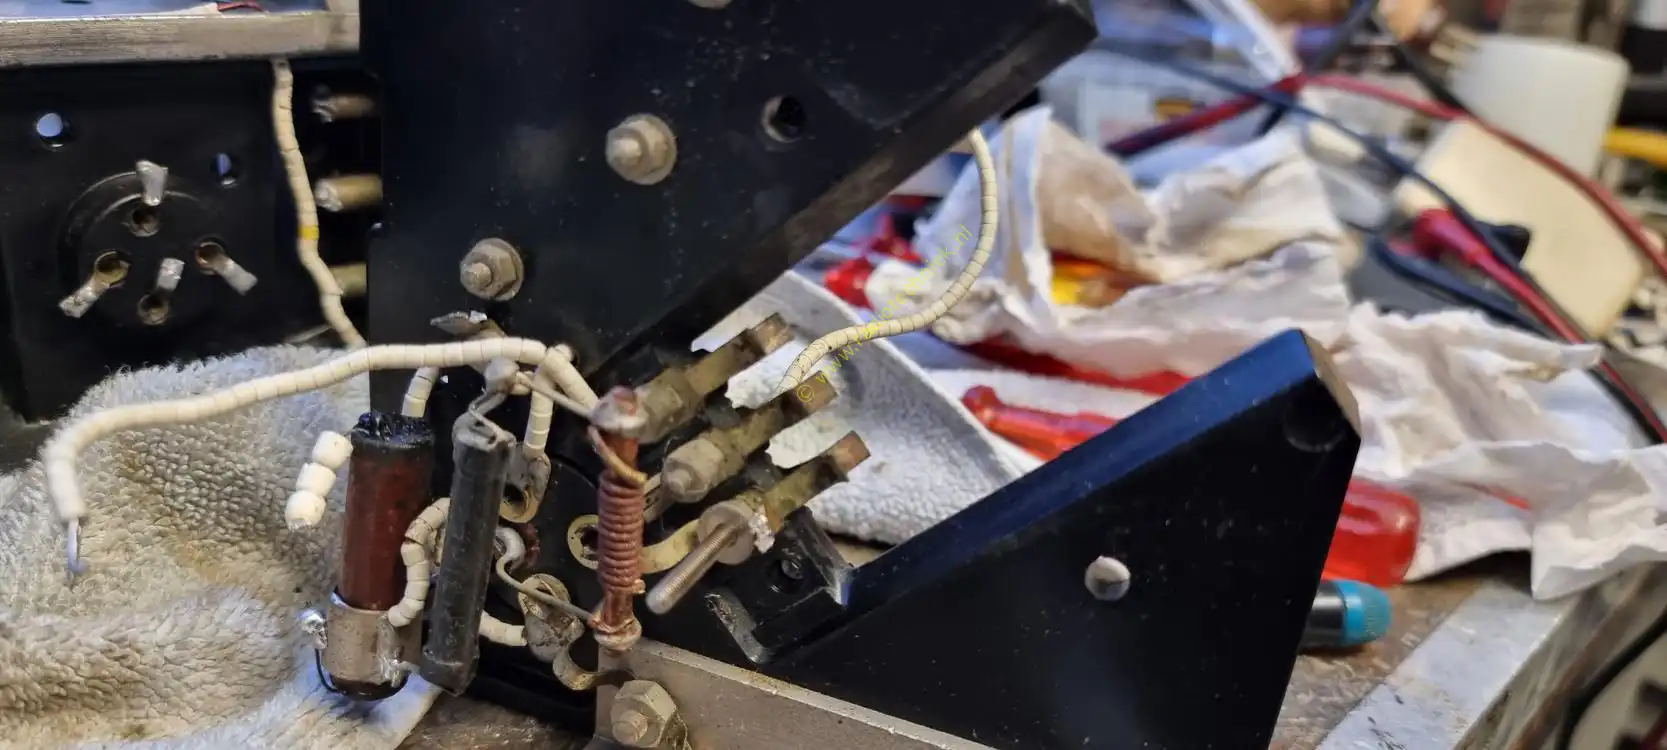
This is the volume potentiometer here you see the problem of the broken beads. For now we are going to make sure that the beads are seated properly within this potentiometer unit. Later we will fill in the missing beads.
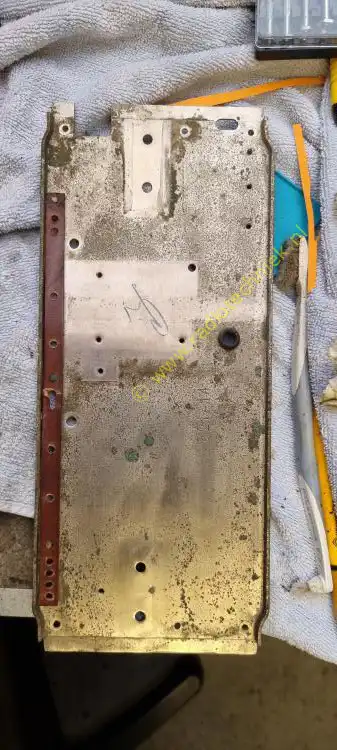
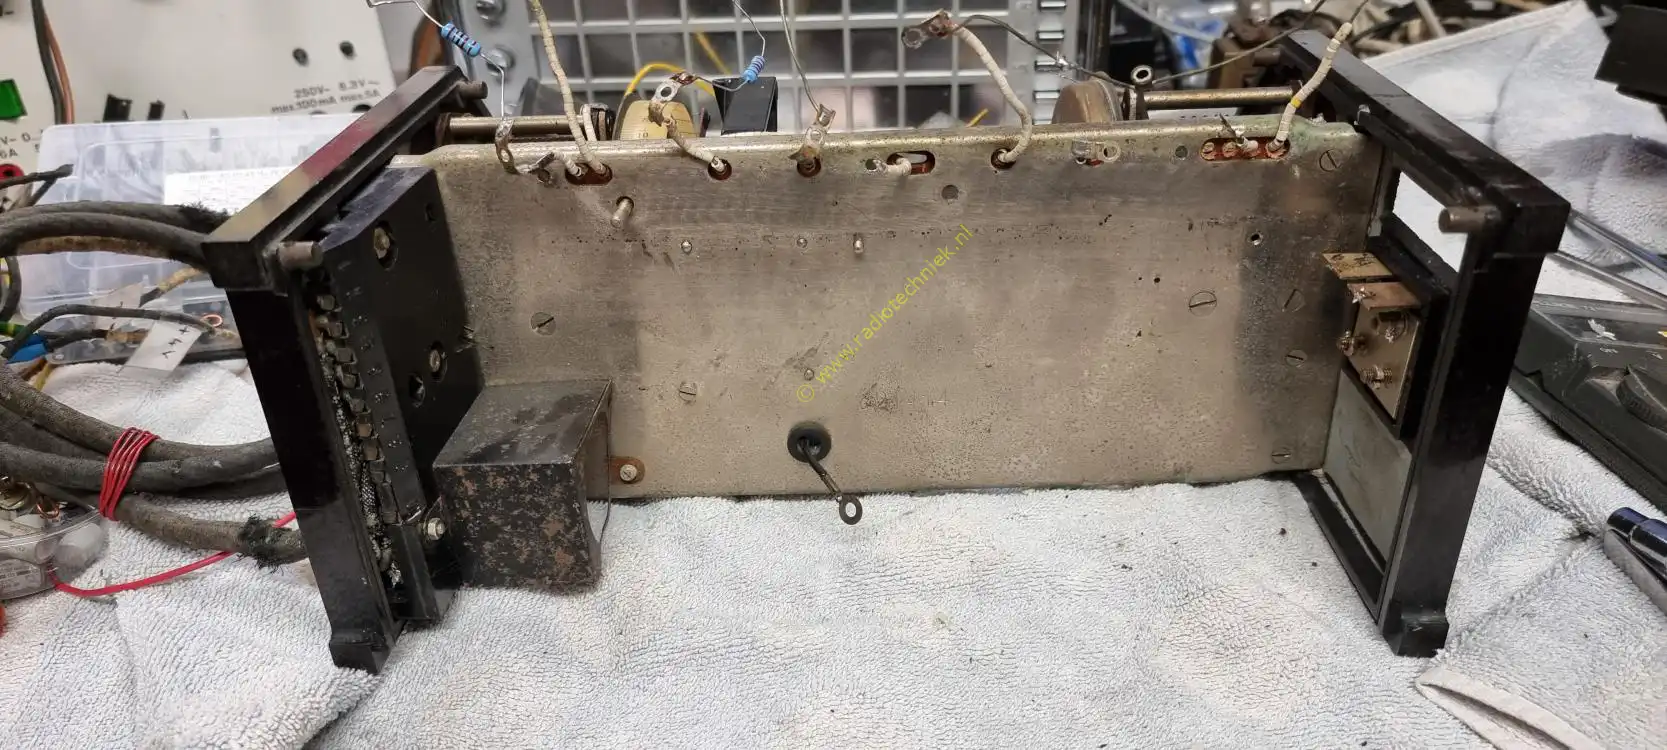
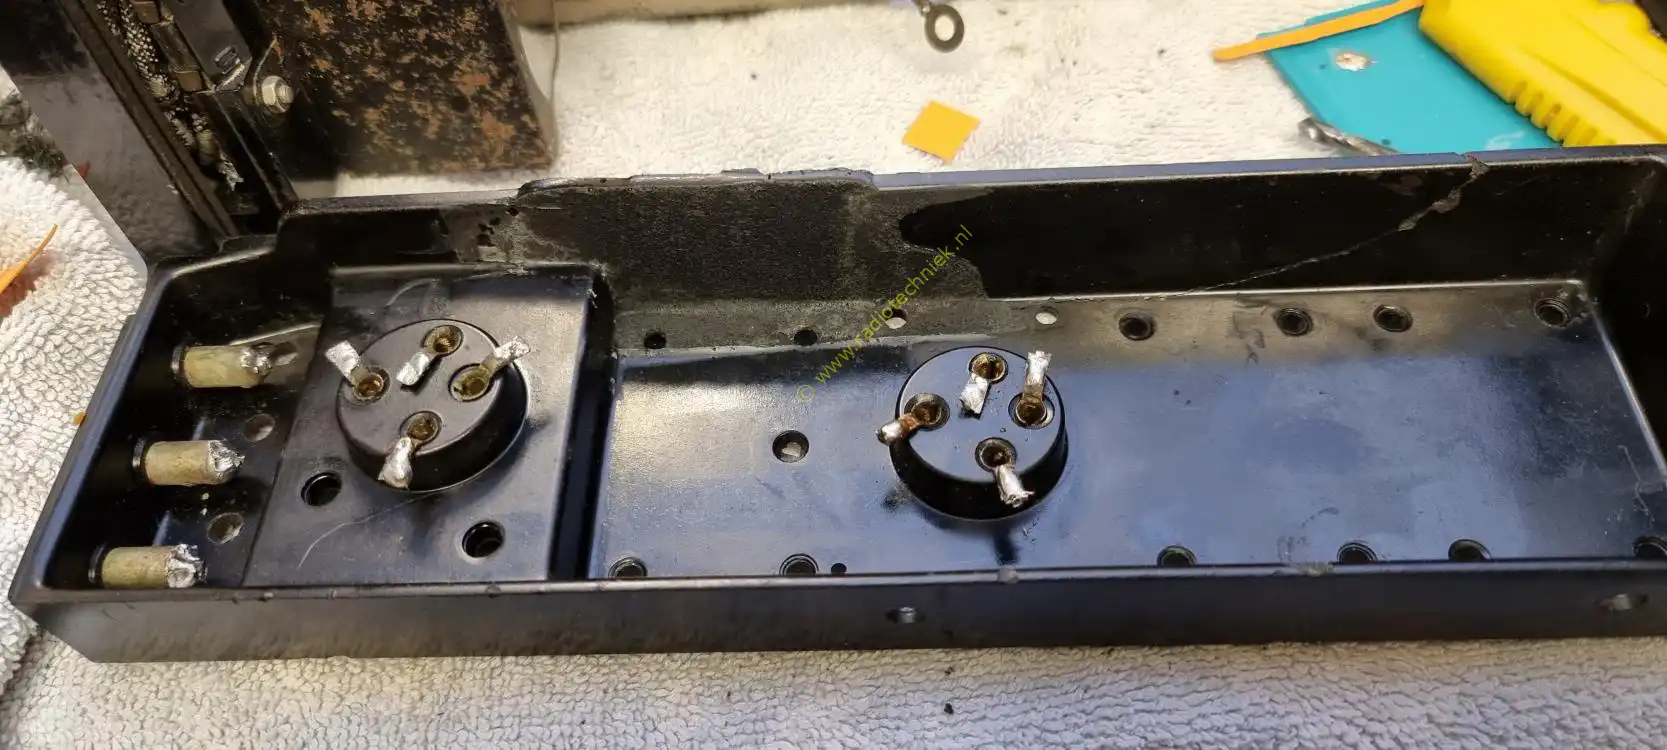
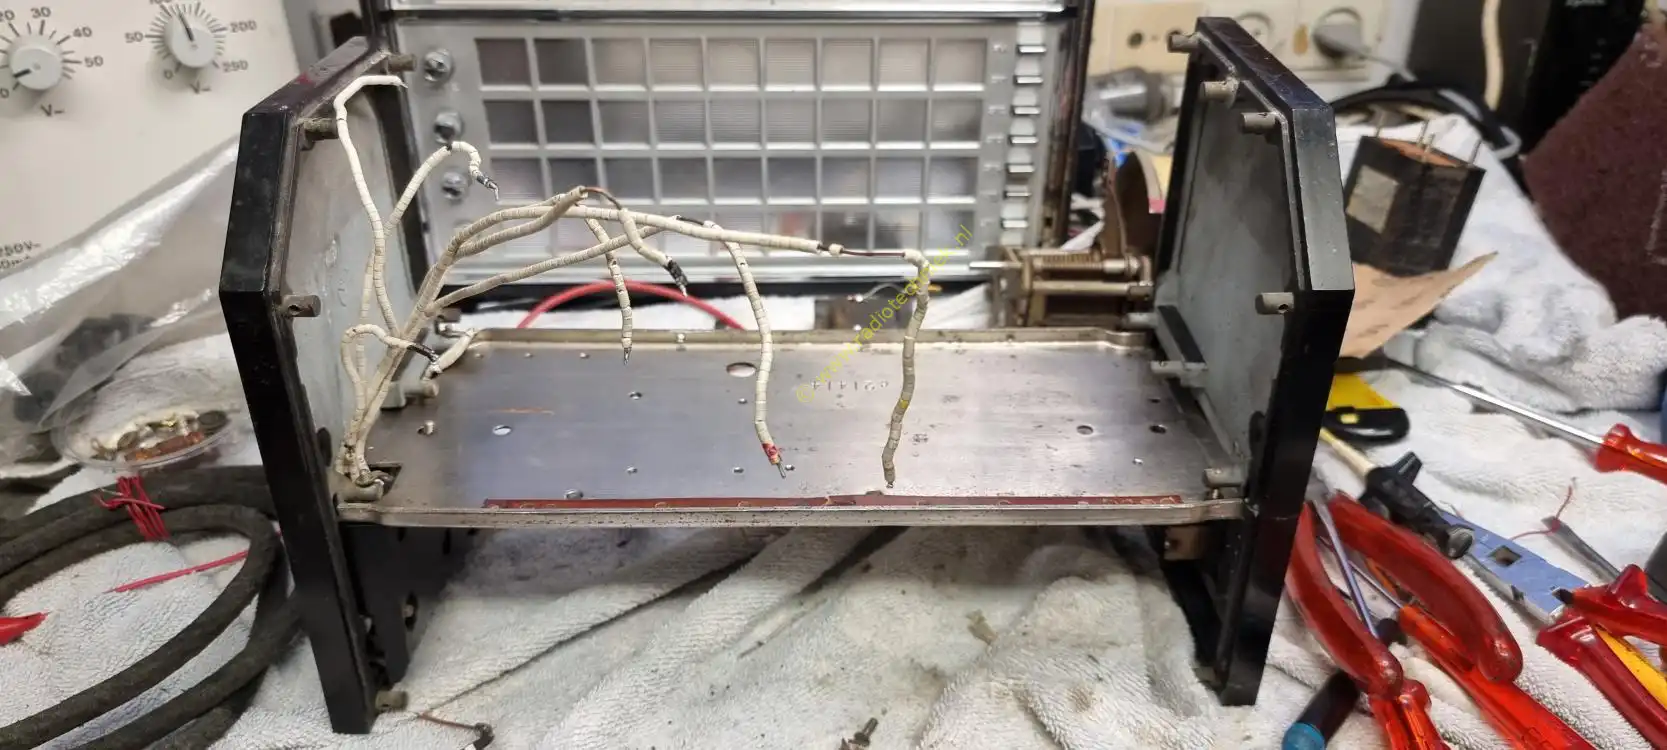
The chassis plate will only be cleaned of dirt.
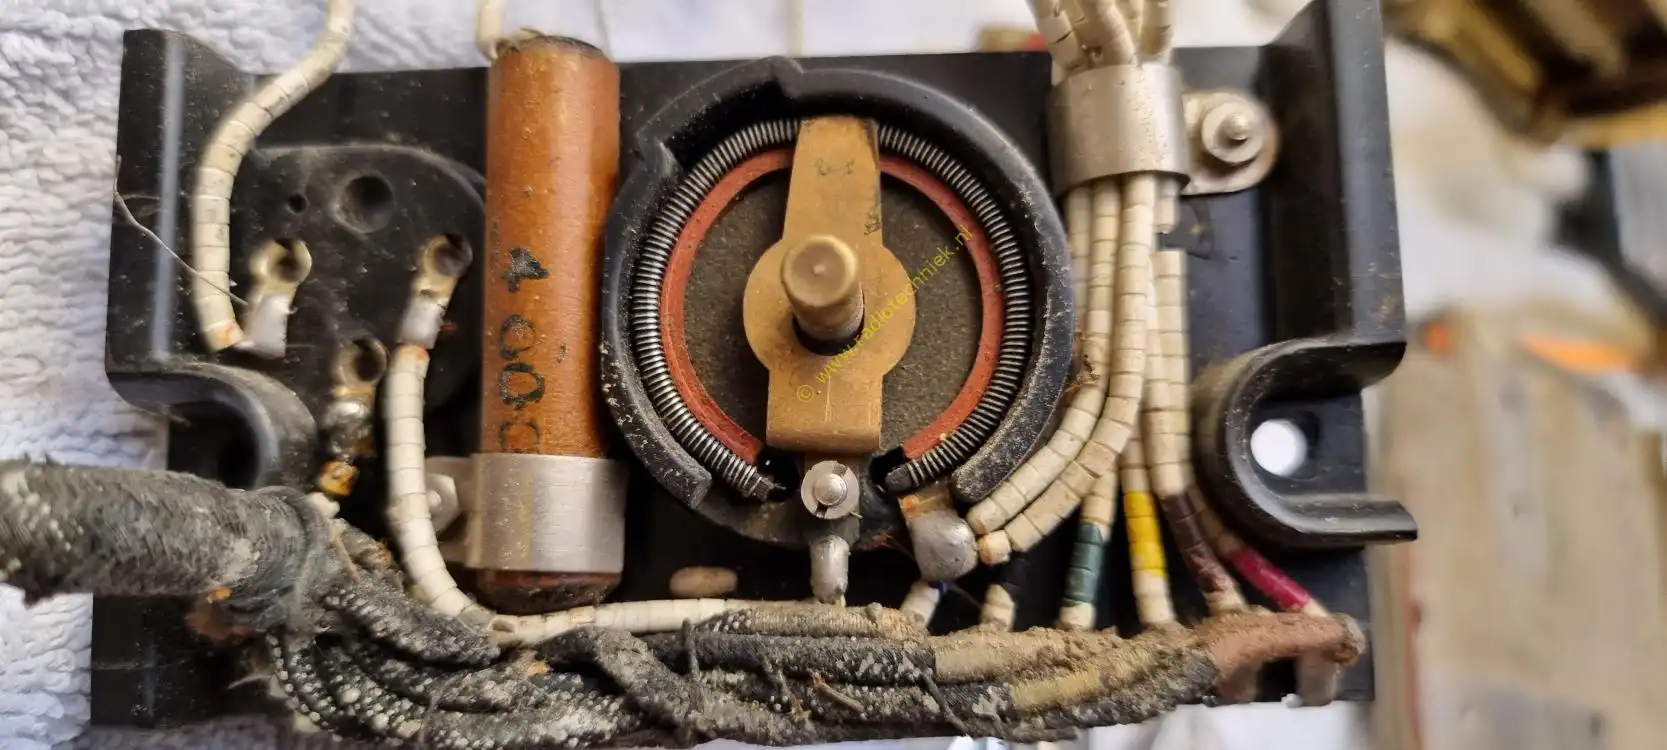
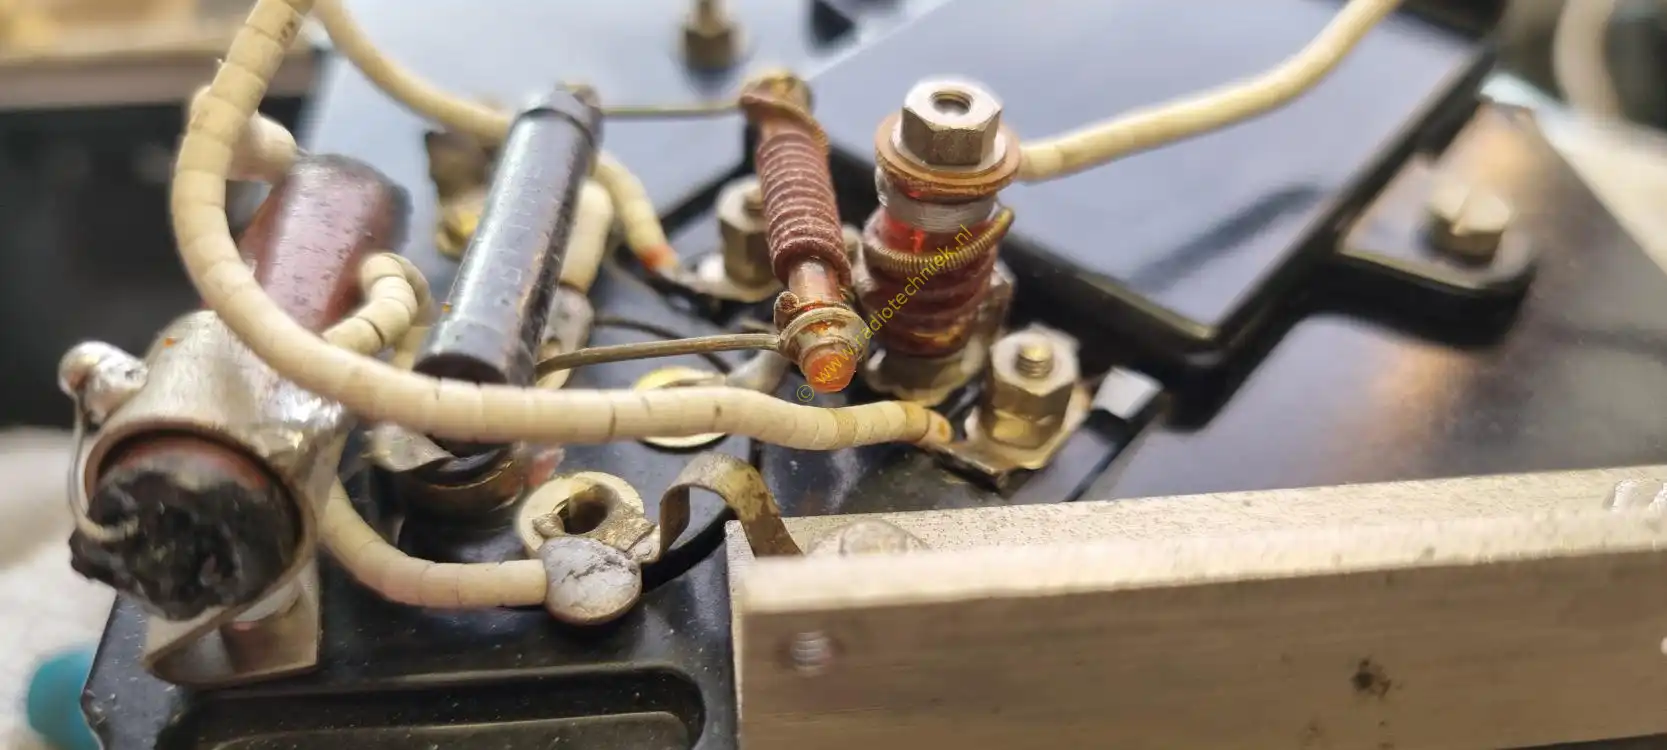
A close up of the potentiometer unit. At the top right there is a resistance from the screen grid to ground. And because the filament is on ground, you can still see the loose wire.
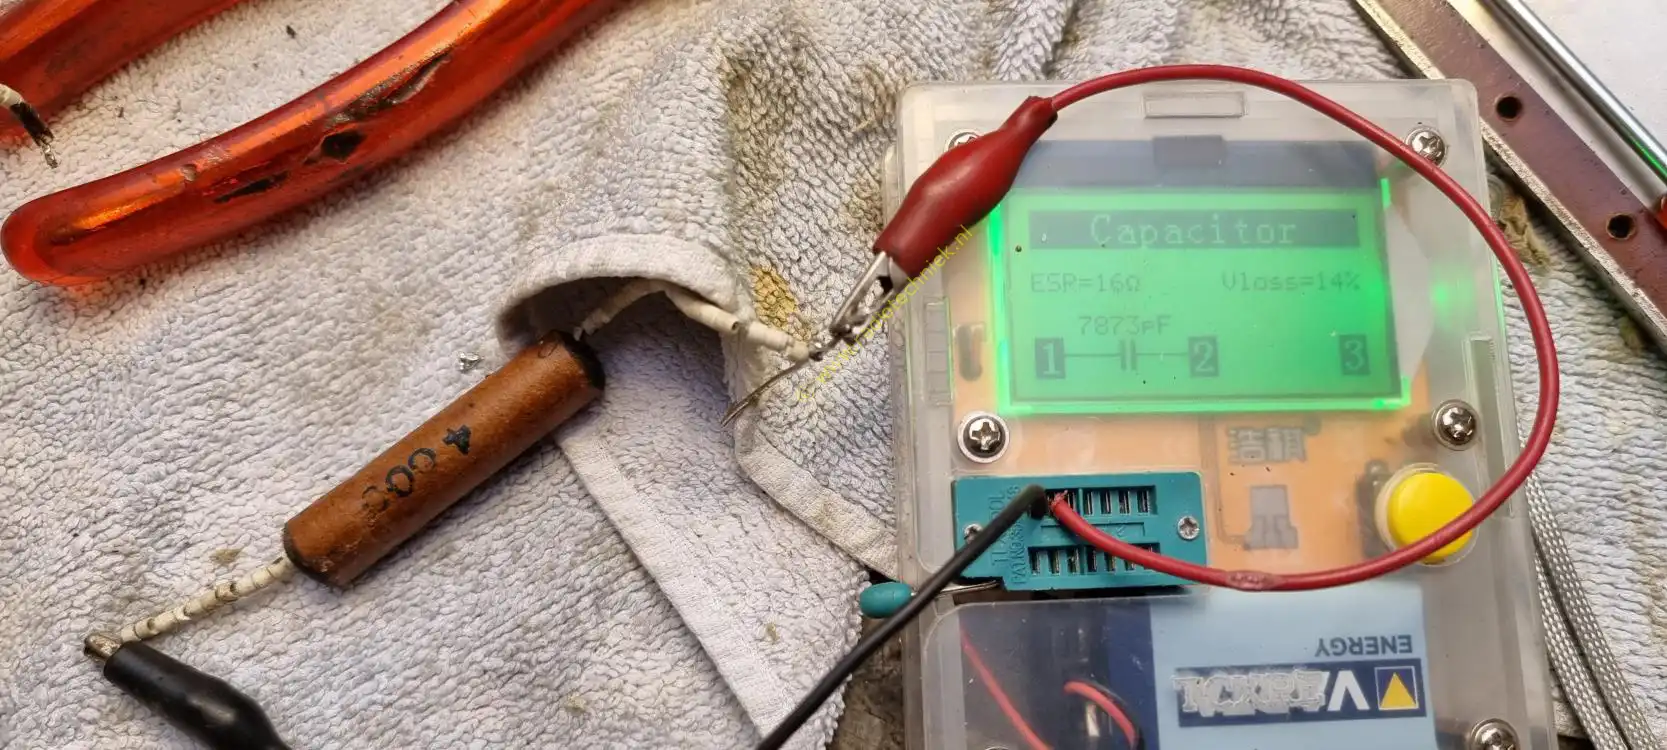
All parts are also checked for value. This capacitor is leaking and can no longer be used. But this capacitor can be restored. And then be used again.
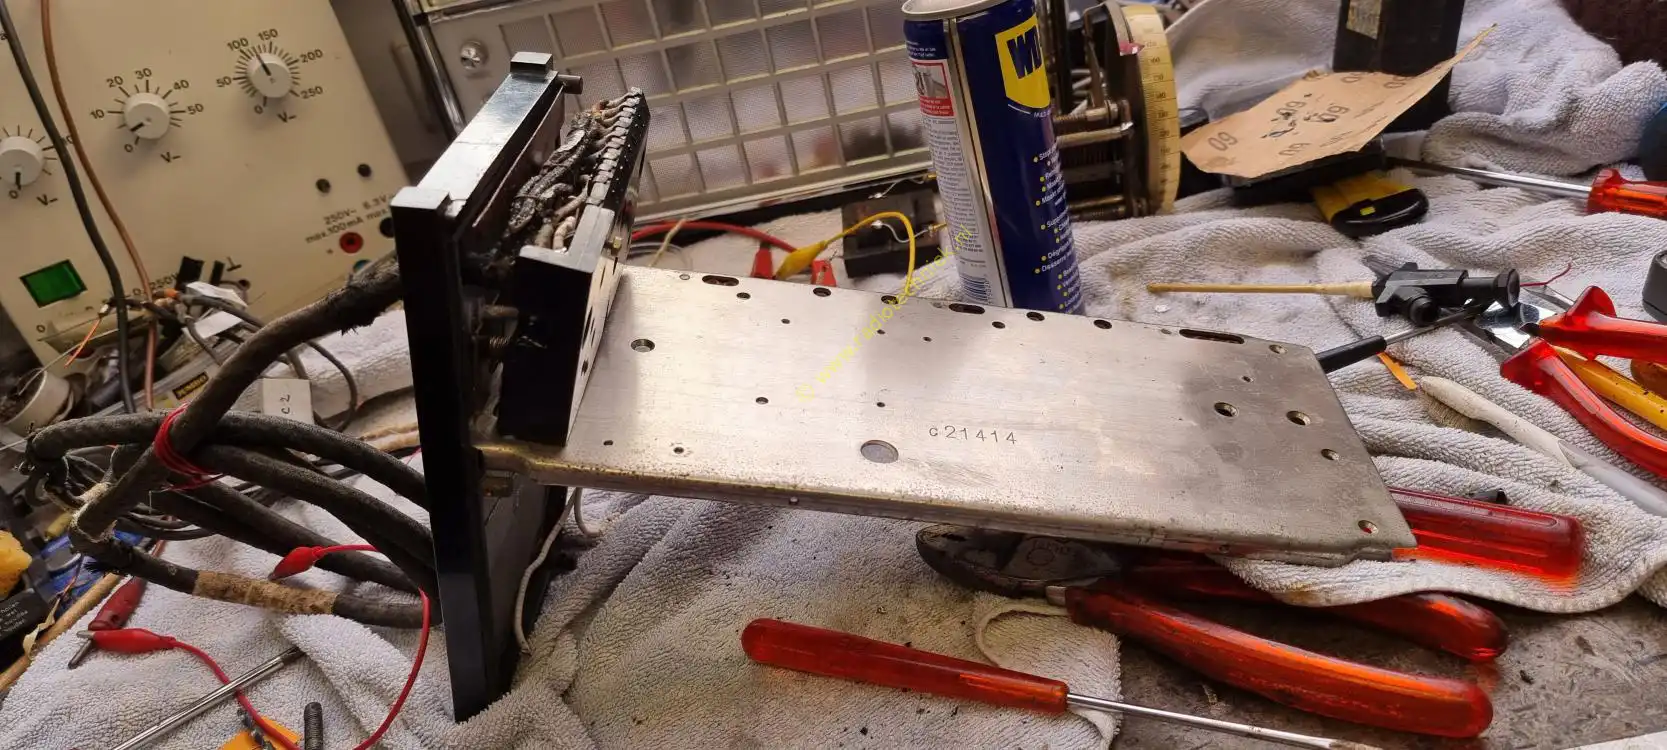
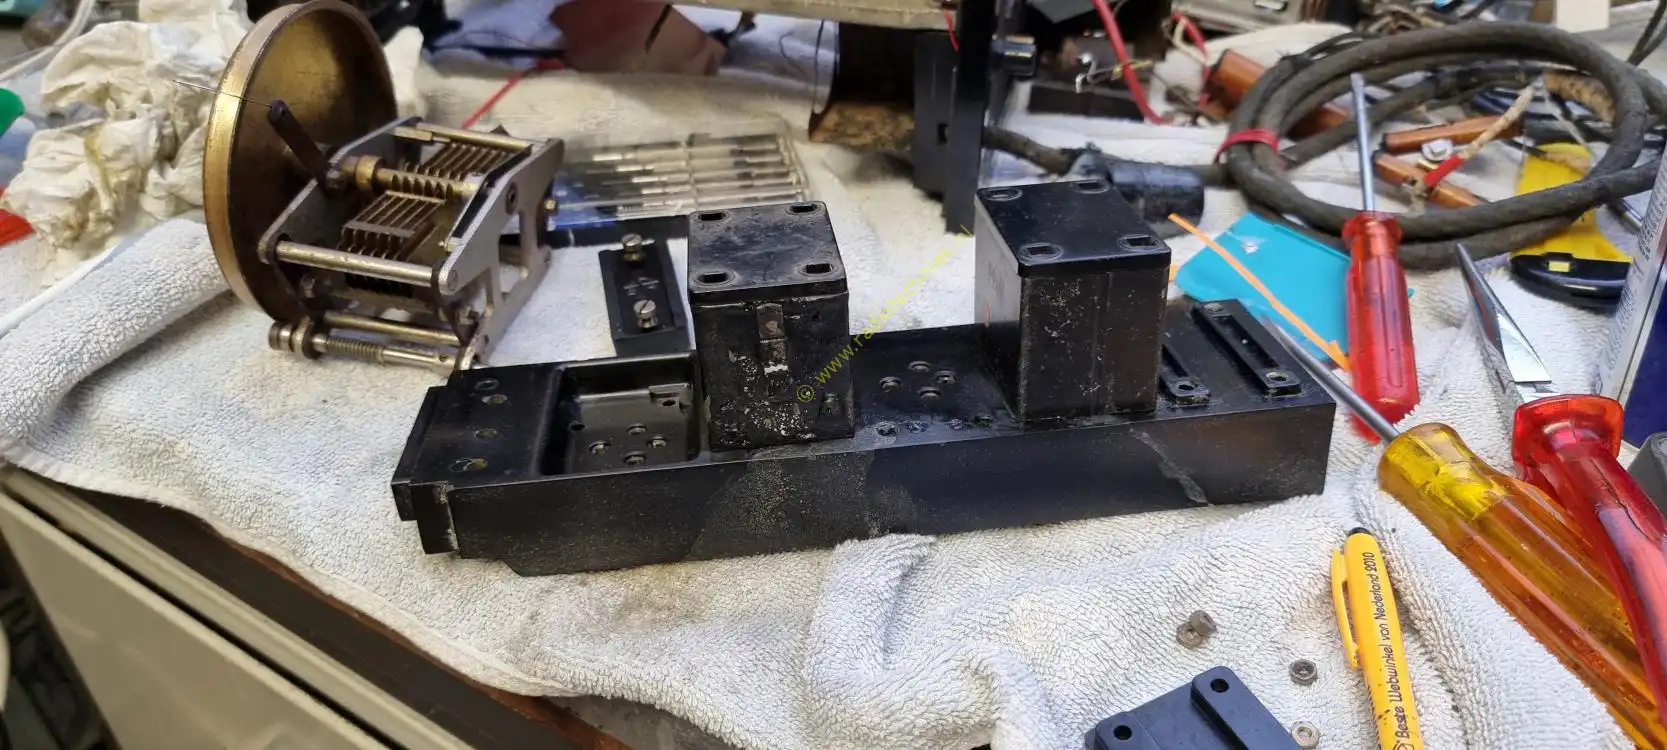
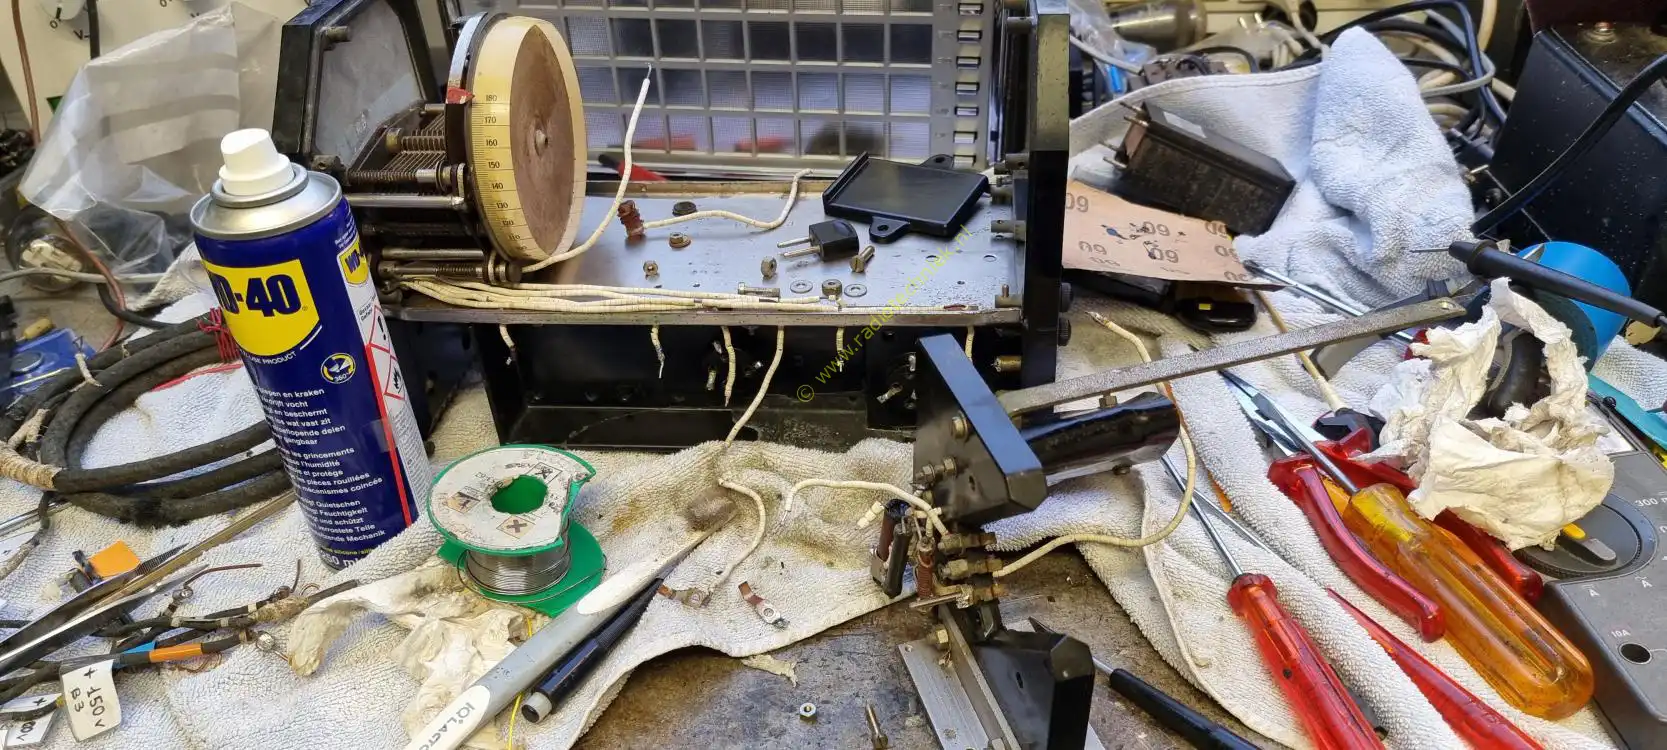
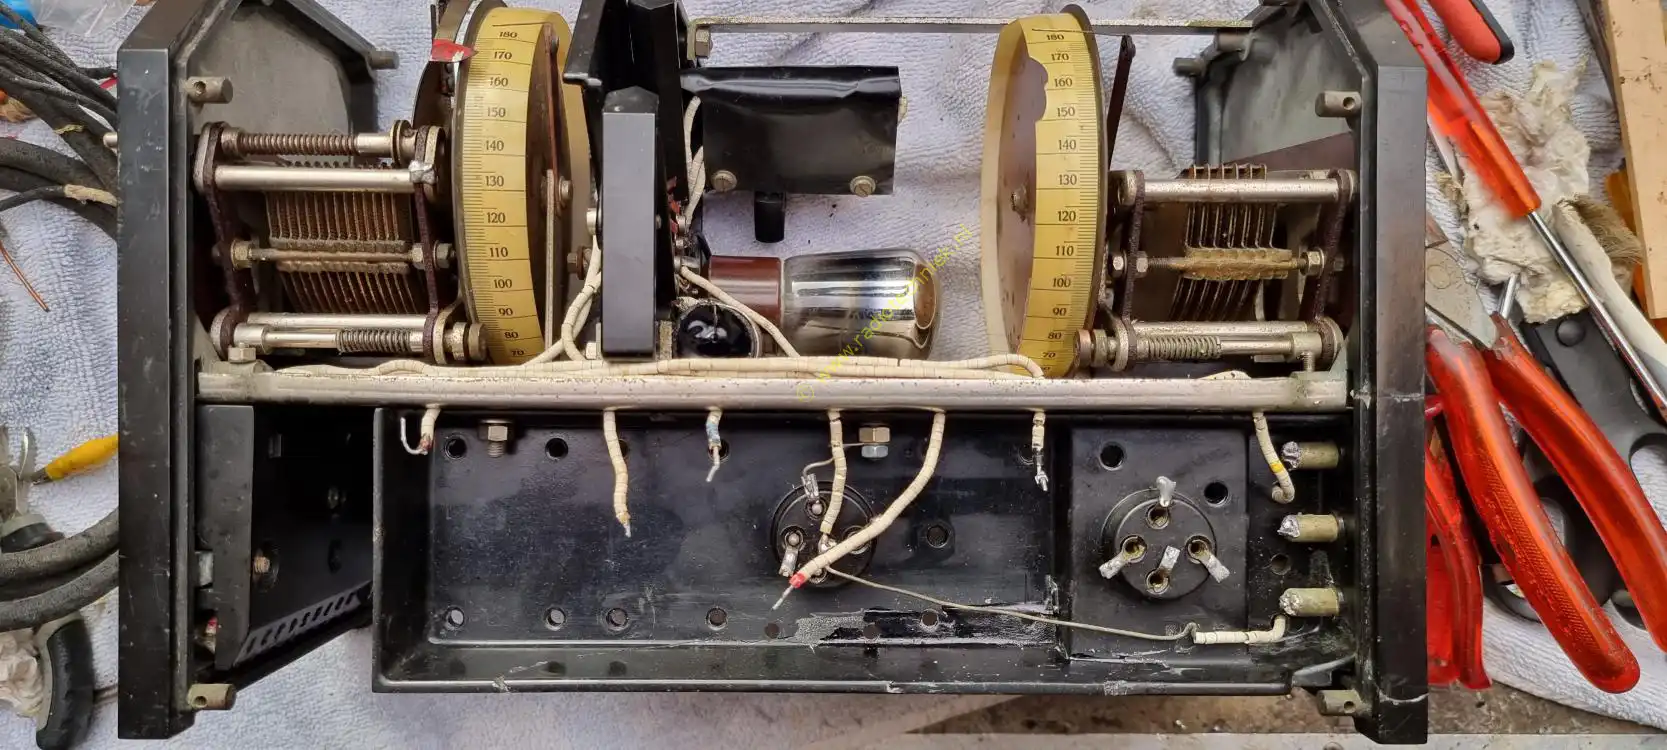
The chassis plate has been cleaned and the construction of the radio can begin. Assembling the volume potentiometer unit is a terrible job.
Hm.... it's starting to look like something.

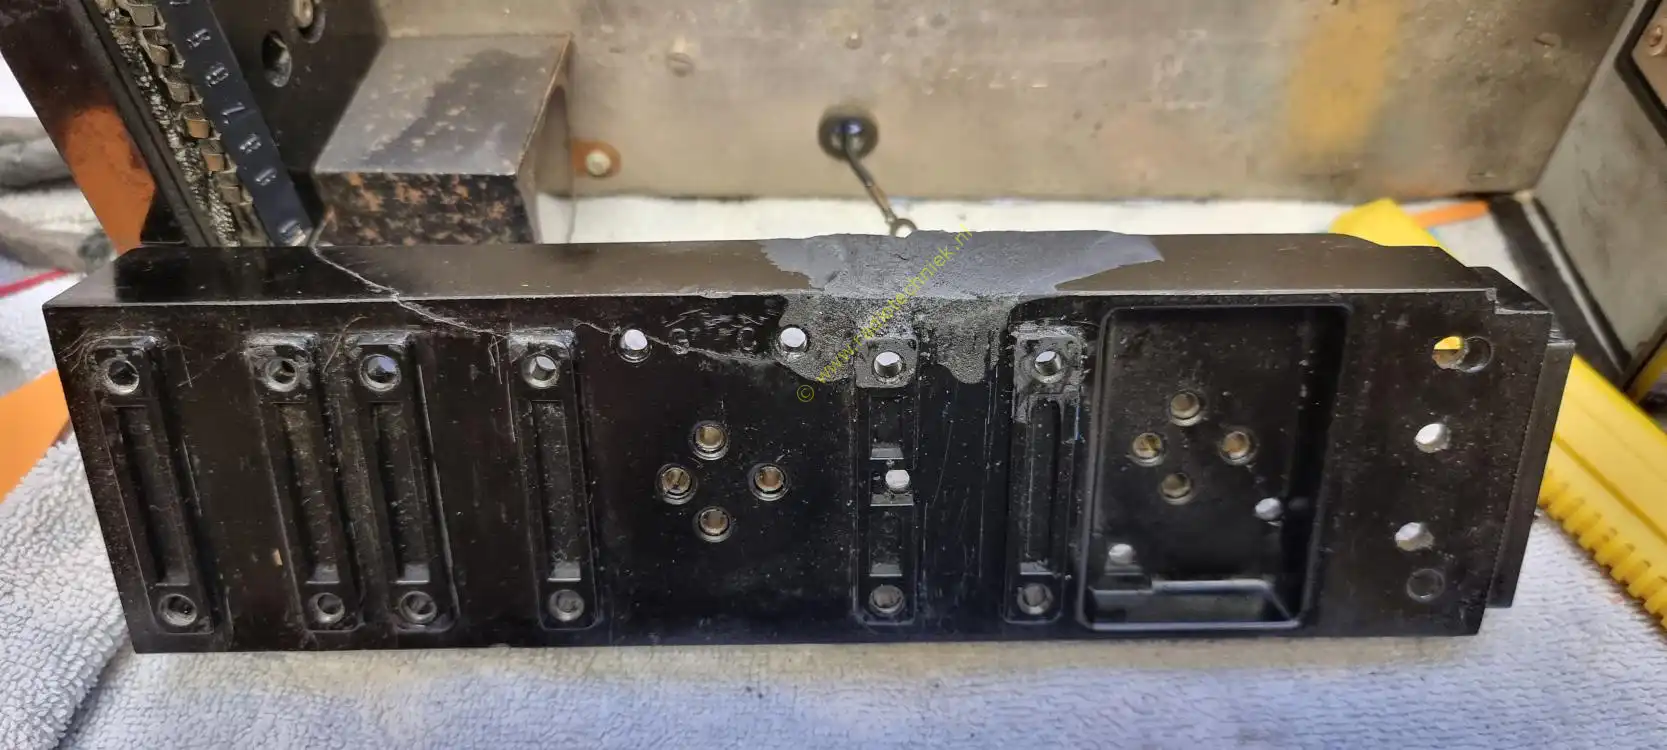
The Bakelite underneath gives you a good idea of why I'm not entirely happy with it.
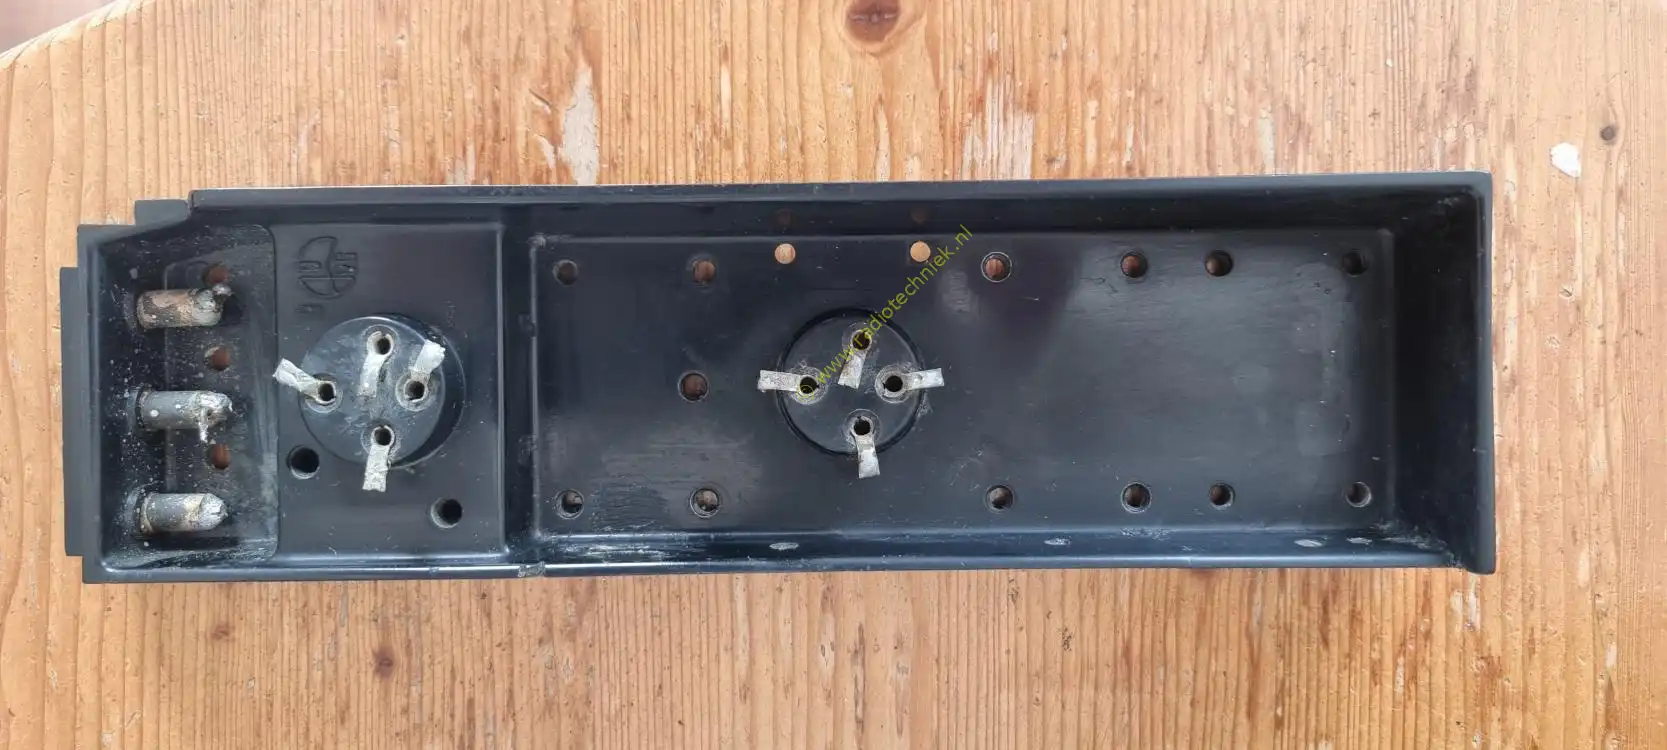
This is the removable coil slot. The contacts are quite corroded. The capacitor needs to be replaced. The rest was OK.
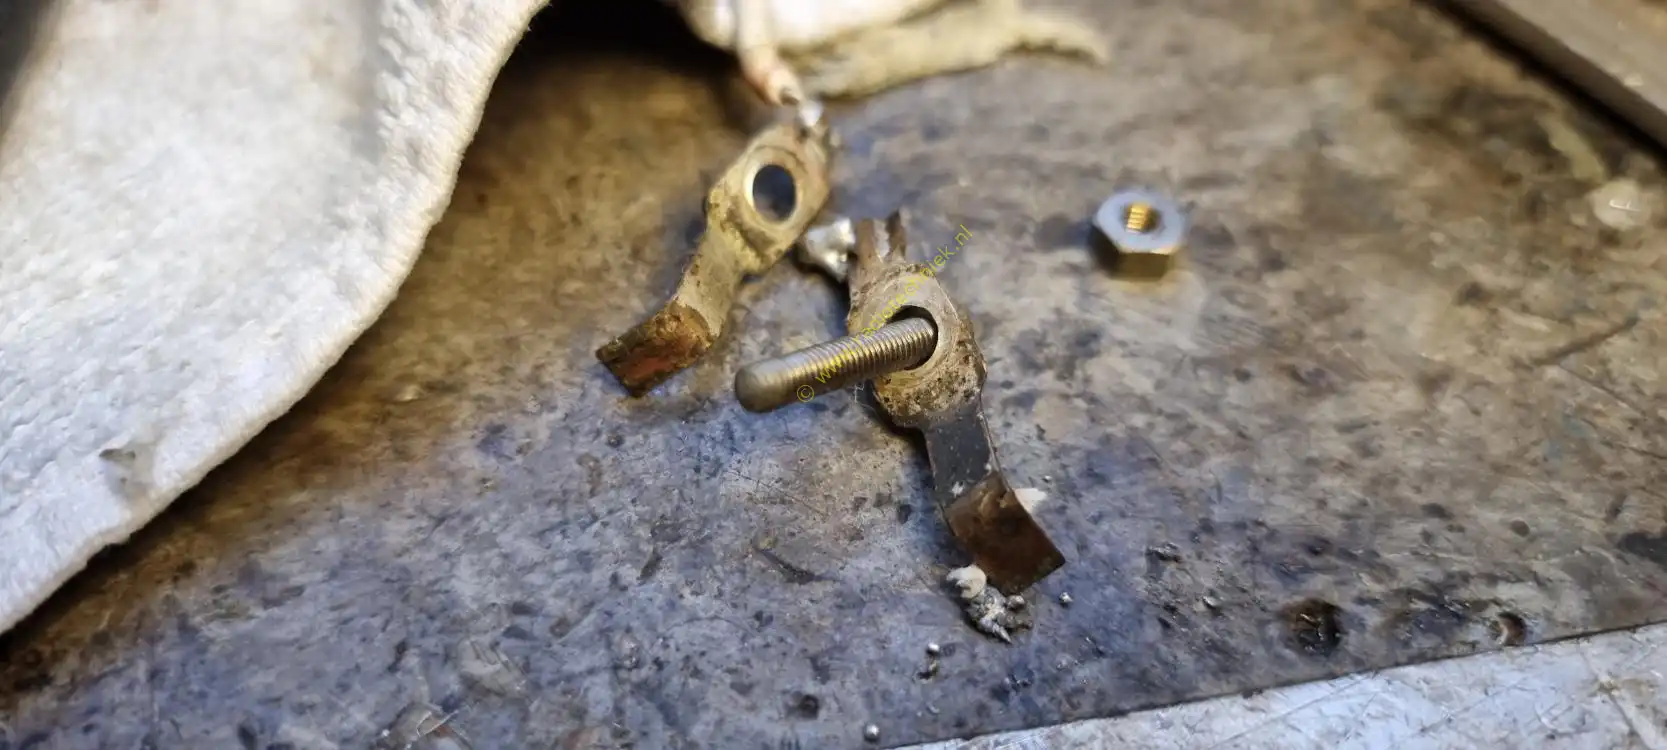
These are the contacts from the coil lock. Cleaning is the word here.
The construction mainly consists of searching for the original washers, screws and nuts.
Just a detailed photo for those who need details.
Putting the whole thing back together.

And slowly it starts to look like a Philips 2802 again.

Opening the capacitors with the wrong values gave a nice surprise.
Capacitor has the correct value again and has been mounted.
Slowly continue with the rebuild.
The top side is ready, everything is back in place. Time for the Bakelite chassis construction.
It's time for a test. Or while many Chinese cables and see if we can receive a channel.
And just listen to the first sound from this radio.
The rebuild goes on.
We are fairly complete and can start experimenting with 1:3 transformers.
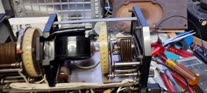
Here is an experiment with a 1:3 transformer. The transformer is separate for the radio. And of course China is also represented.
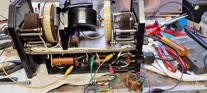
A second test with the second supplied transformer.
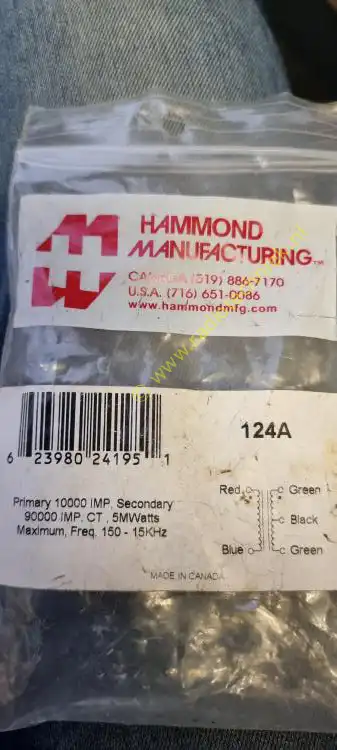
These are the data of the transformer. They are suitable for replacing the Philips 1:3 transformer and they fit in the housing of the Philips transformer. I did have to bend the tabs of the transformer.
A Philips 2802 was supplied with the Philip 3003. The Philips 3003 is the power supply for this radio. A 4-volt battery was needed for the filament current.
Because the choke from the power supply of the 2802 was also missing, there is a loose choke next to it.
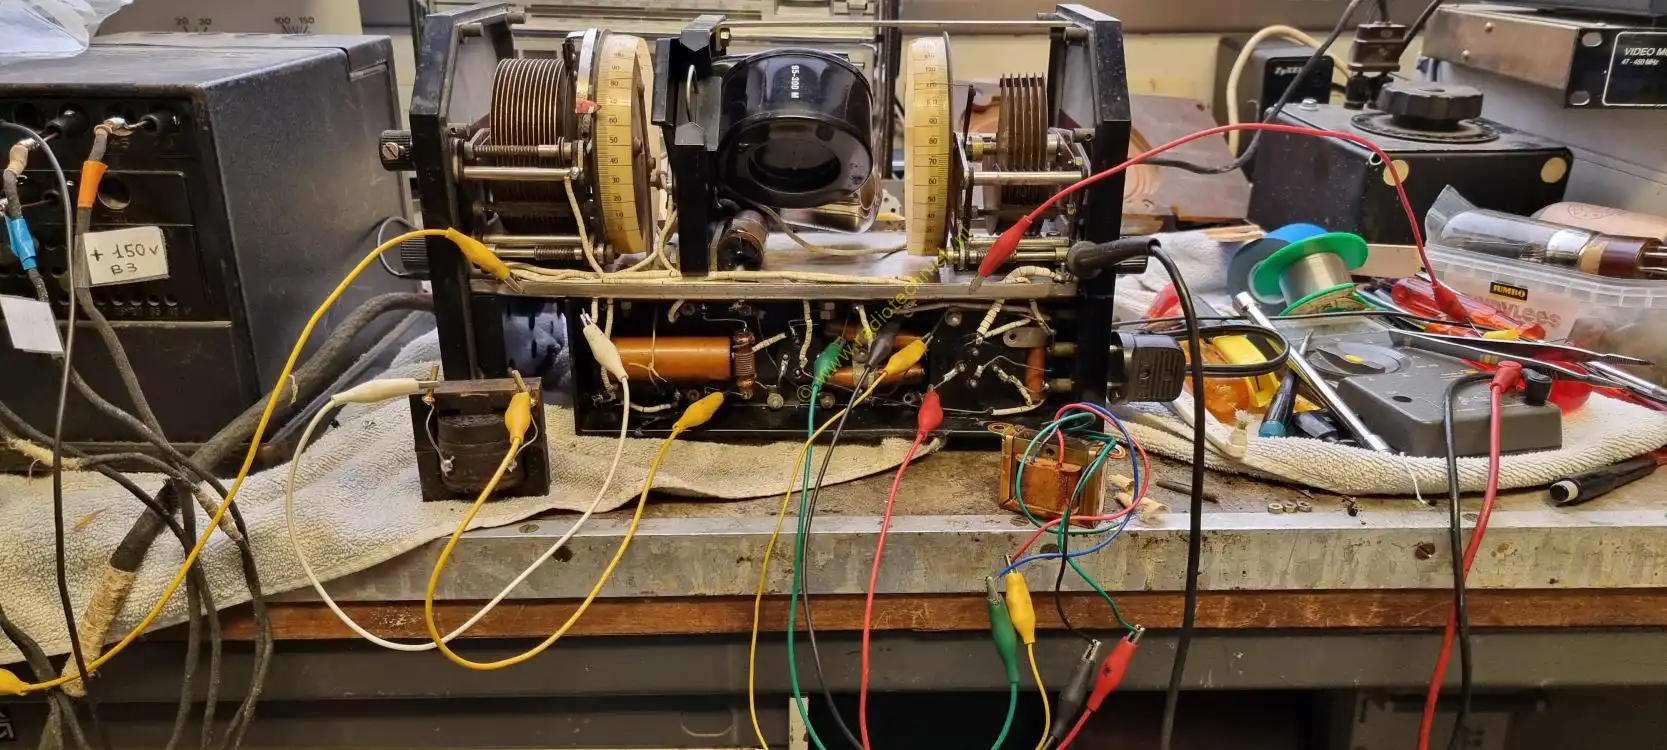
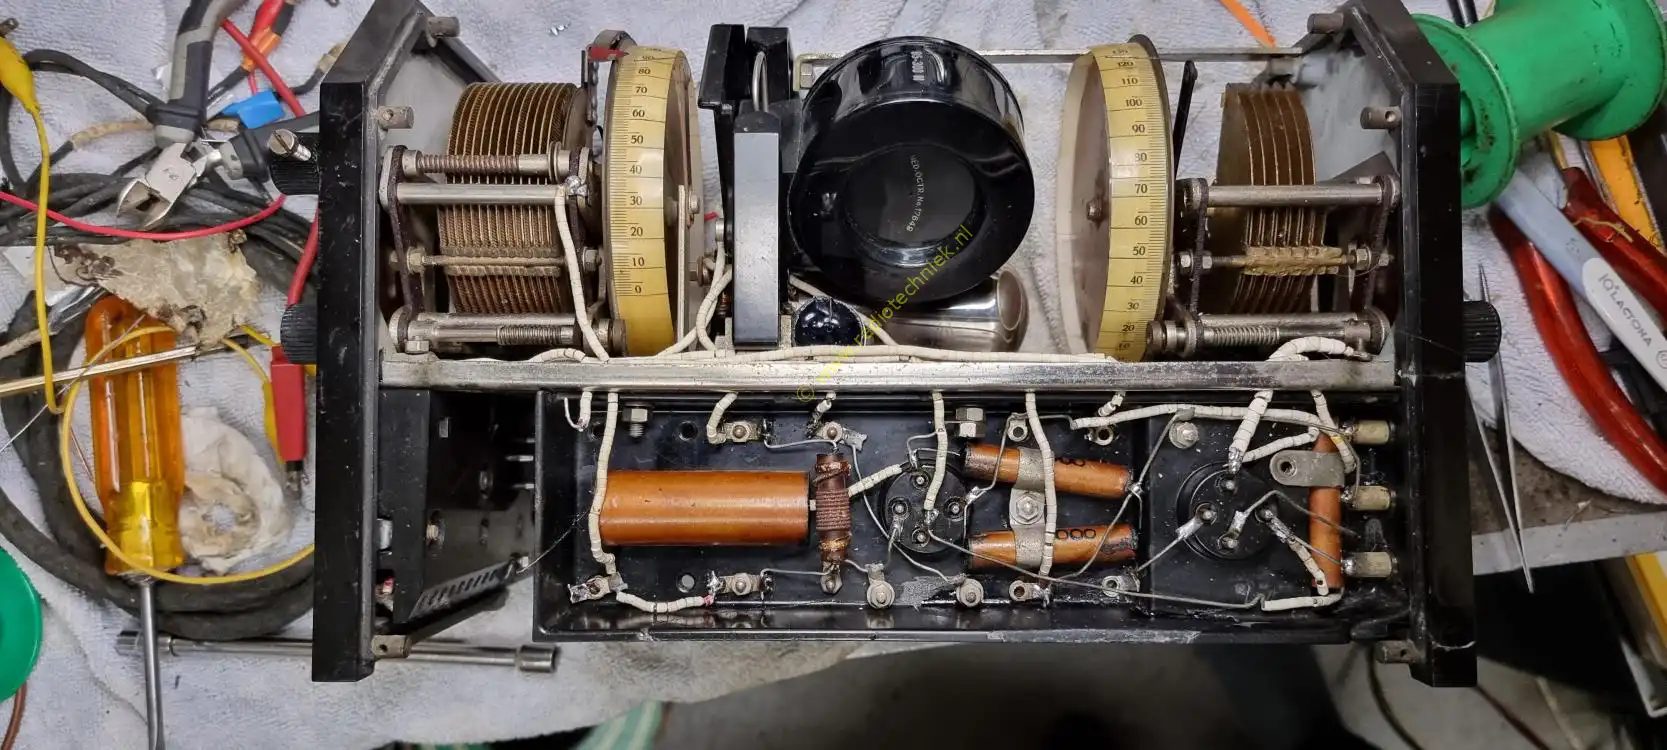
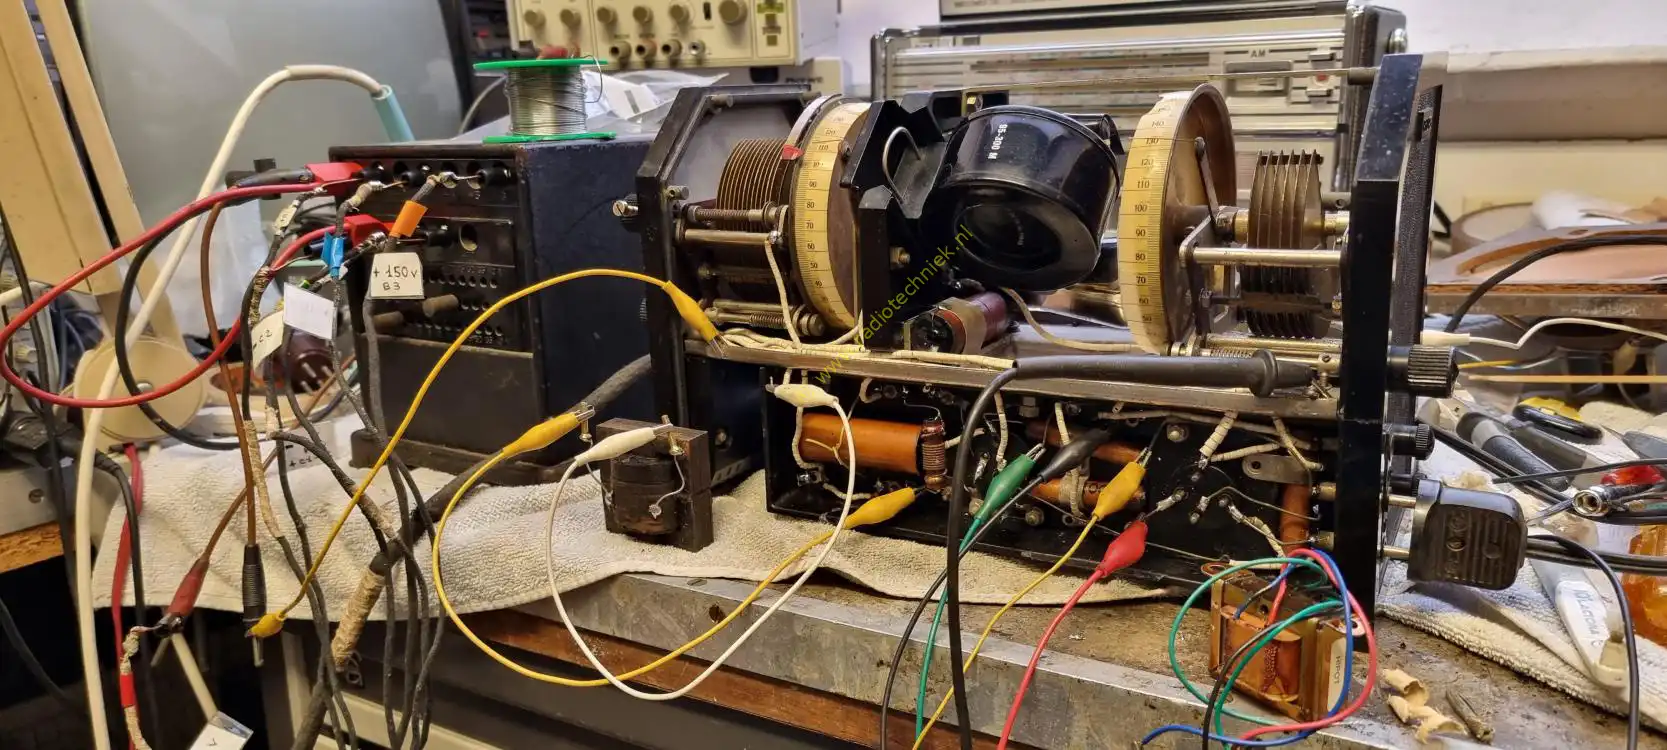
Here the connections to the 1:3 transformer are clearly visible.
One of the plug-in coils appeared to have an interruption. When opened, the solder connections in the connector appeared to be loose.
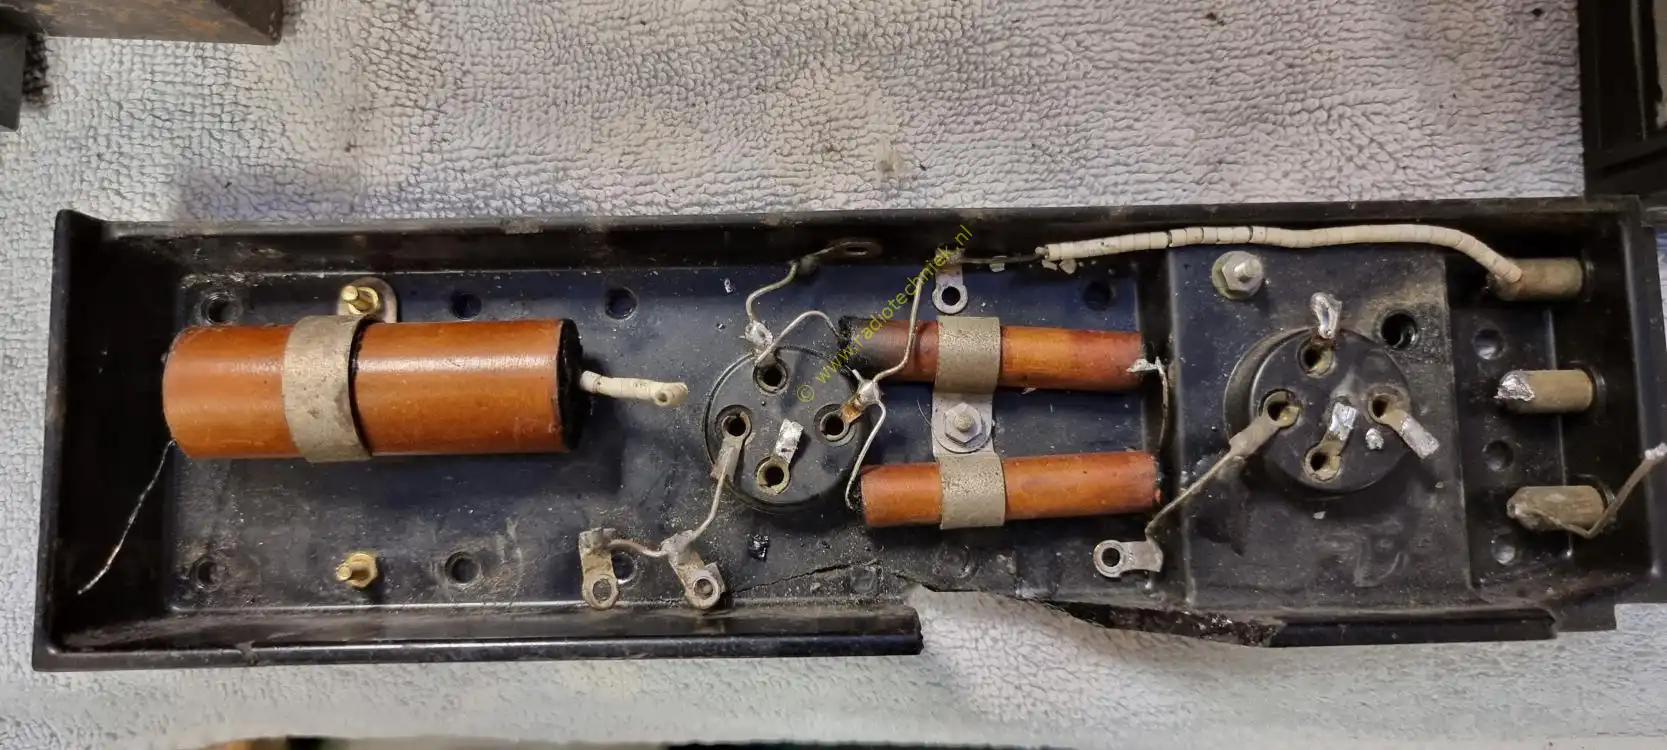
The construction of the plug-in coil.
Putting everything together gives the following picture.

And would the radio still be playing? This is the end of part one of this restoration.
Sometimes when you visit a radio fair you are lucky enough to find that part that you never expected to find.
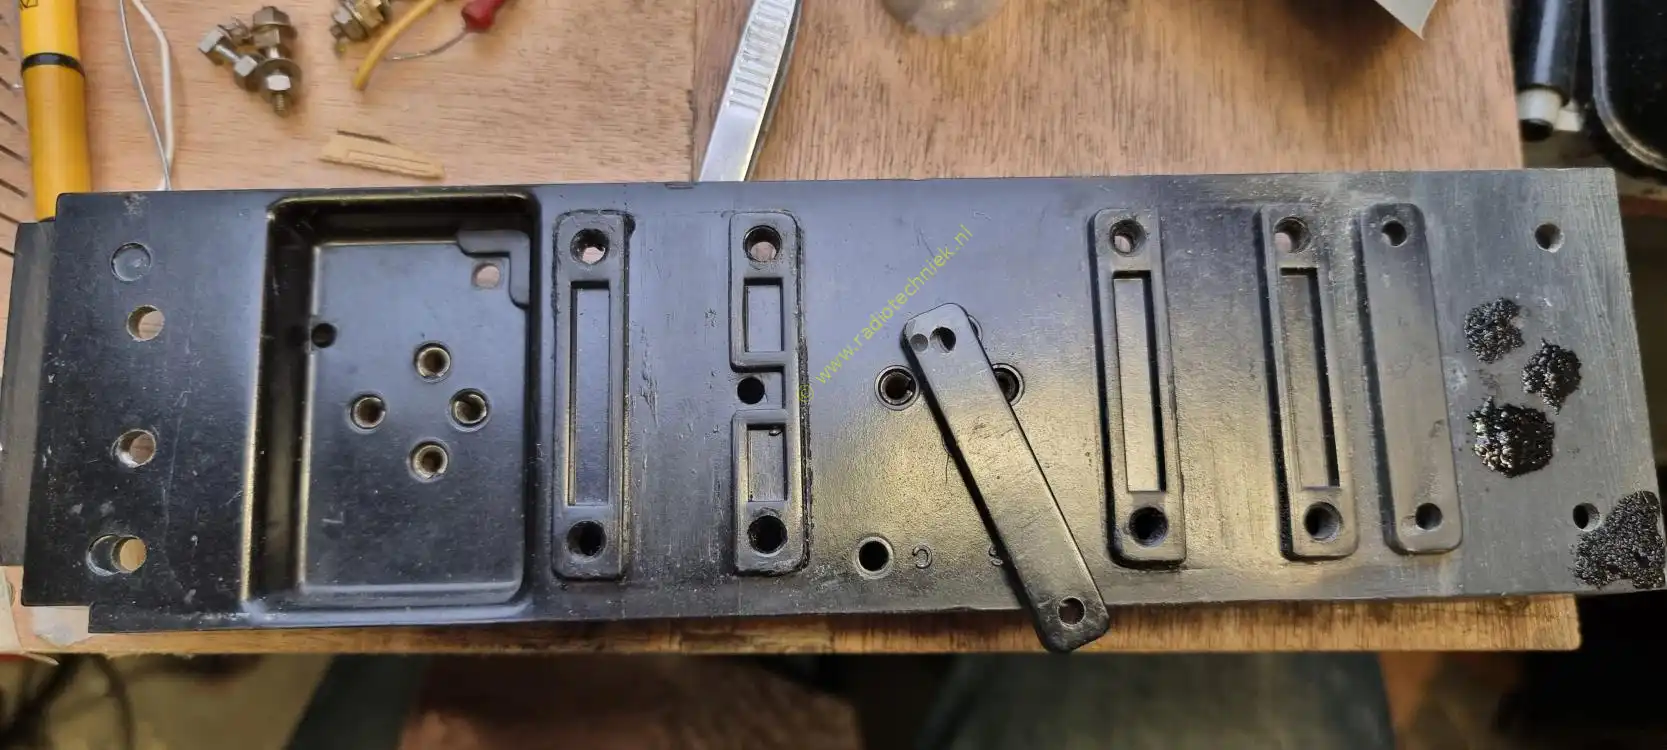
This piece of Bakelite was missing the two strips at the end and 4 holes had been drilled in it for a tube.
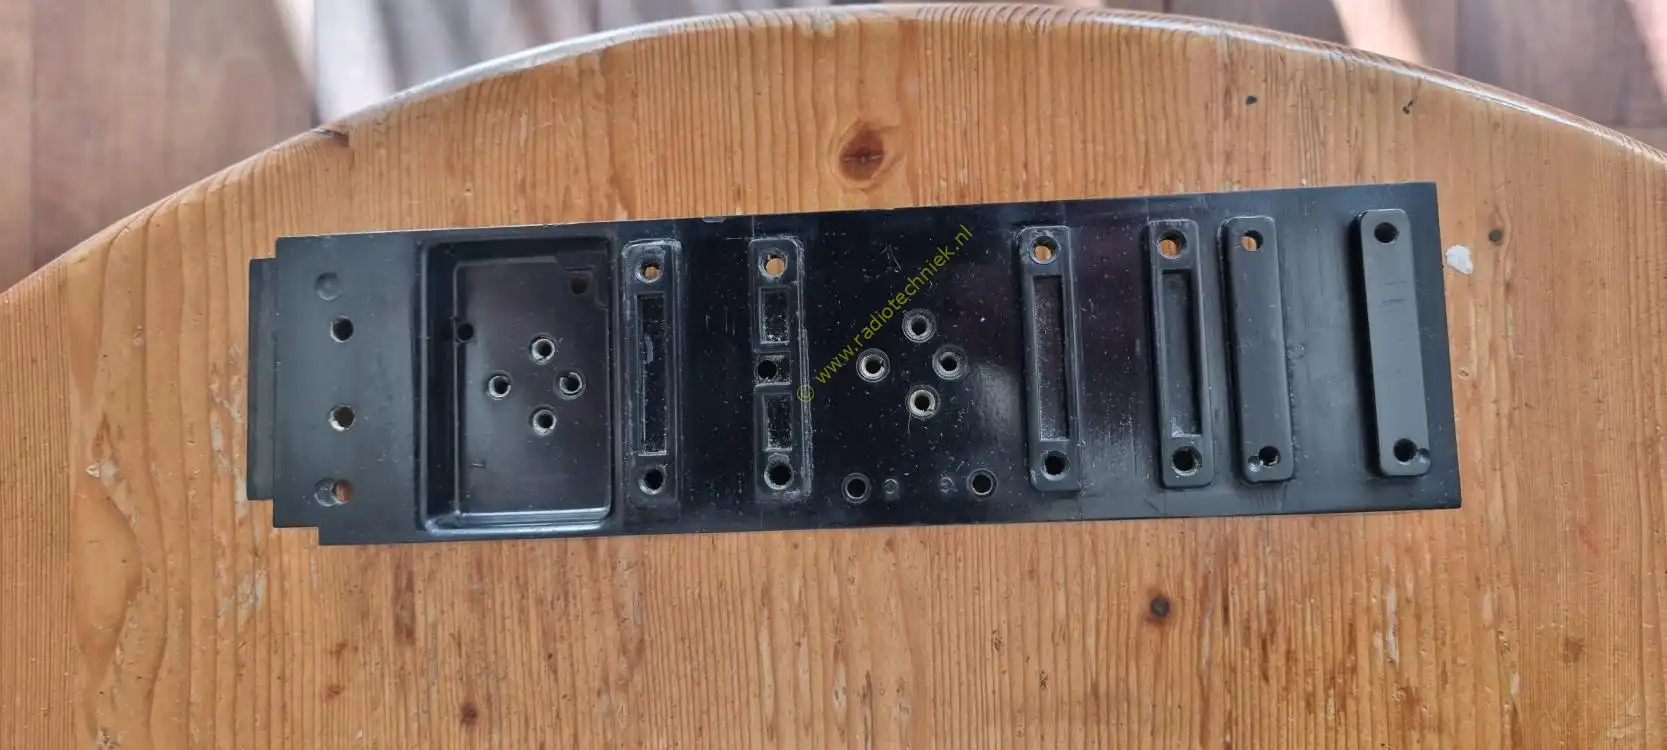
And because we learned something, I collected the sawdust from sawing the Bakelite strips. The holes and imperfections are closed with a special type of glue and this bakelite powder.
And look at the result, this turned out amazing, this was now what I was looking for.
Because the Bakelite chassis turned out so well, the following experiment came to mind. An earlier break in the side panel had a hairline crack. This also filled with bakelite powder gives the following result.

And see the result greatly enlarged.
And this is as you see it with the naked eye.
And see what a difference a whole piece of Bakelite makes.
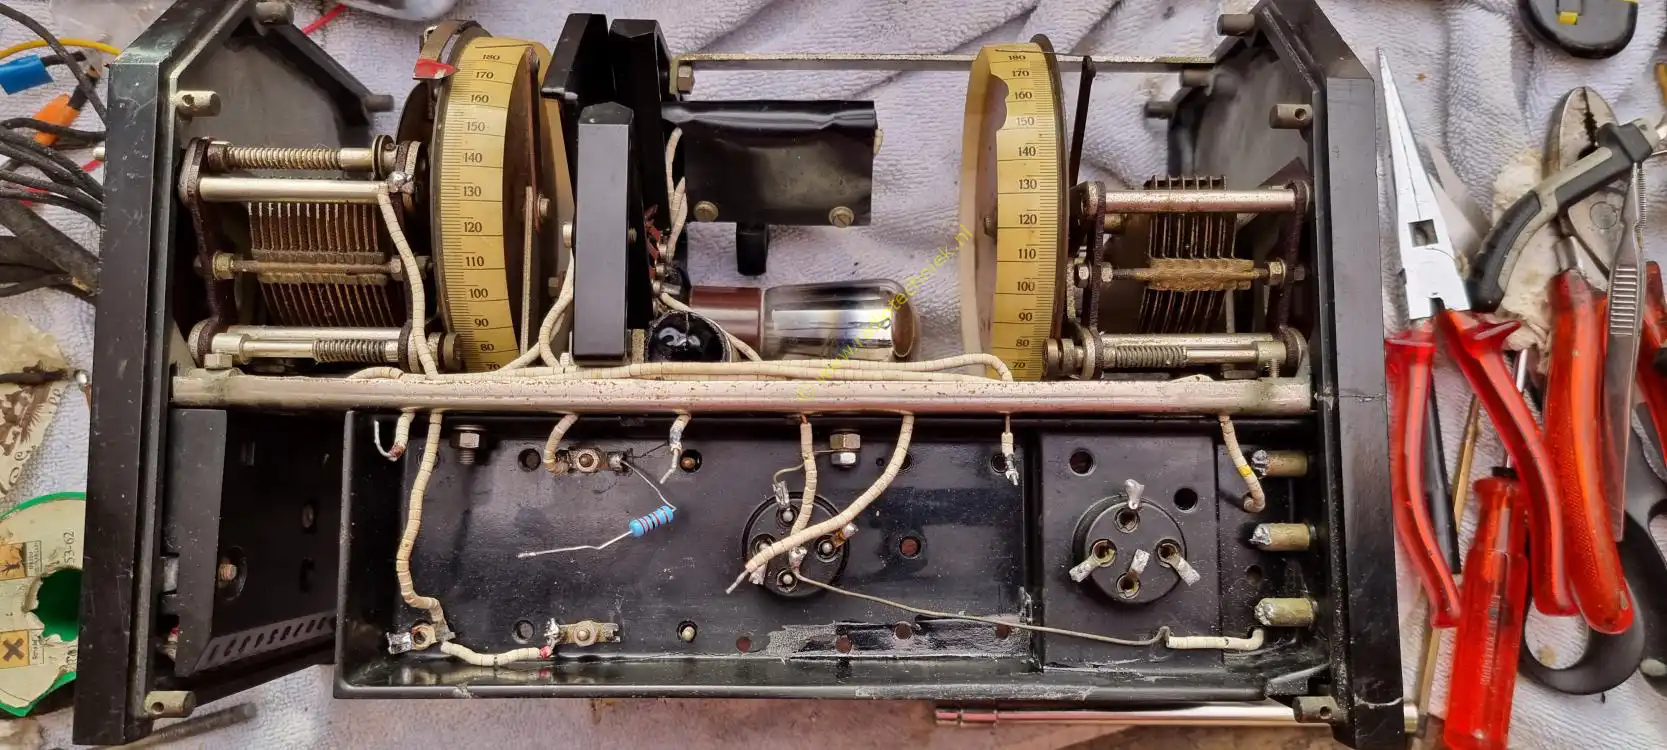
And then we will build up for the second time.

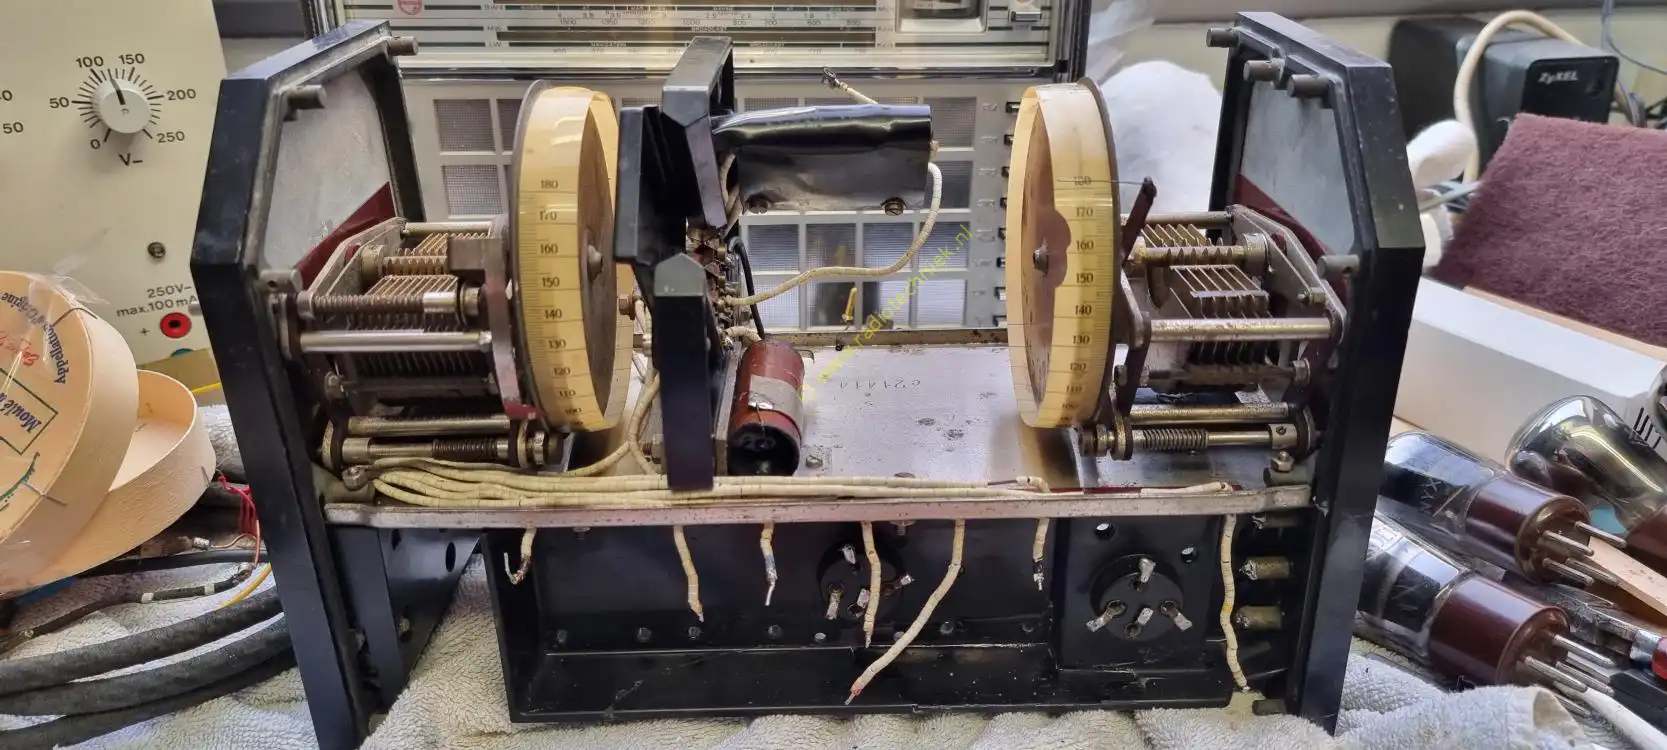
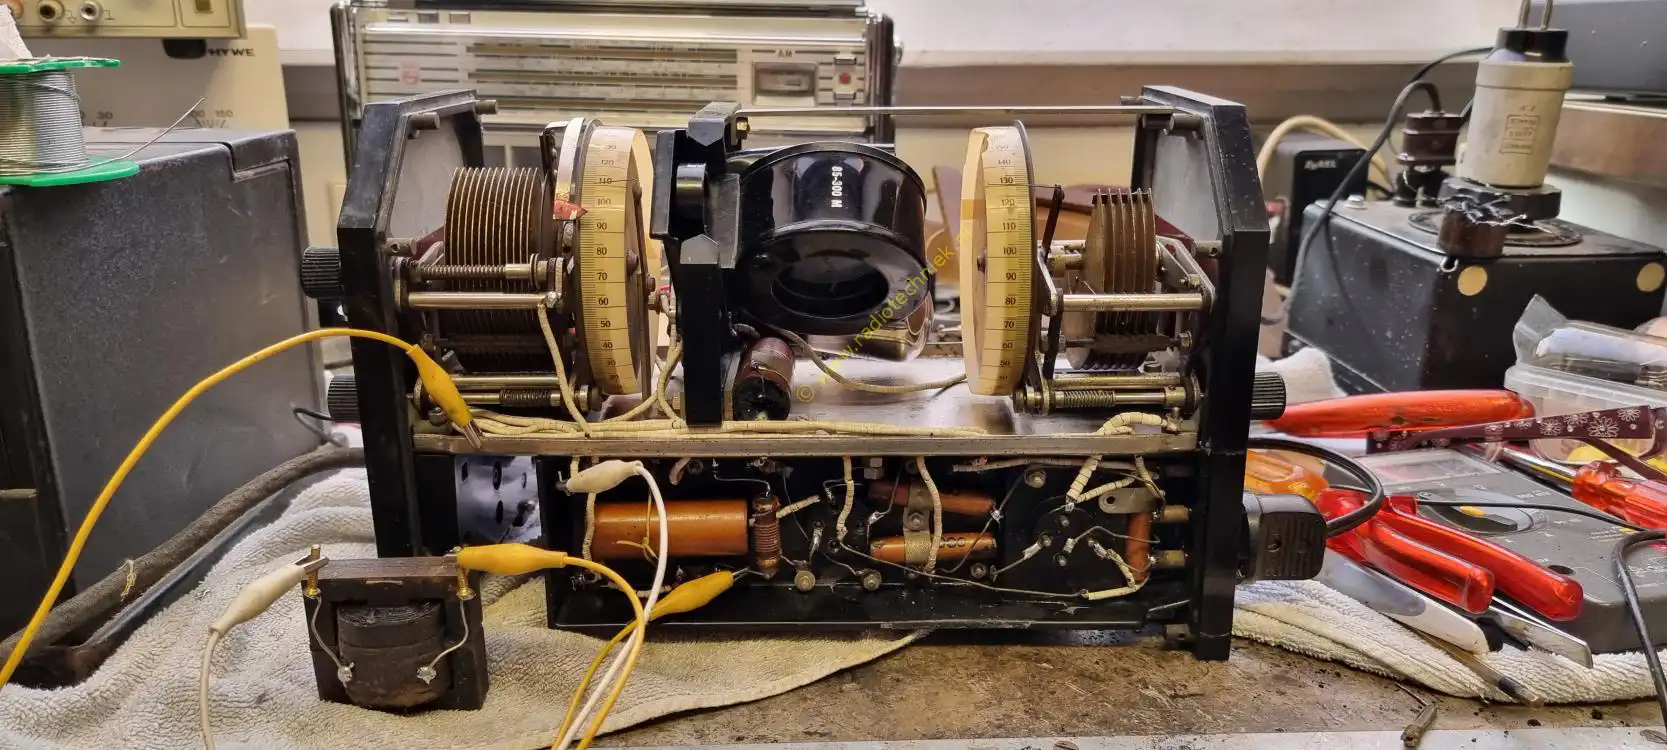
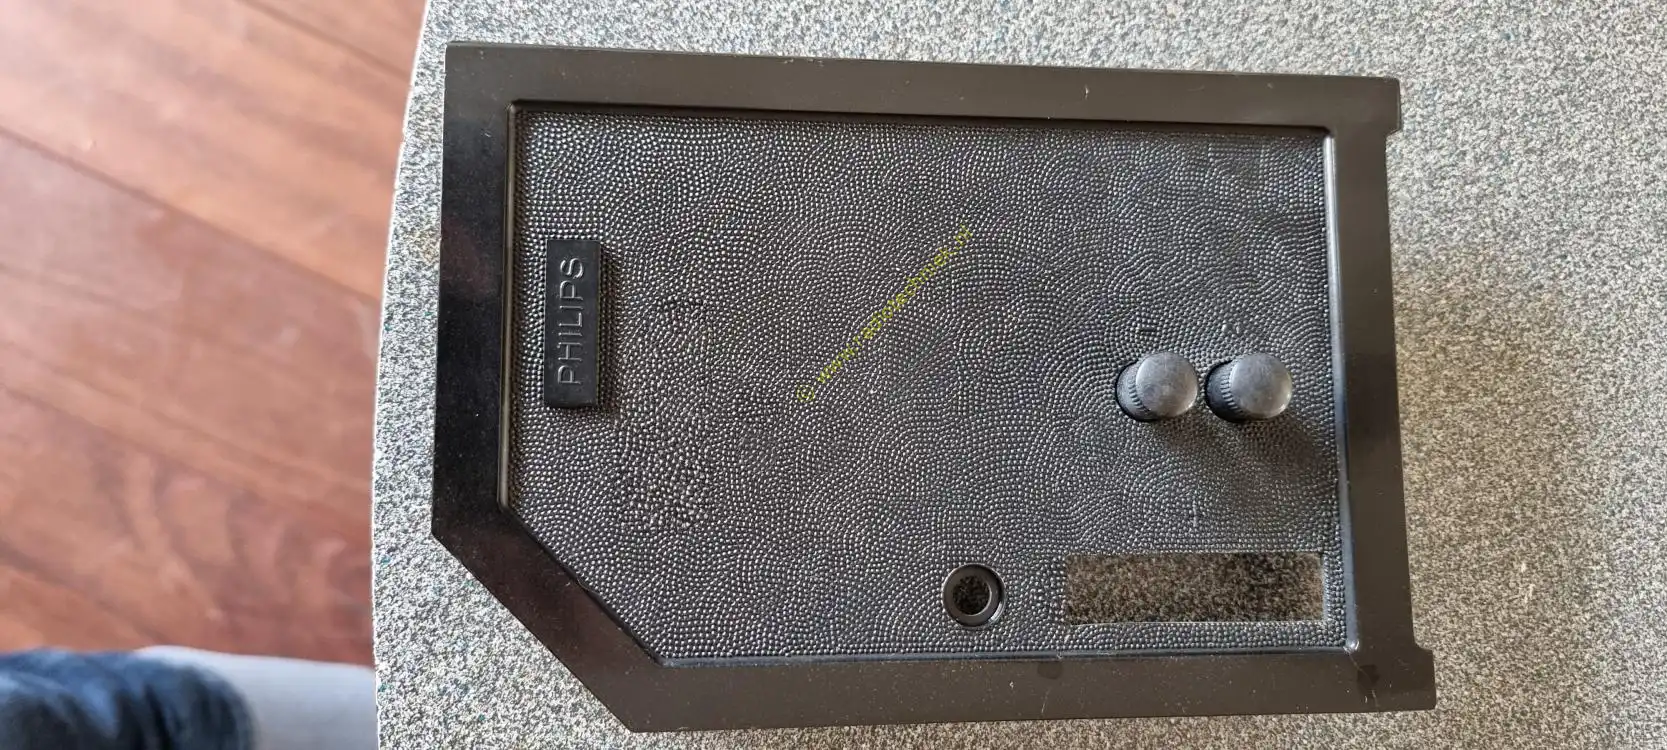
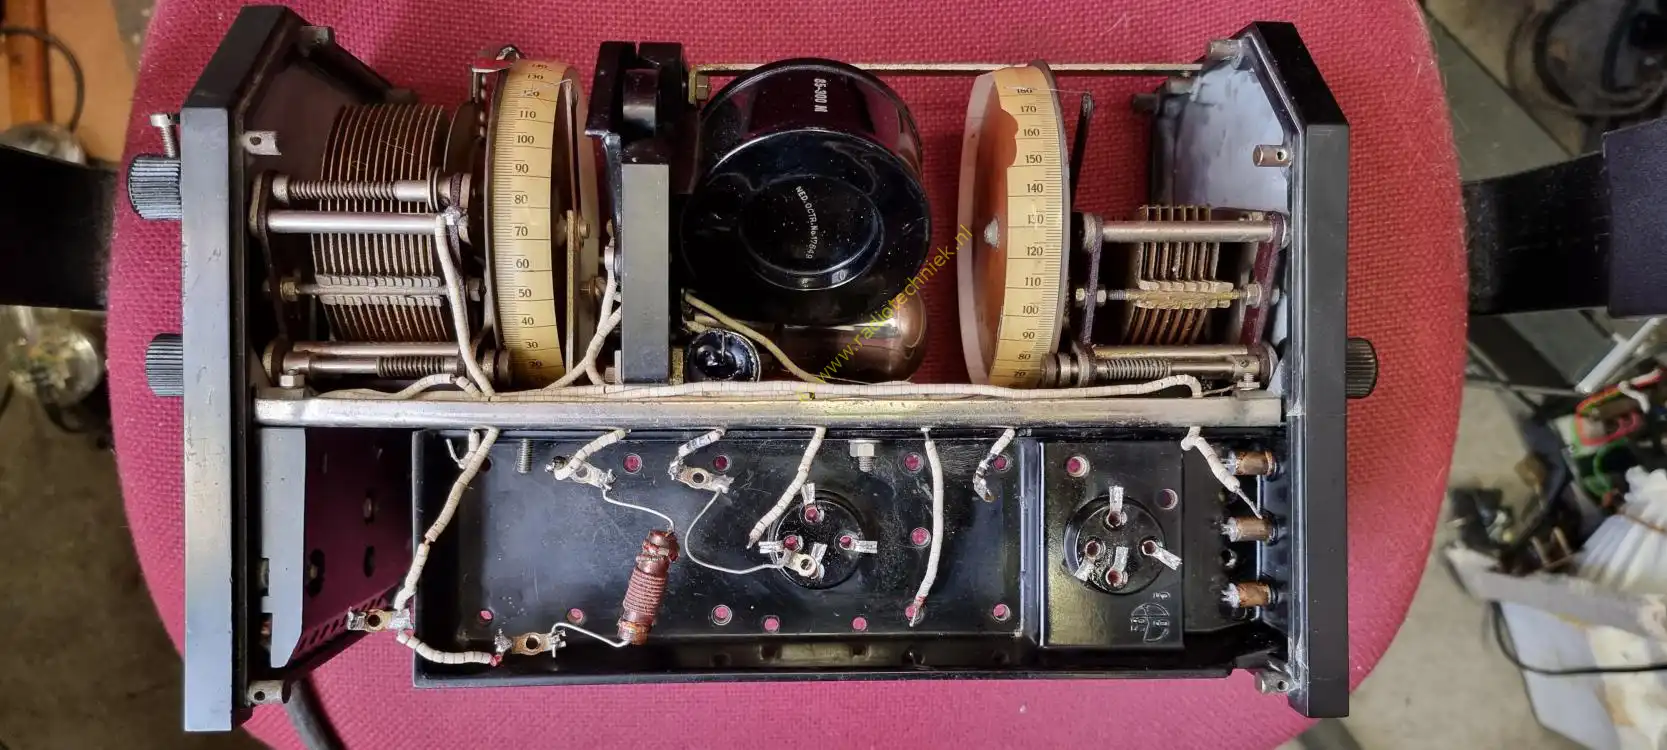
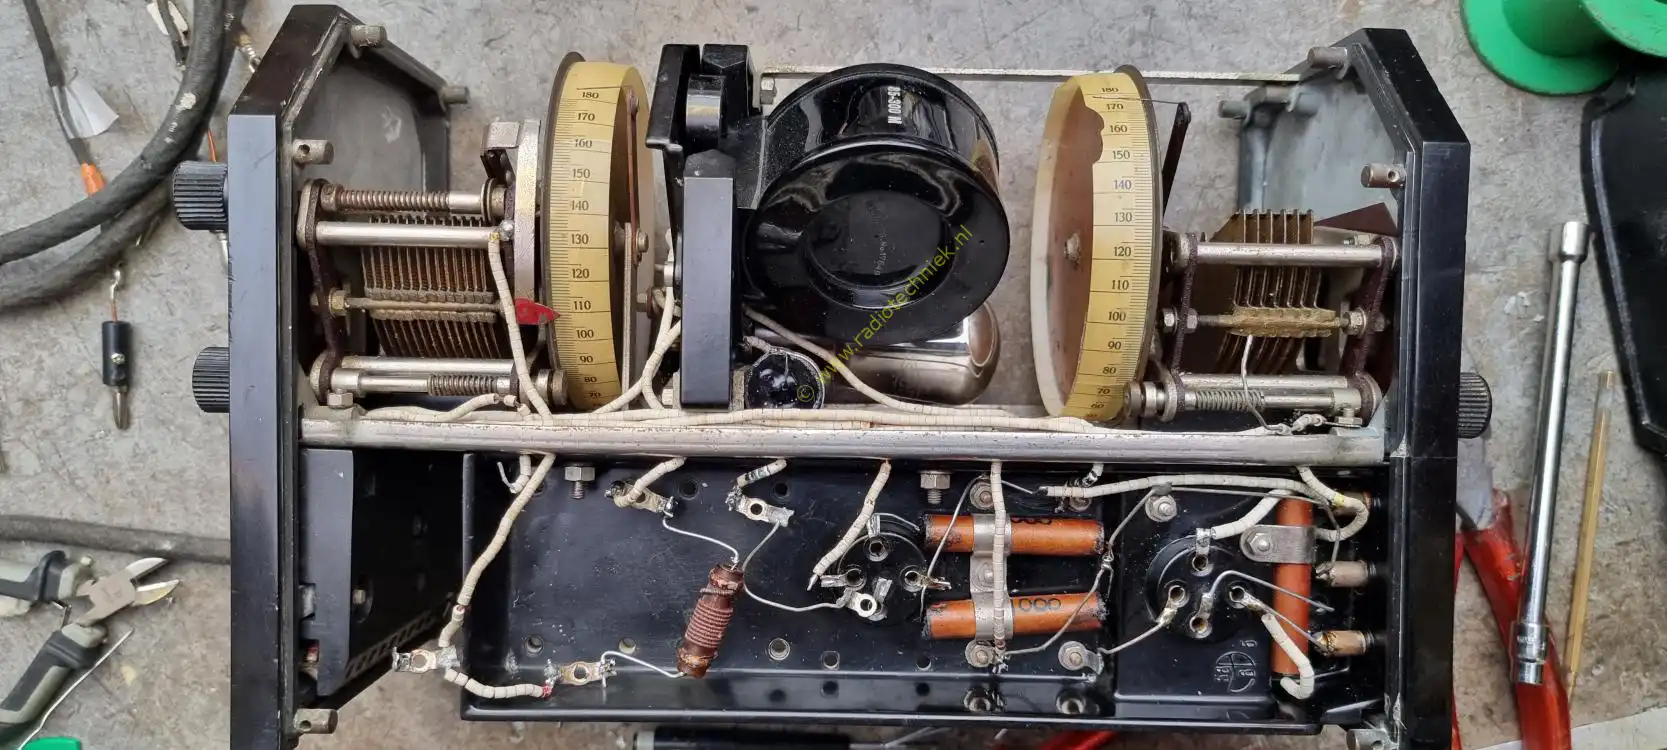
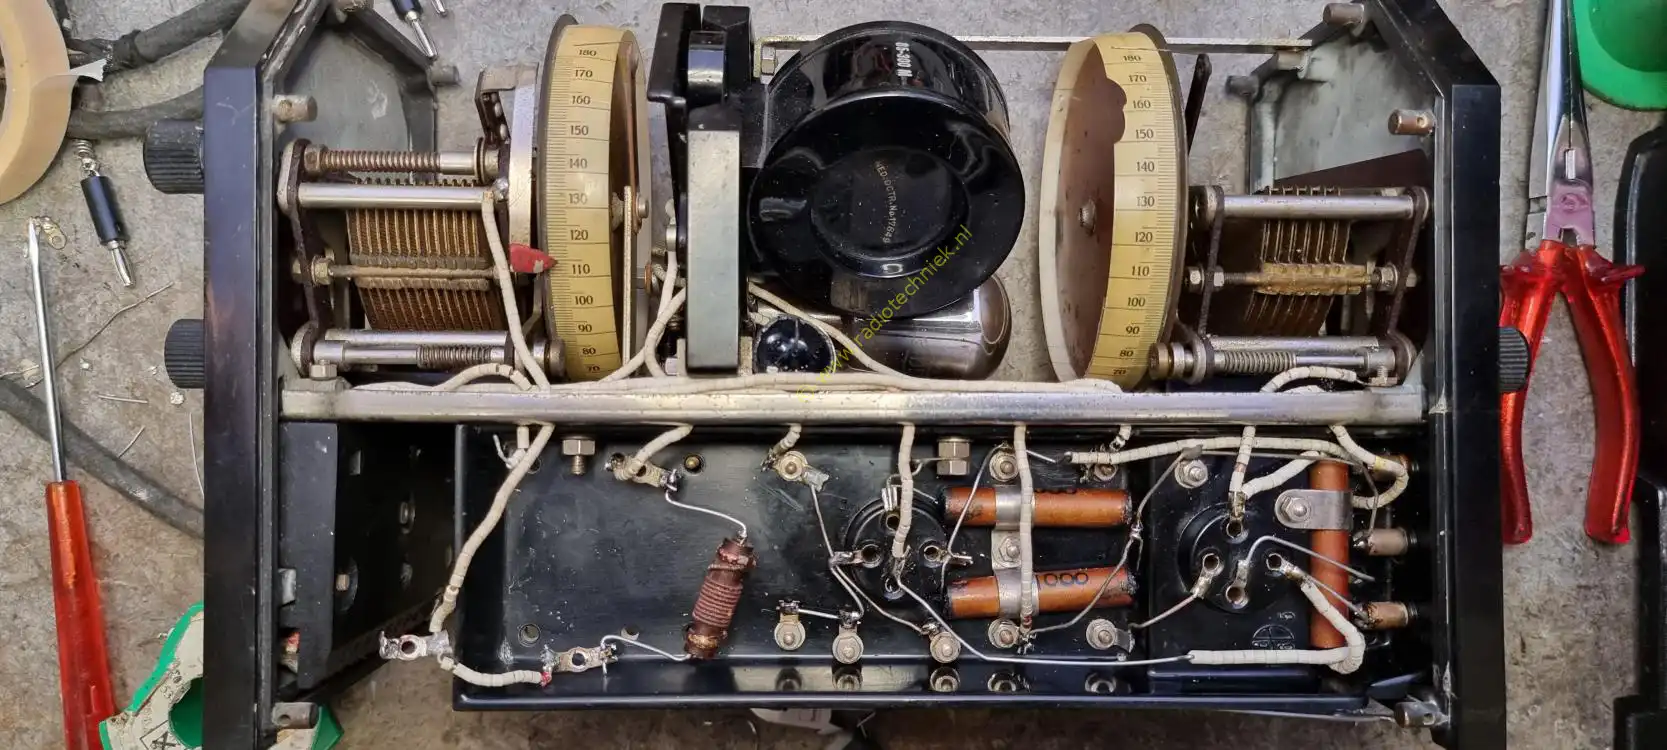
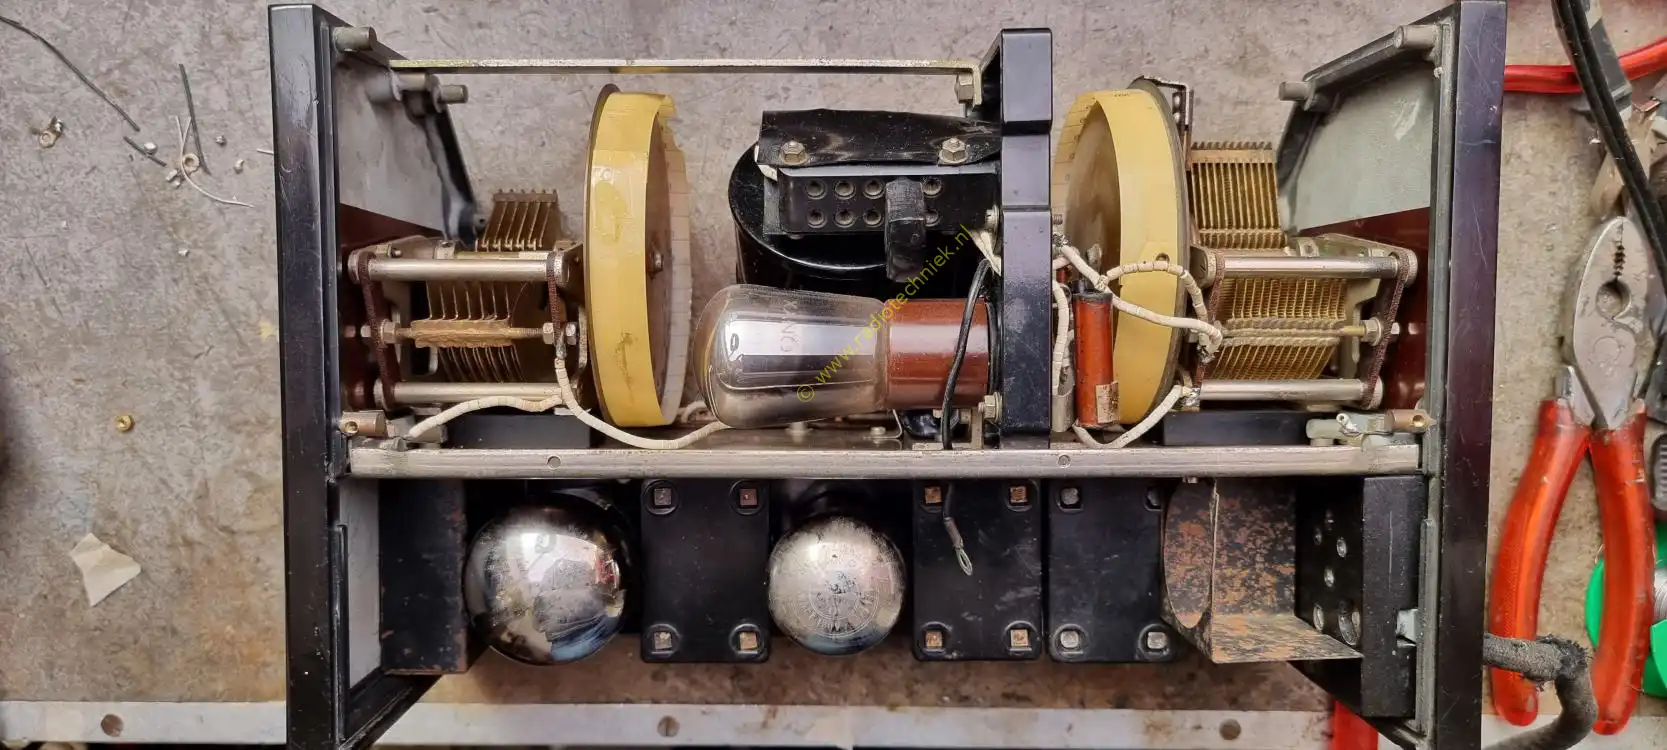
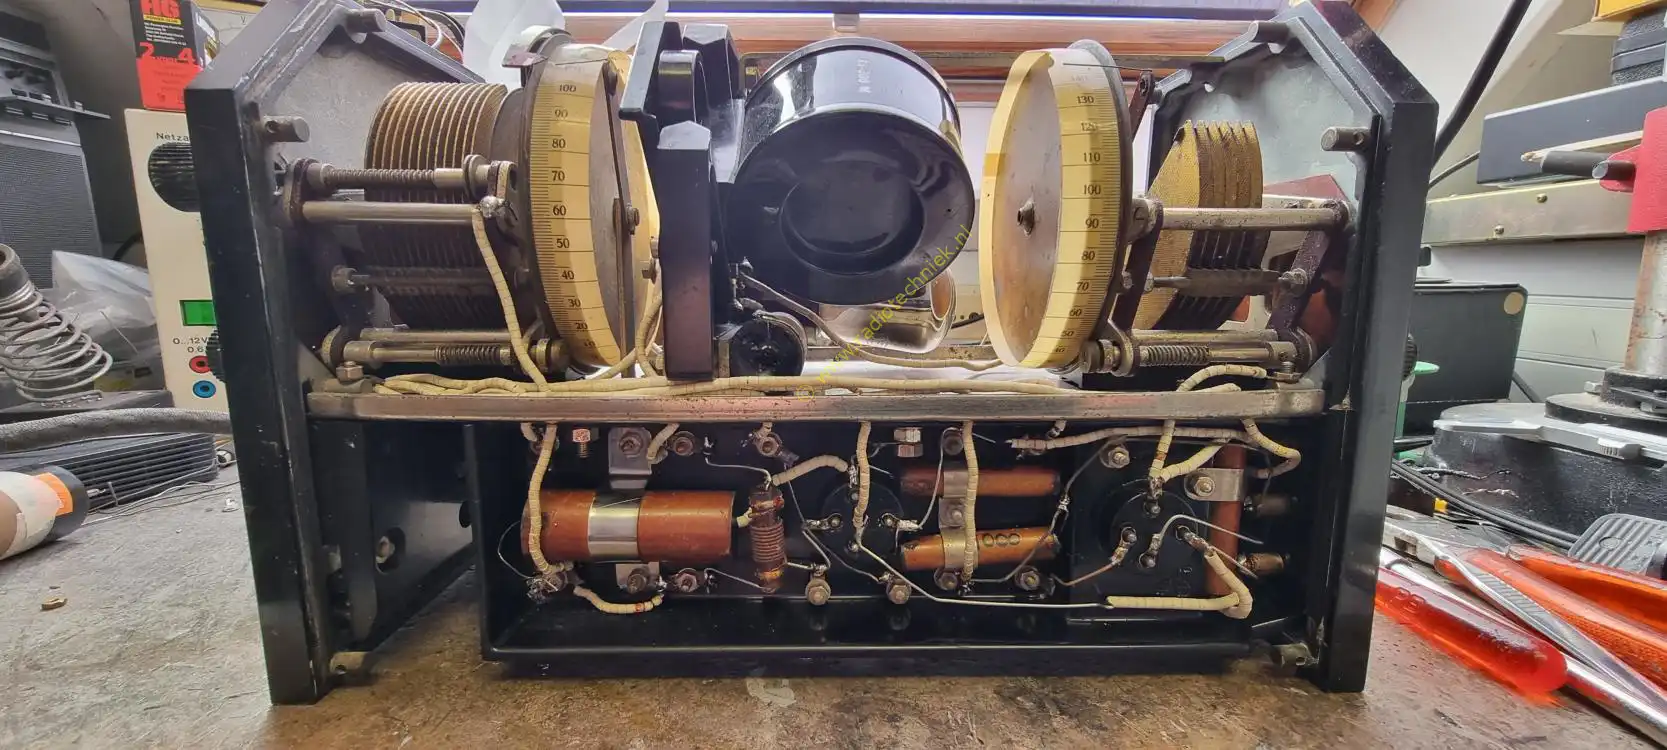
An amazing sight of this beautiful Philips 2802 shortwave radio receiver.
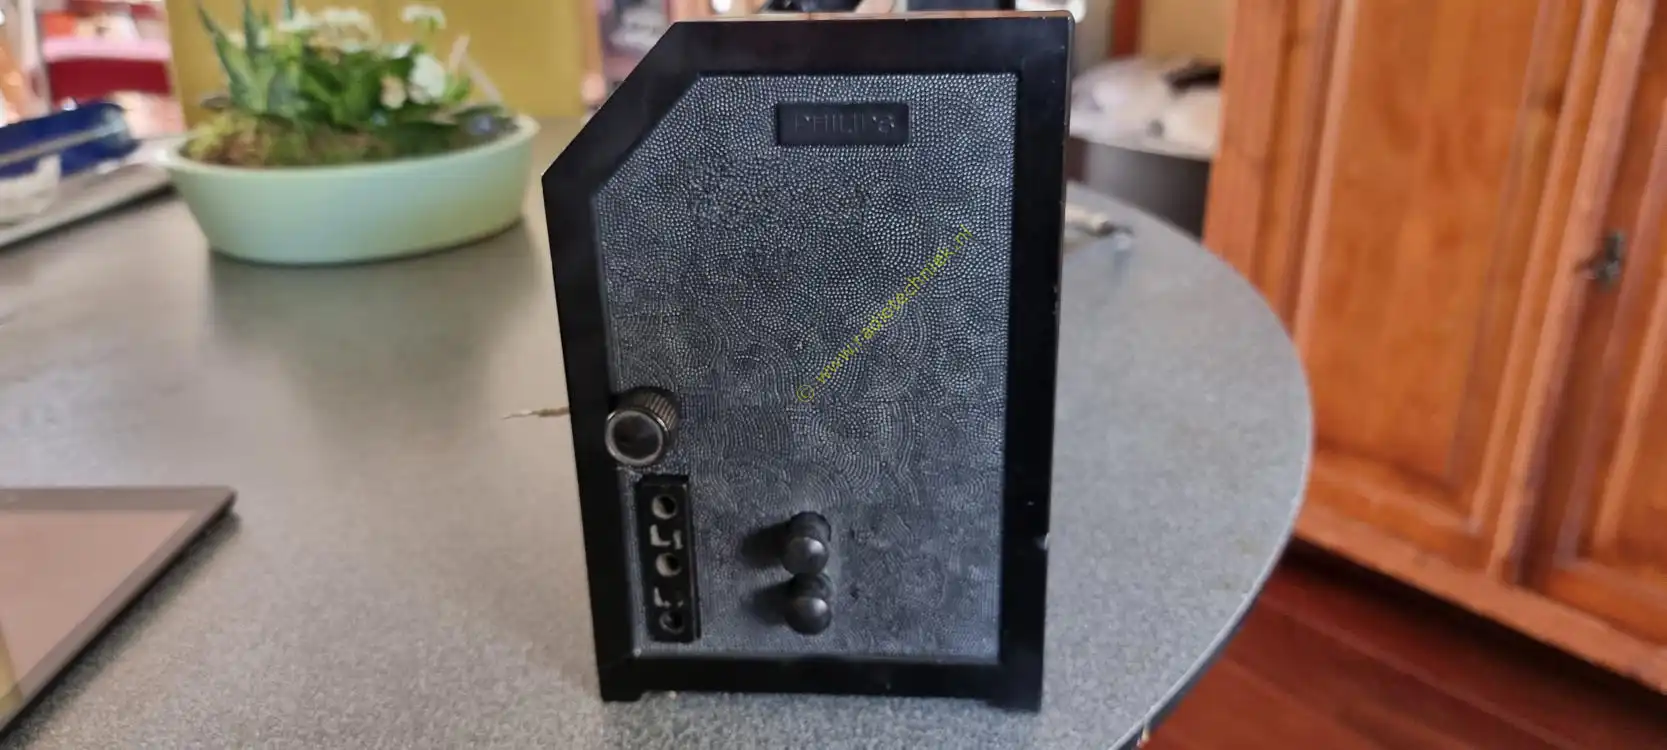
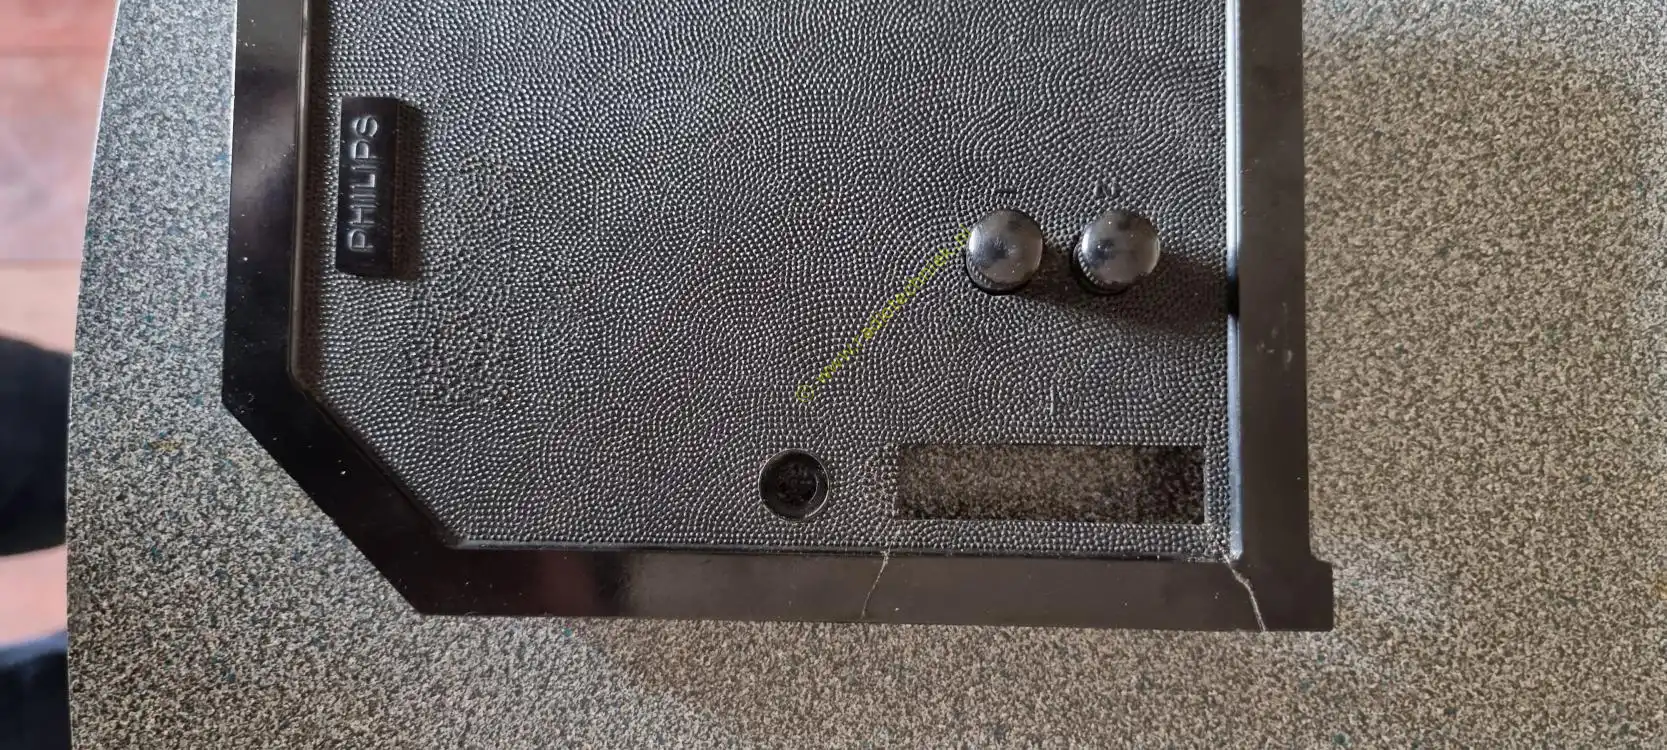
The sides of the radio
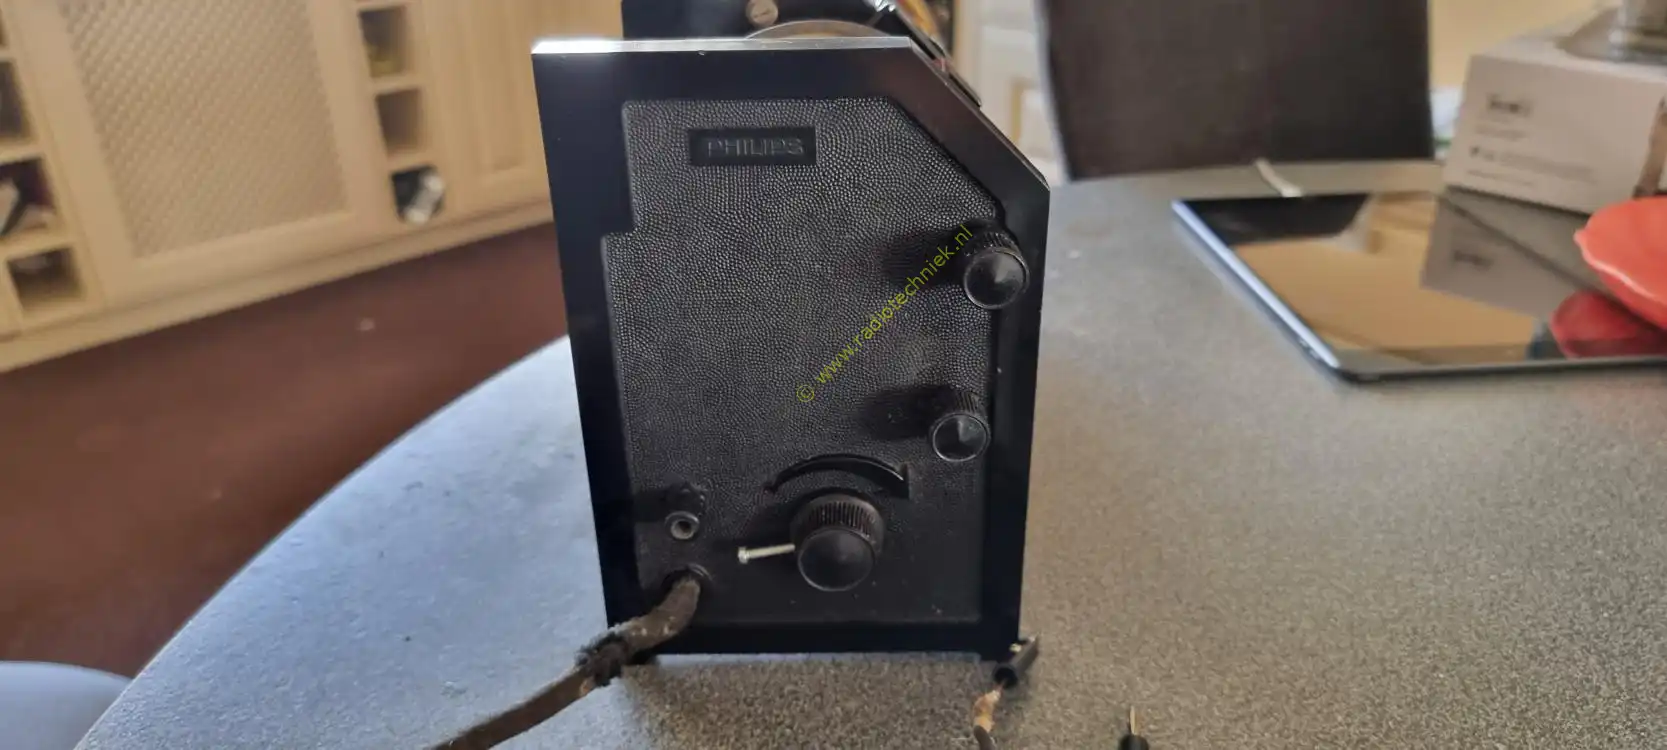
The other side of the radio gives an impression of what this radio will look like.
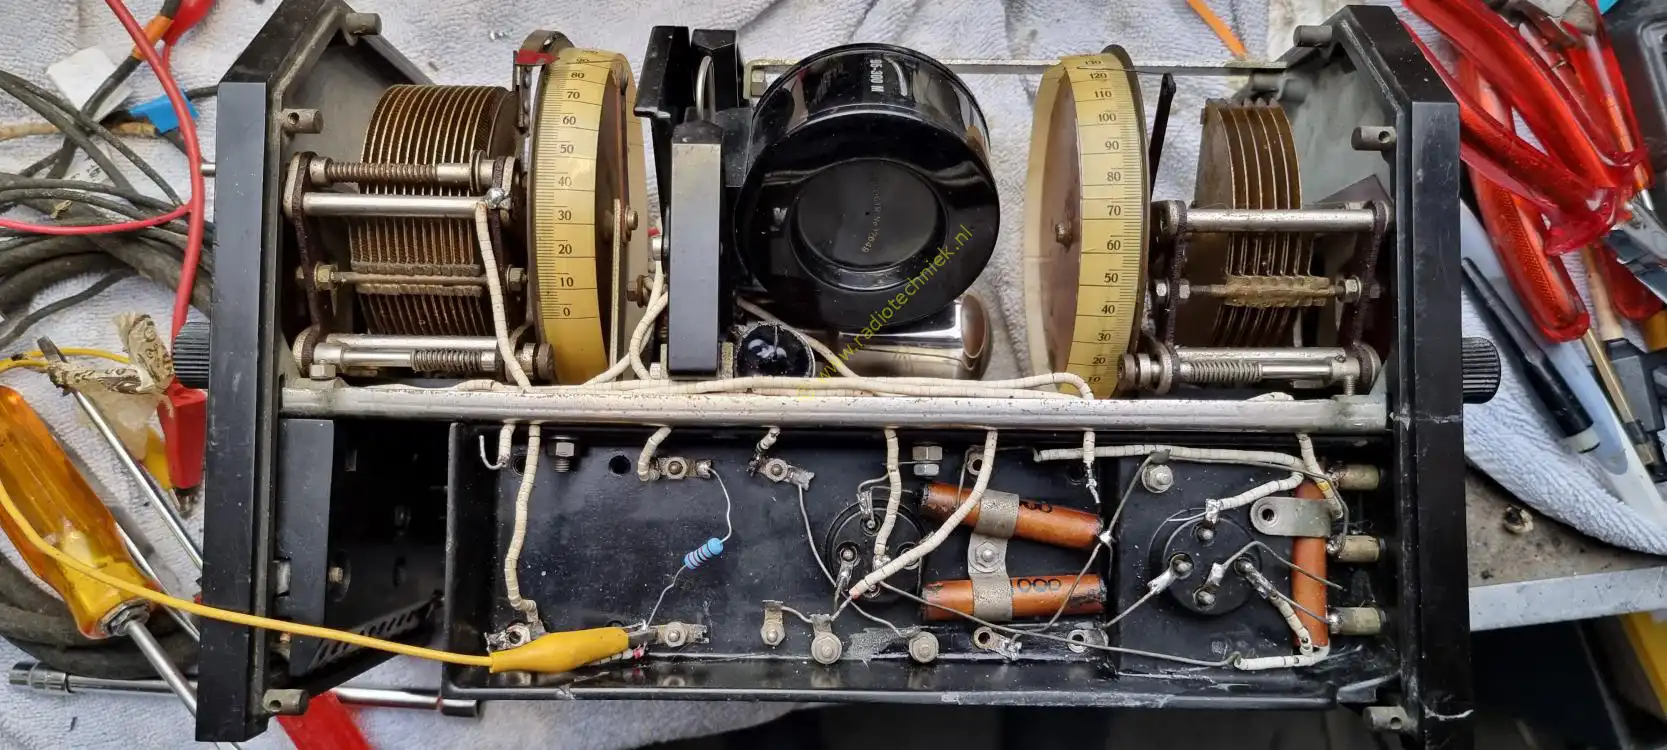
The first capacitor.
Some more capacitors.
One more wire.
And Hm... this is starting to look like something
The assembly looks much better with a cool piece of Bakelite.

Everything is there now except the power choke. And that's the thing we don't have.
But first this capacitor. And now with an original bracket.
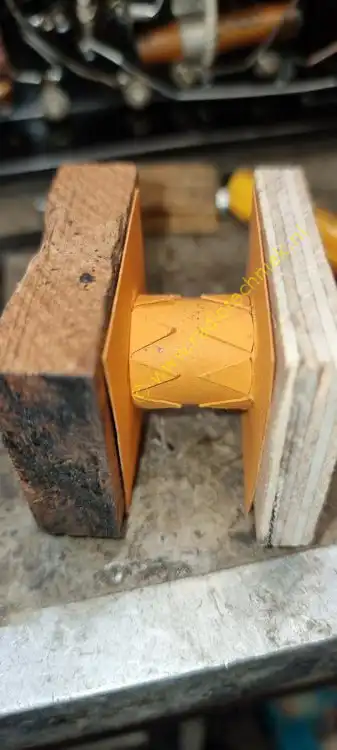
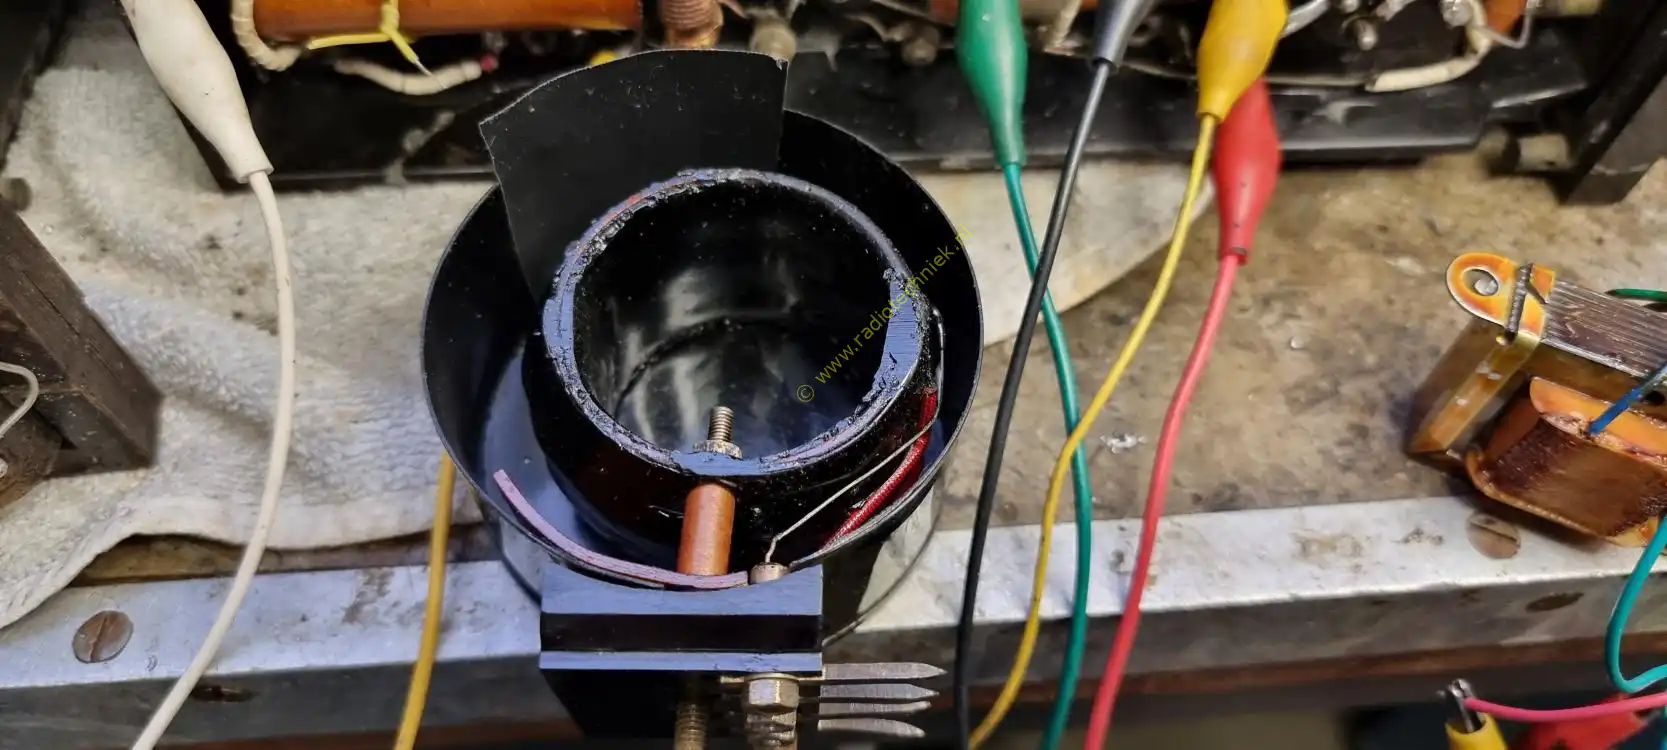
We are now going to make the choke. We need a winding body on which the copper wire can be wound.
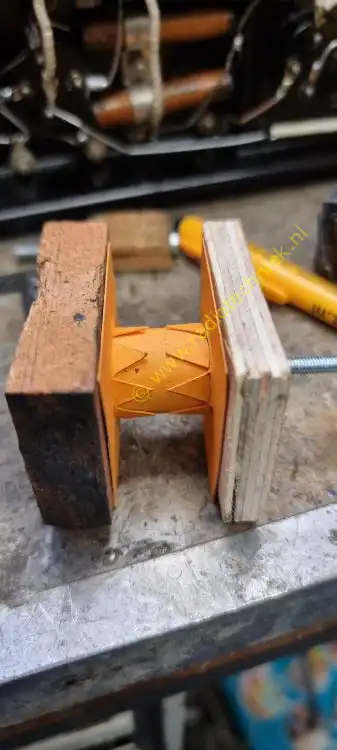
The blocks of wood are for strength and a screw goes through them to clamp it in the wrapping machine.
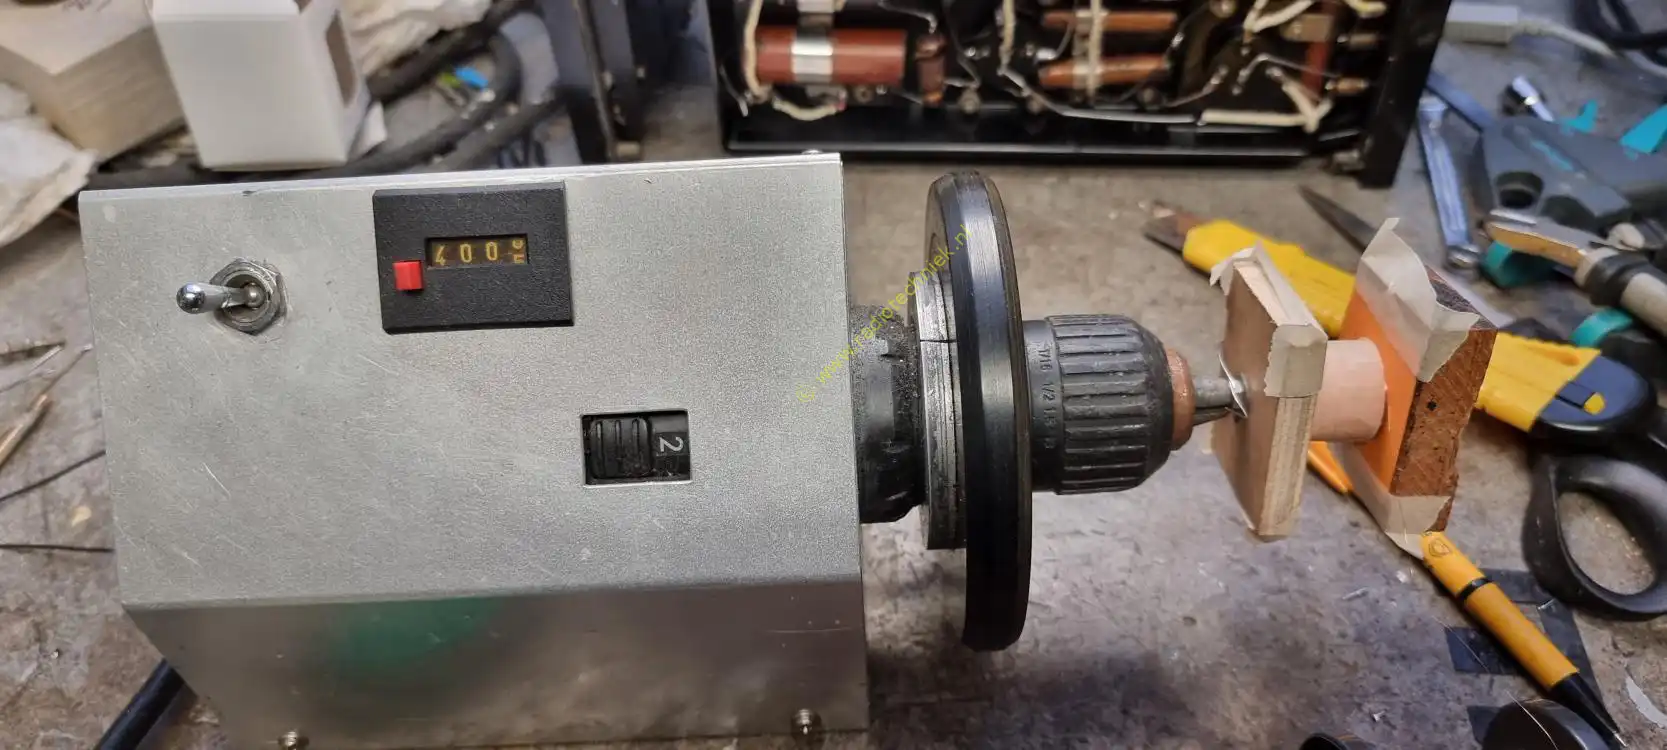
According to documentation we need 4000 turns.

And the rest is simply the core of an old Philips transformer through it. In the house on the Bakelite chassis.
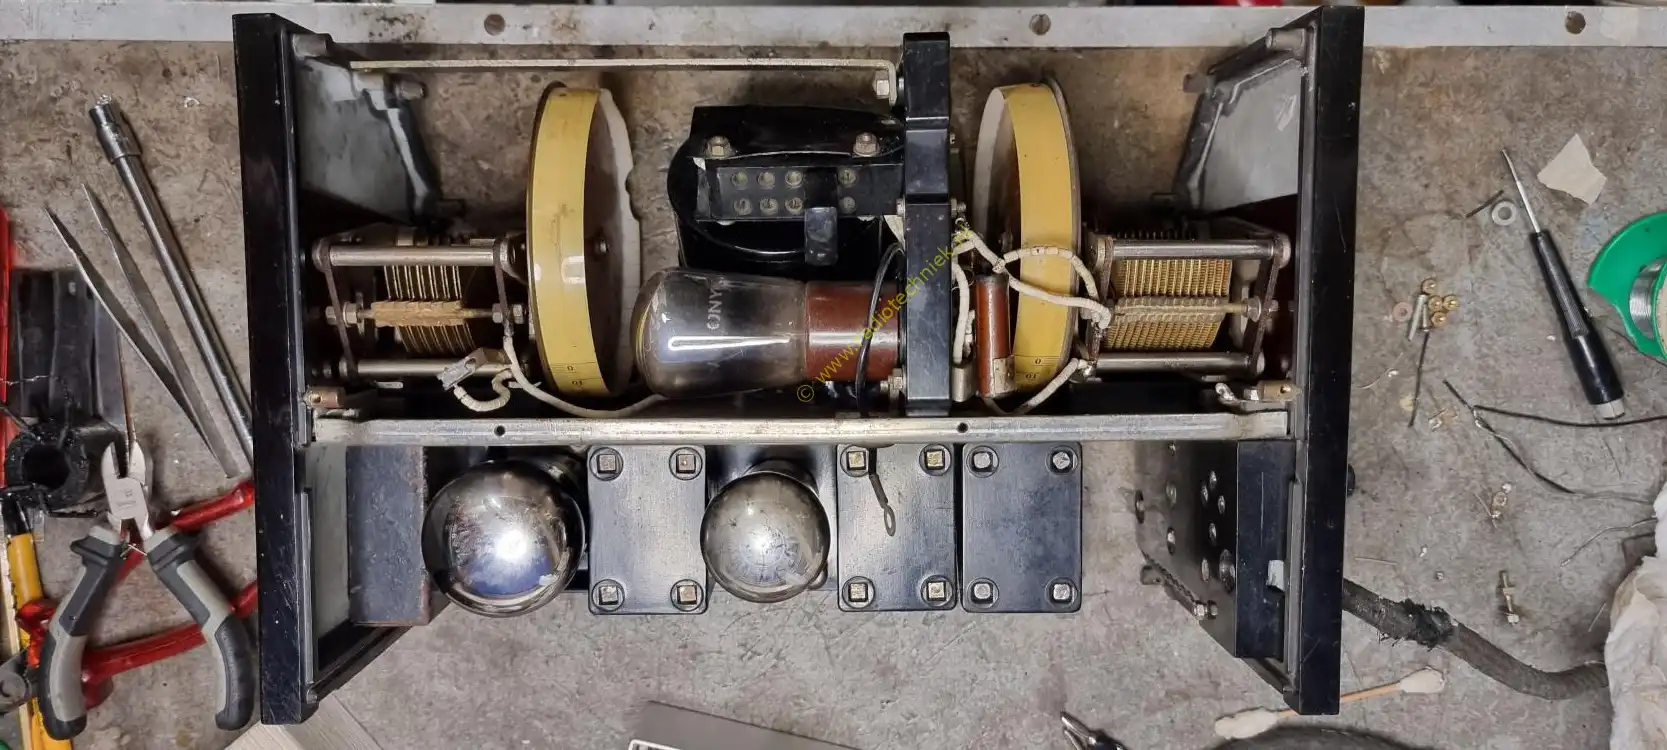
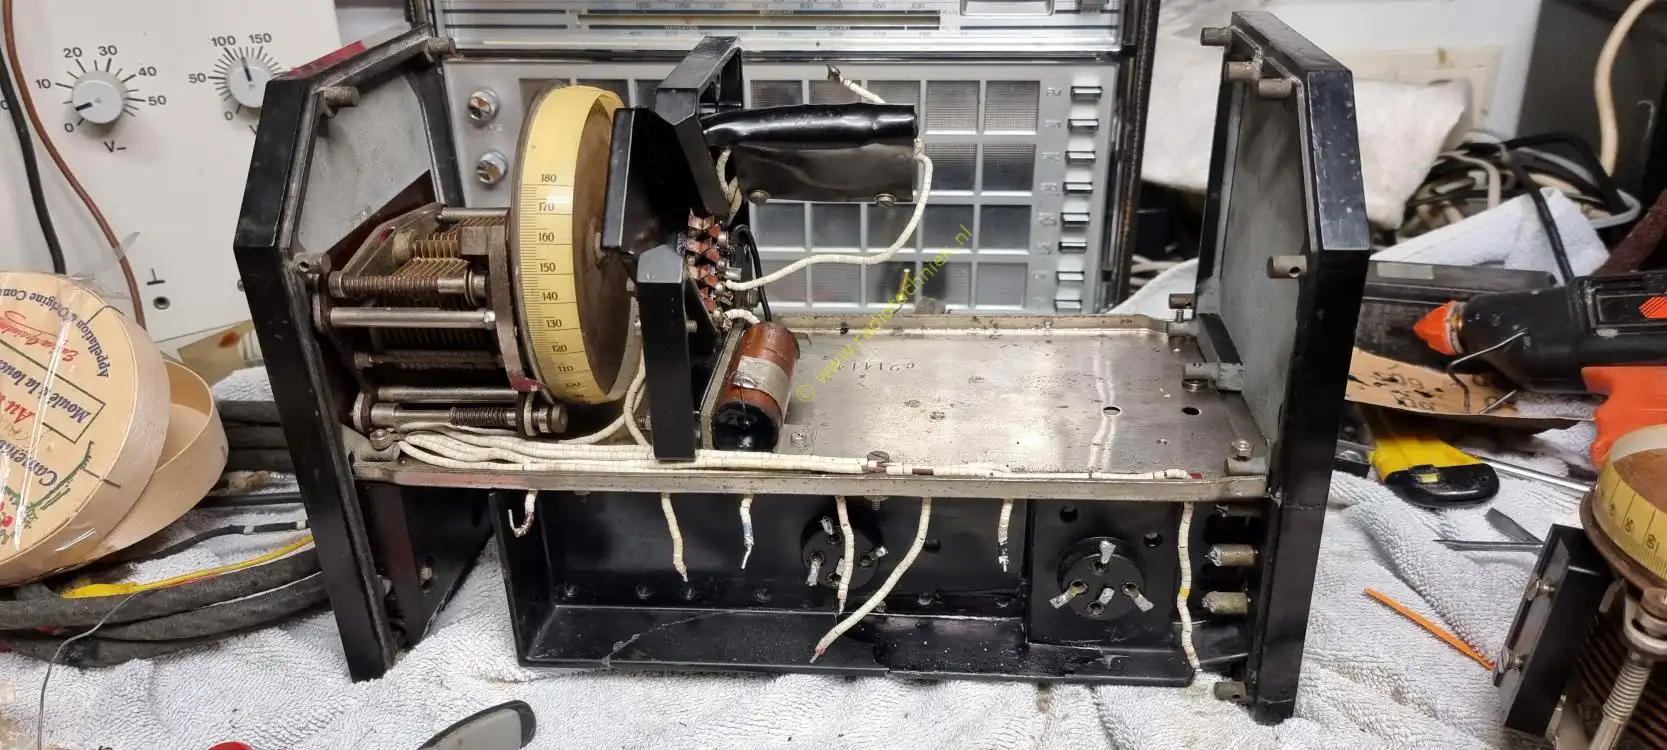
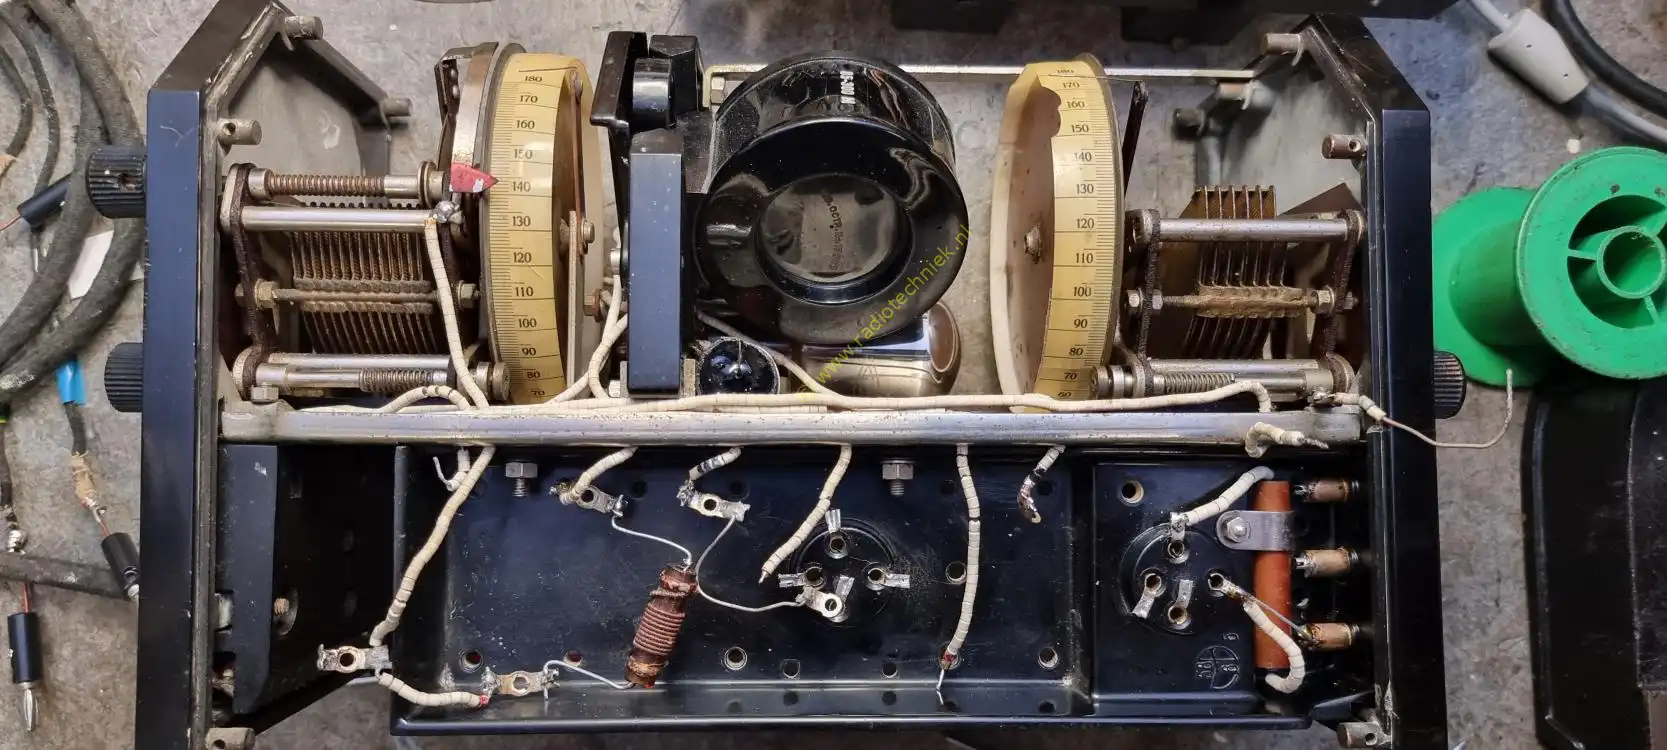
What does it look like from the top.
This question keeps coming up, will the radio still work after such a huge renovation?
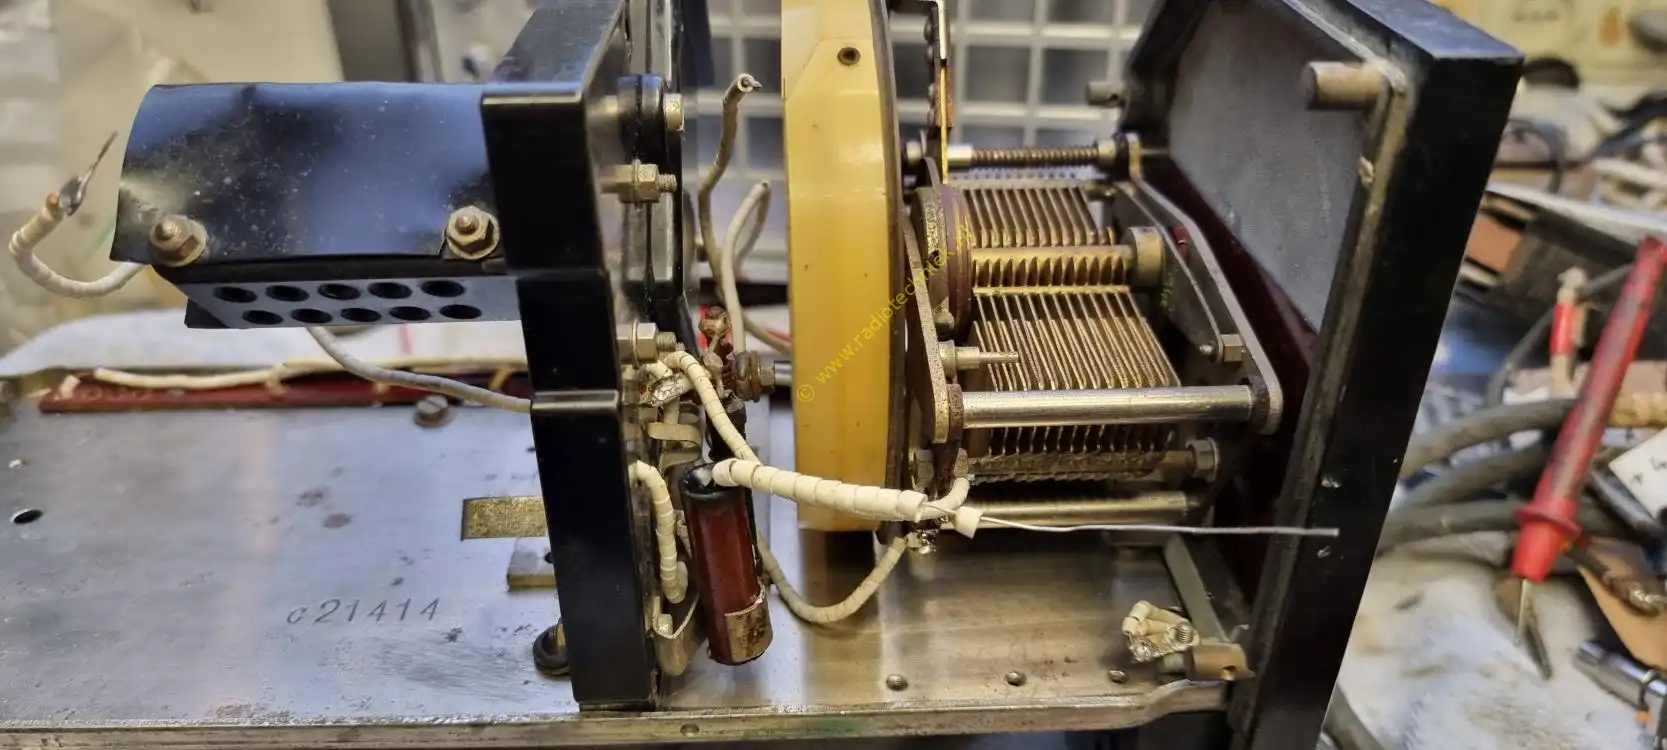
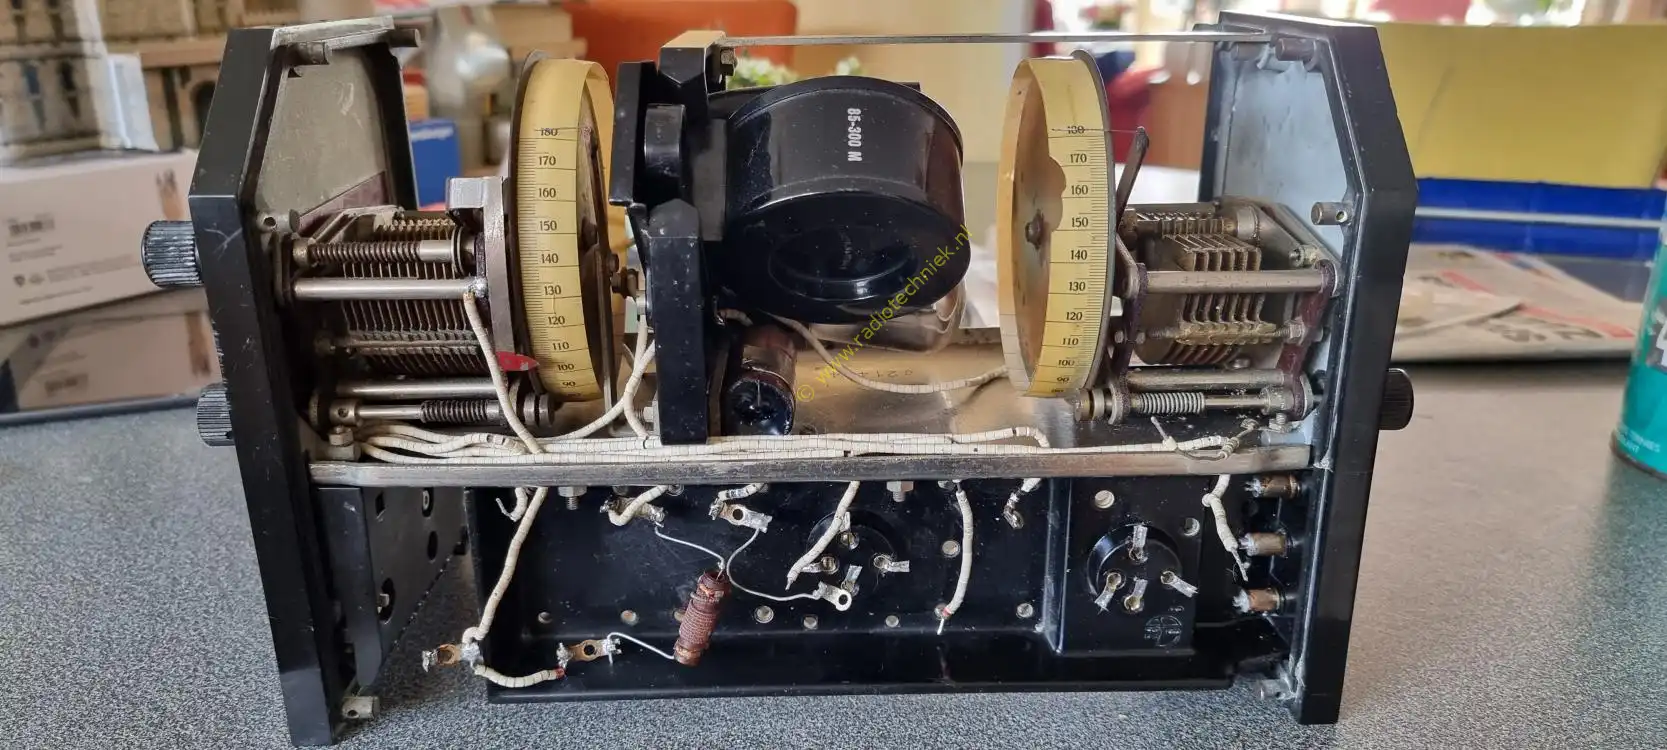
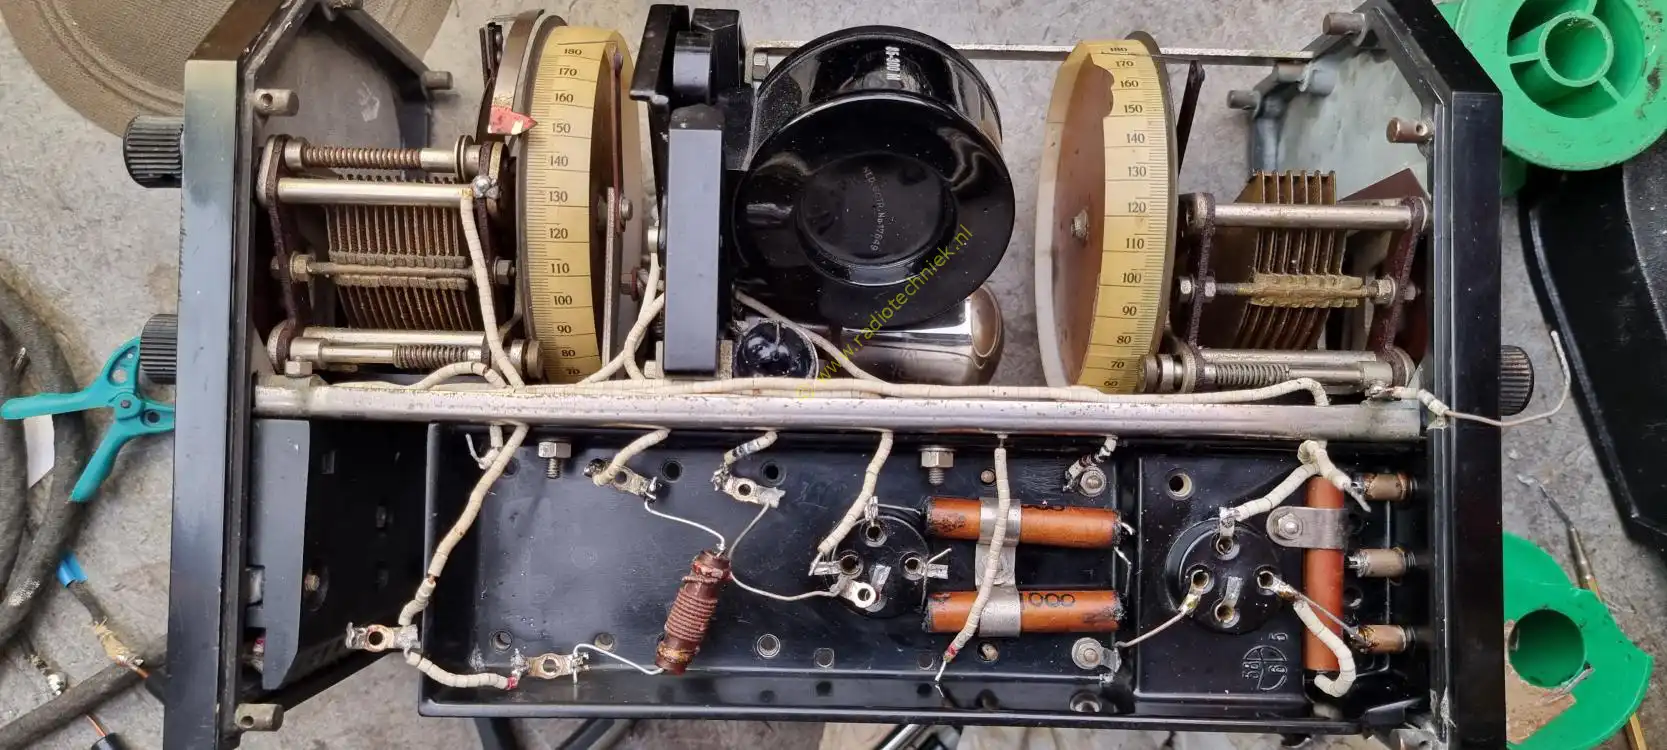
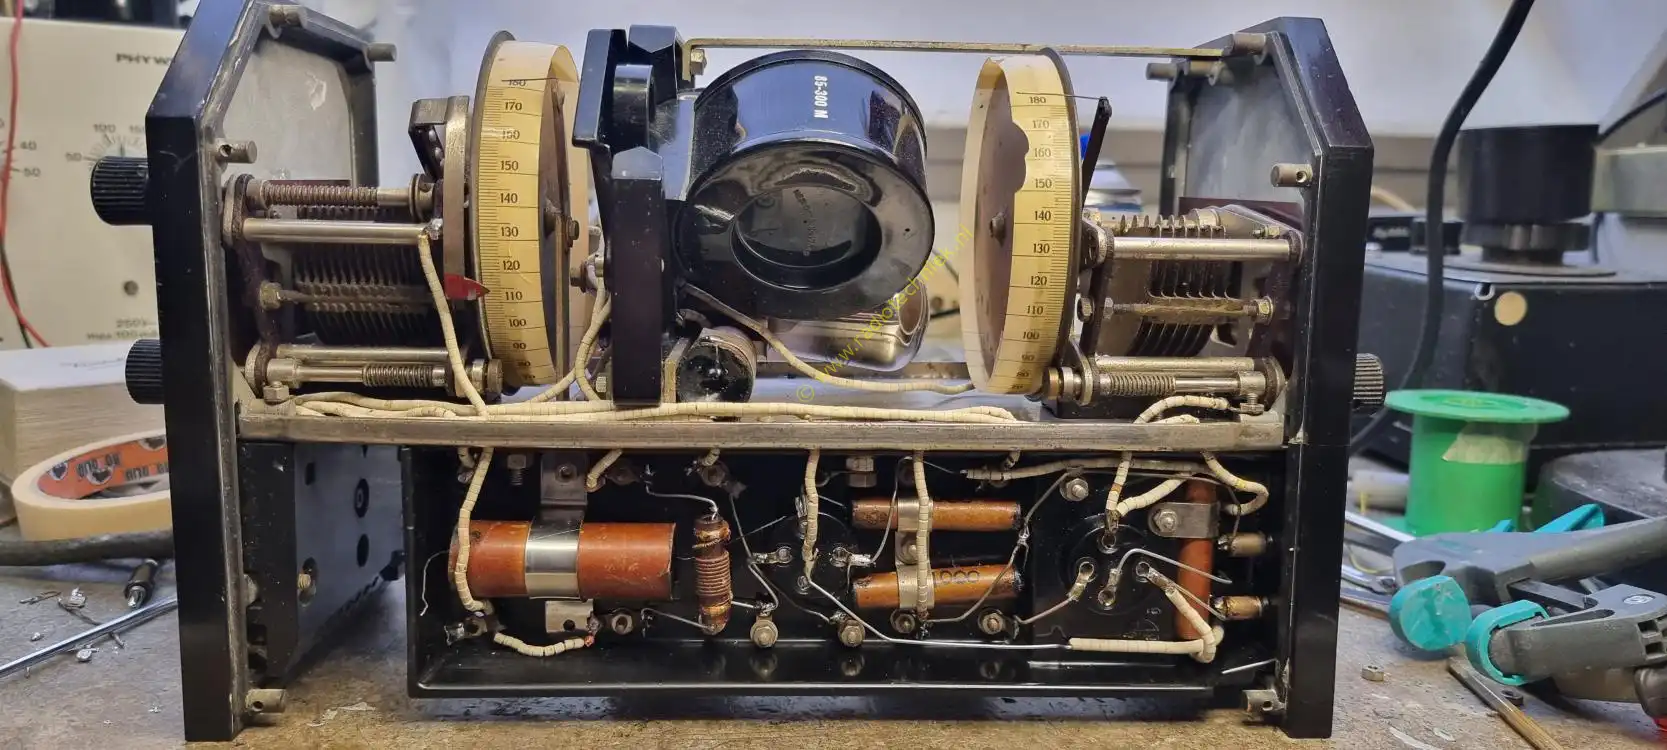
What does it look like from the side?
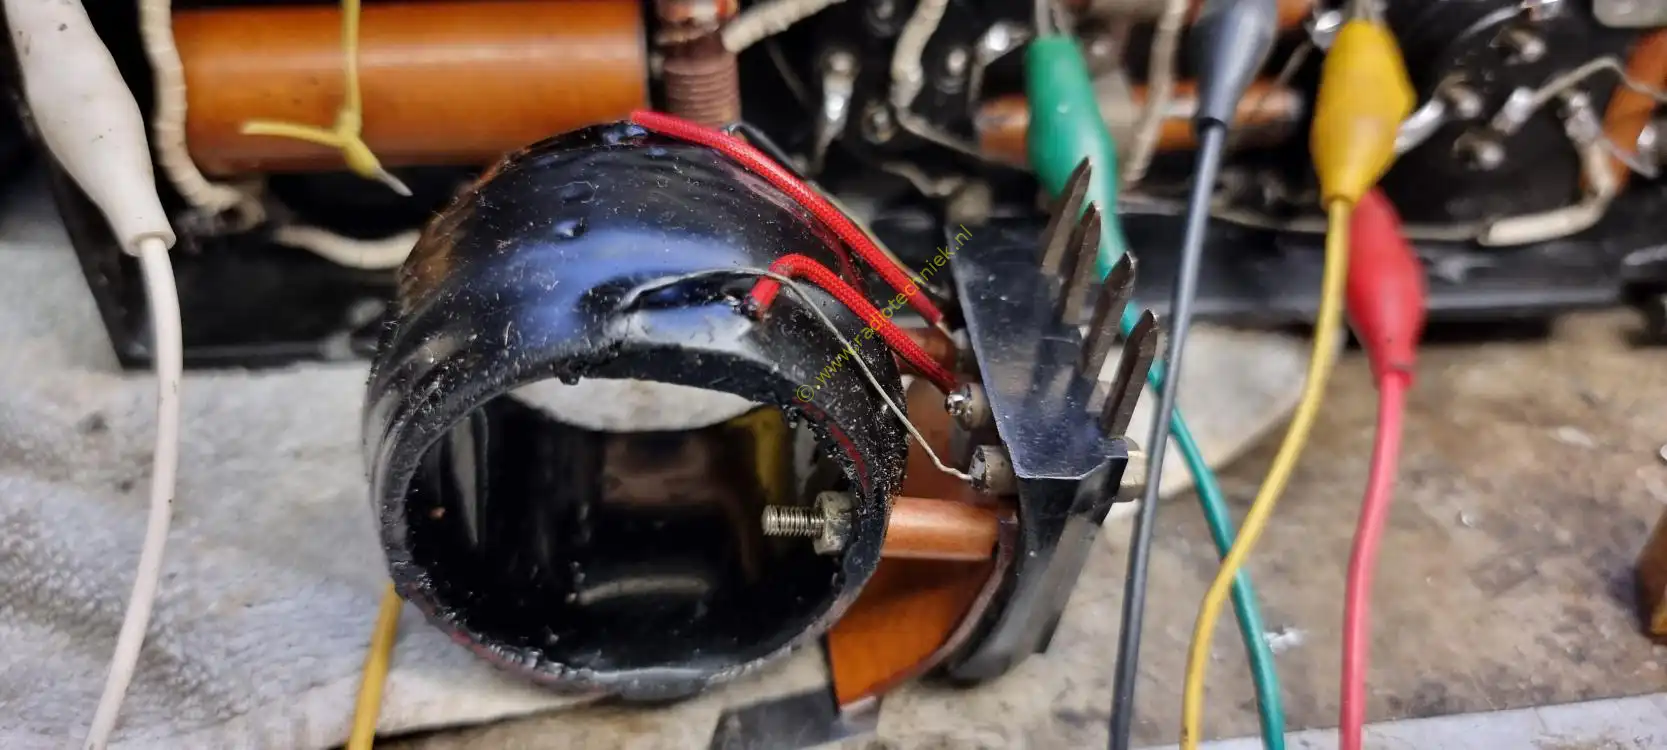
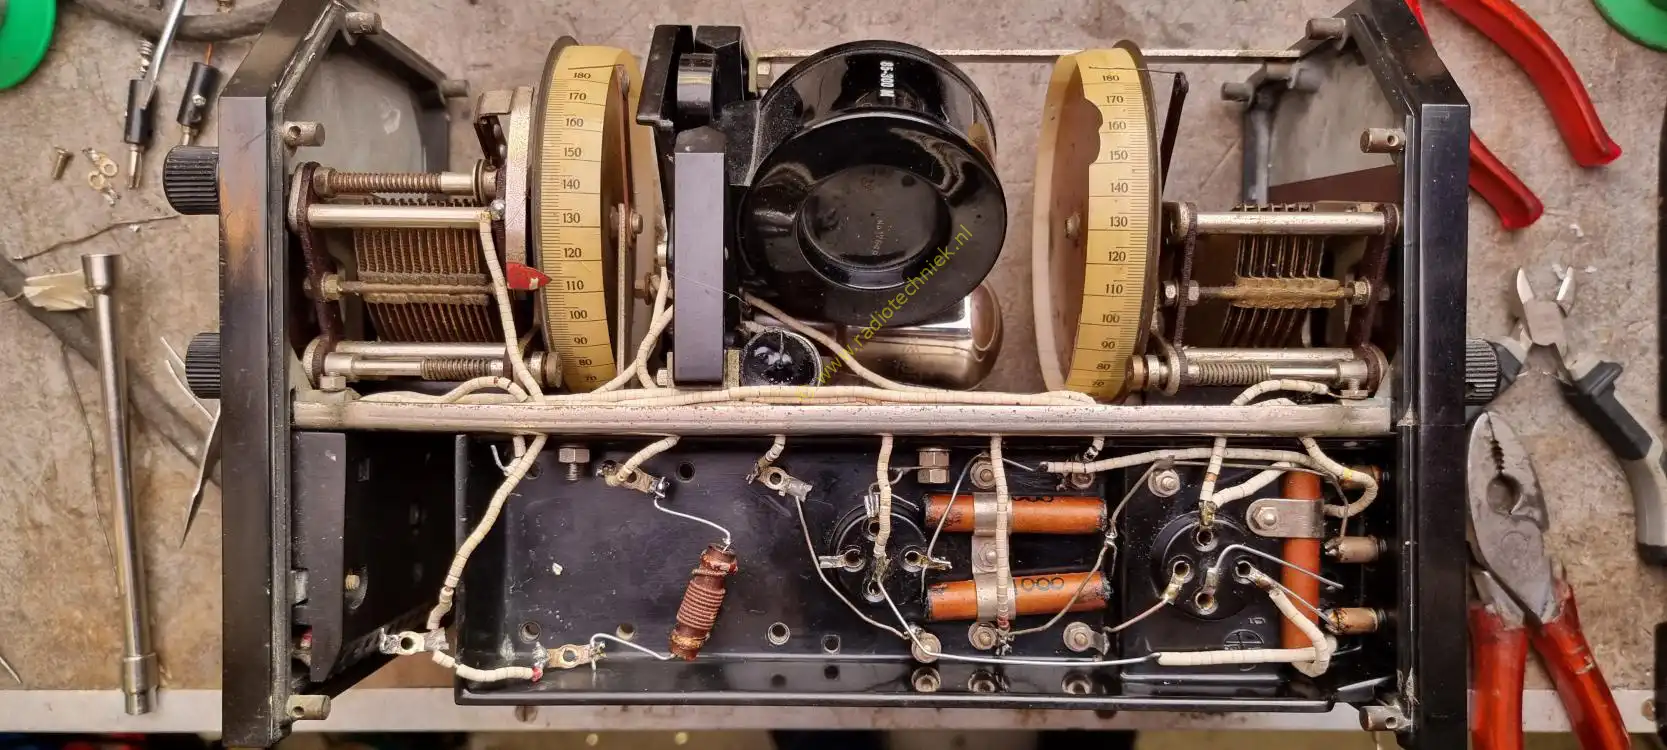
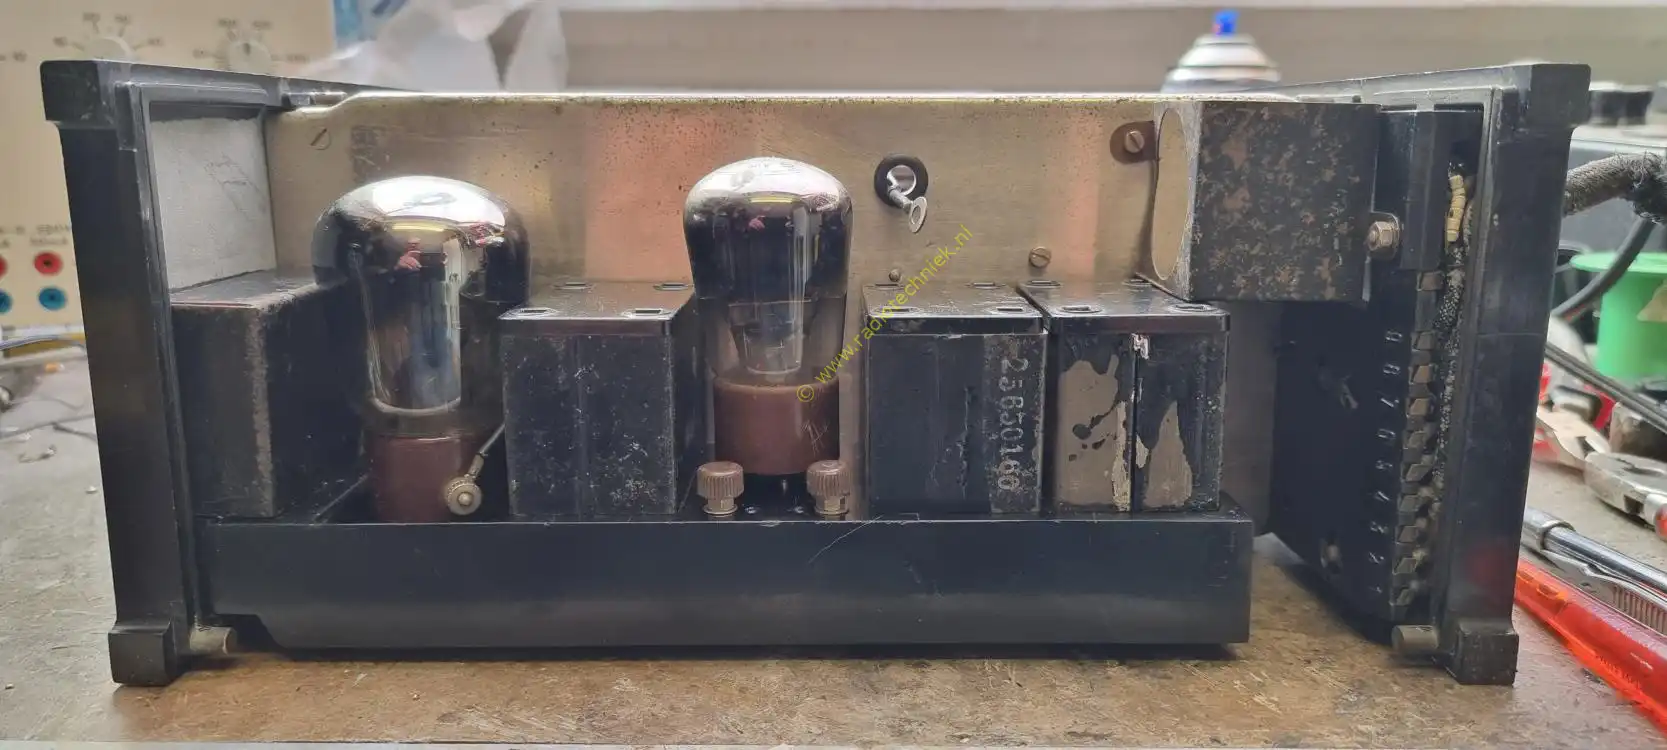
Here is the shielding for the A442. Because I tested with an E442 it didn't fit for a while. The A442 was unavailable for fifteen minutes. The A442 has now also been found.
And here we have come to the end of this restoration. What we have learned here is that a demolition Philips 2802 does not exist. And even though we have no covers, this has become a beautiful radio. And who knows what we will encounter next.

