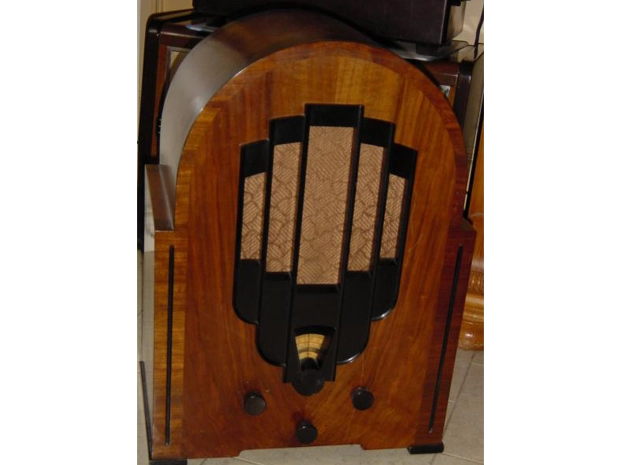
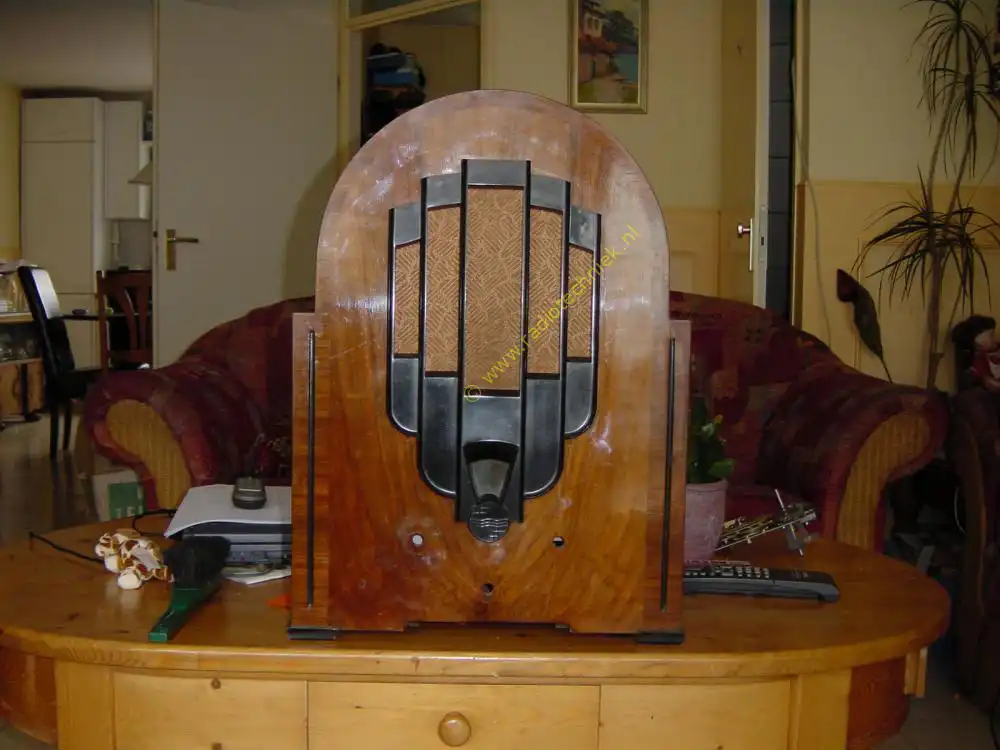
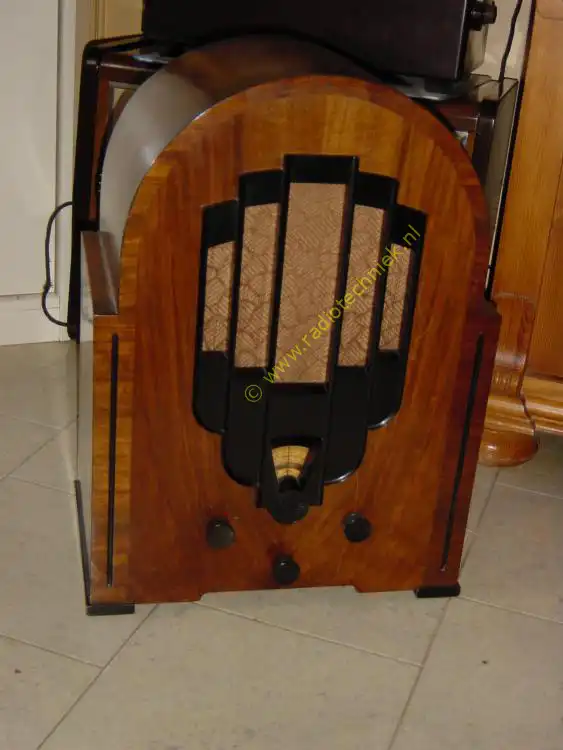
The Philips 636A also called cathedral.
A beautiful device with many technical shortcomings.
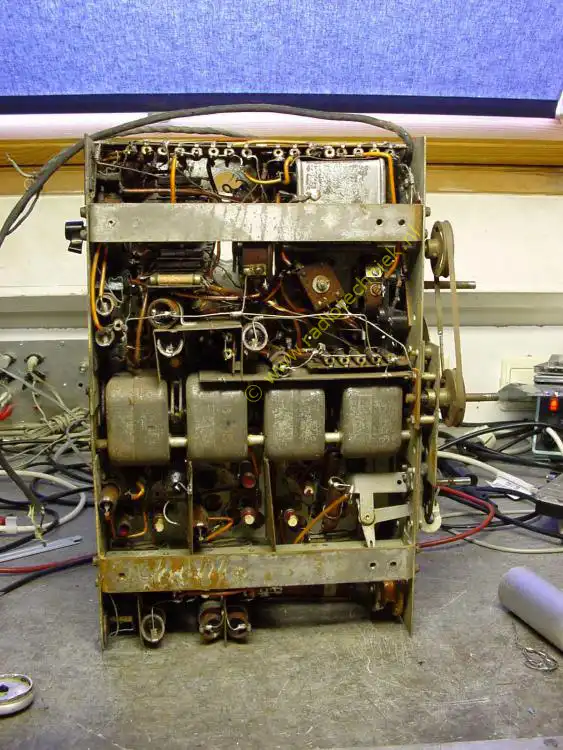
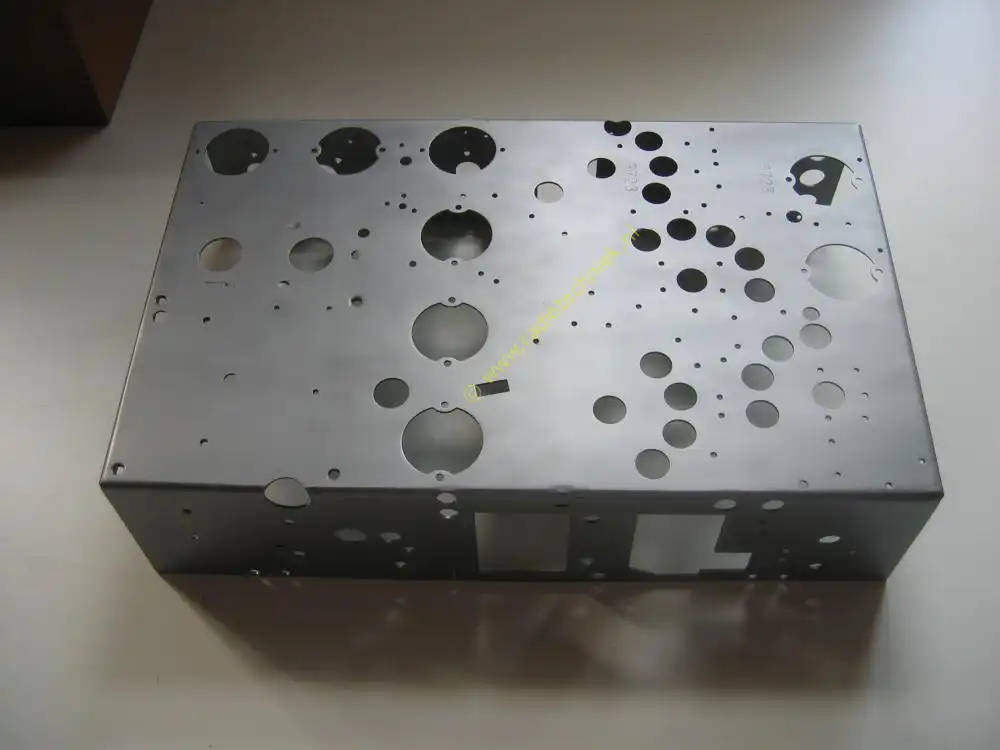
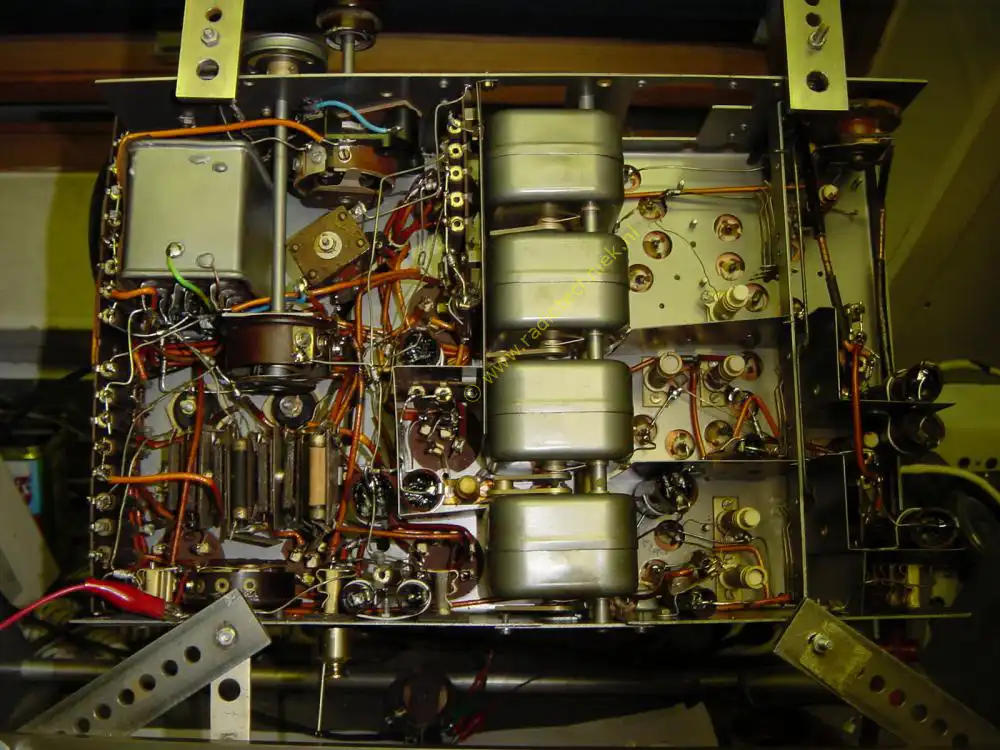
The chassis is a complex built-up radio.
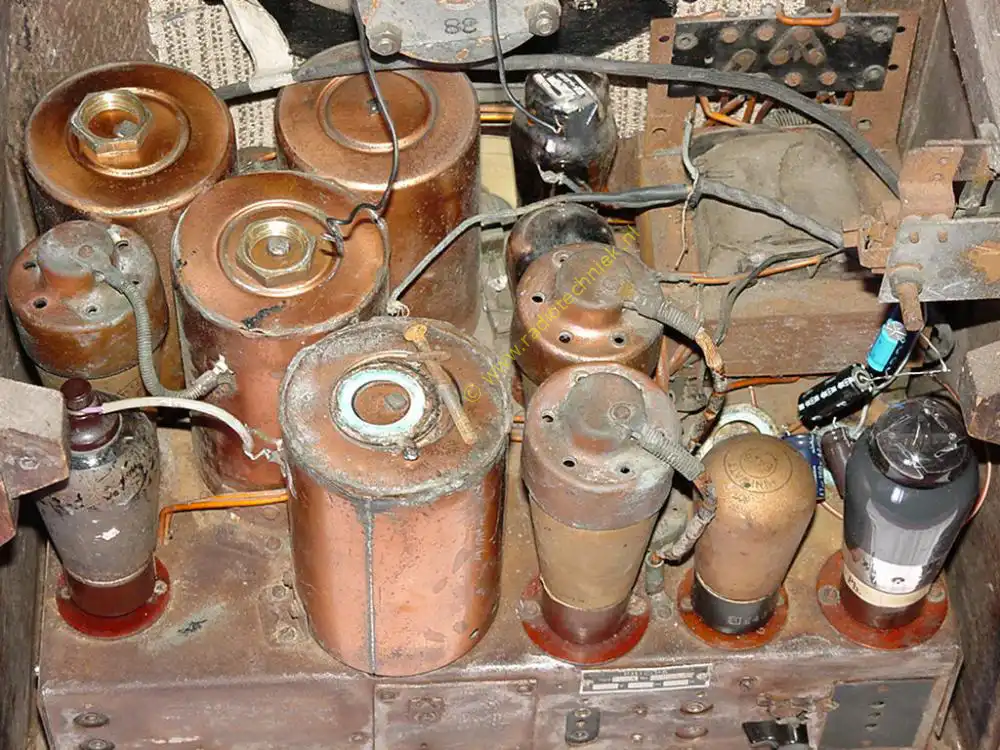
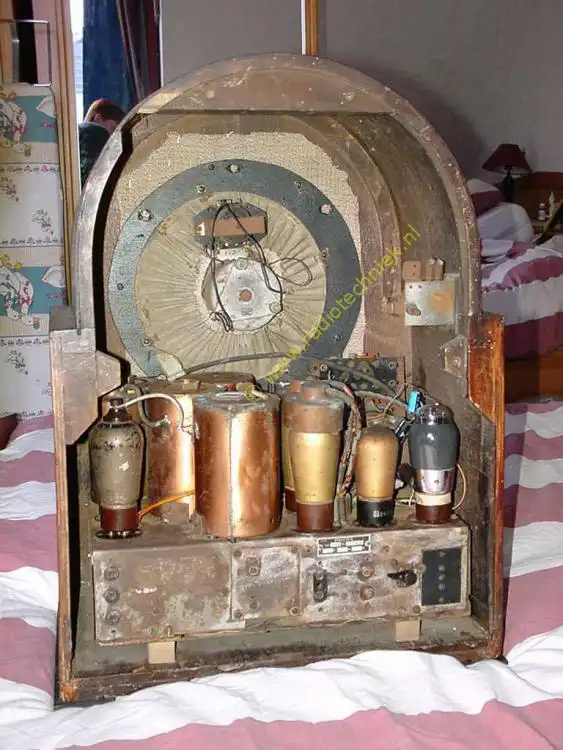
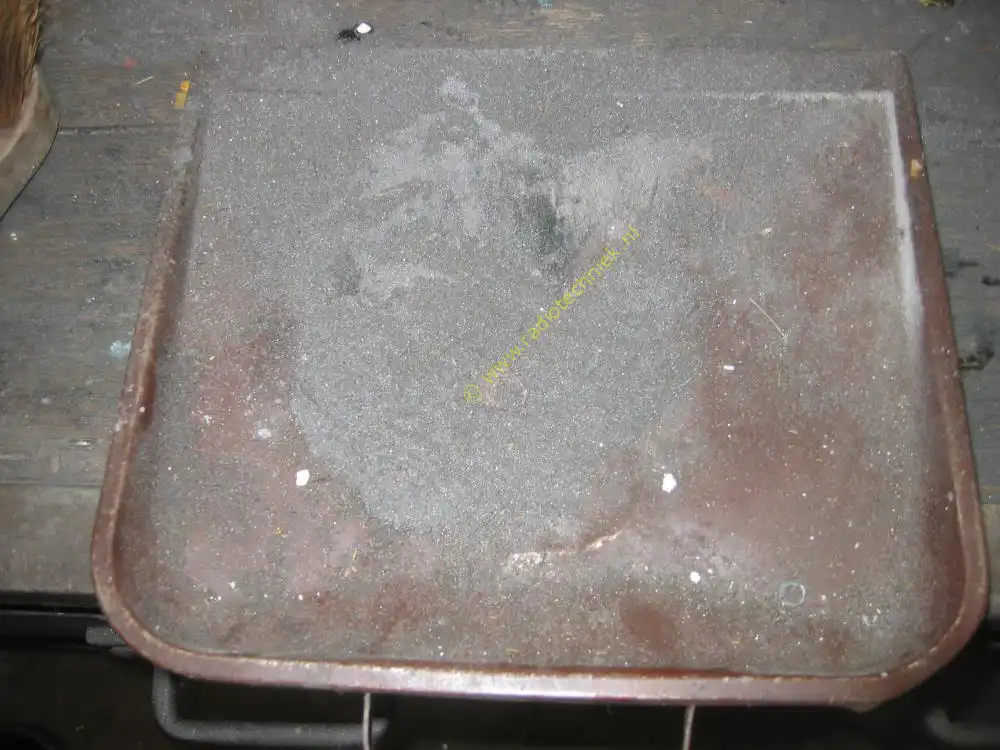
The chassis is destroyed. Can openers on the coil canisters. And a lot of rust.
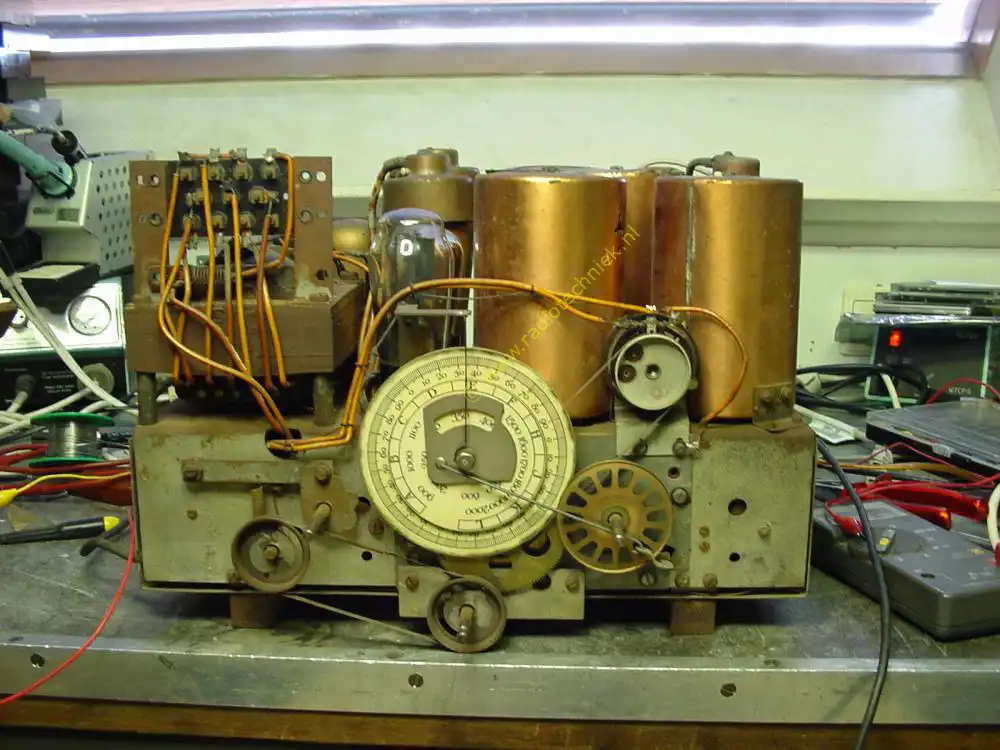
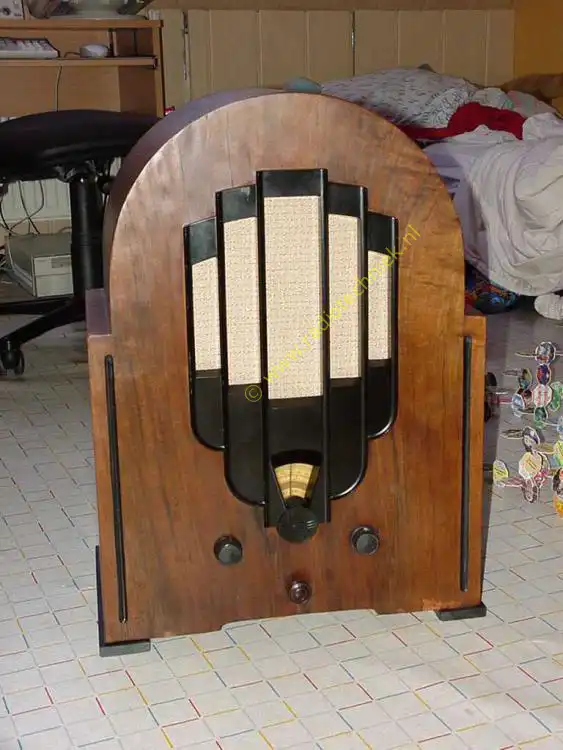
The front looks decent. But no more than that.
The top is a war zone which looks terrible.
It is also a horror at the rear. You should not restore a chassis like this. Because some think this is original.
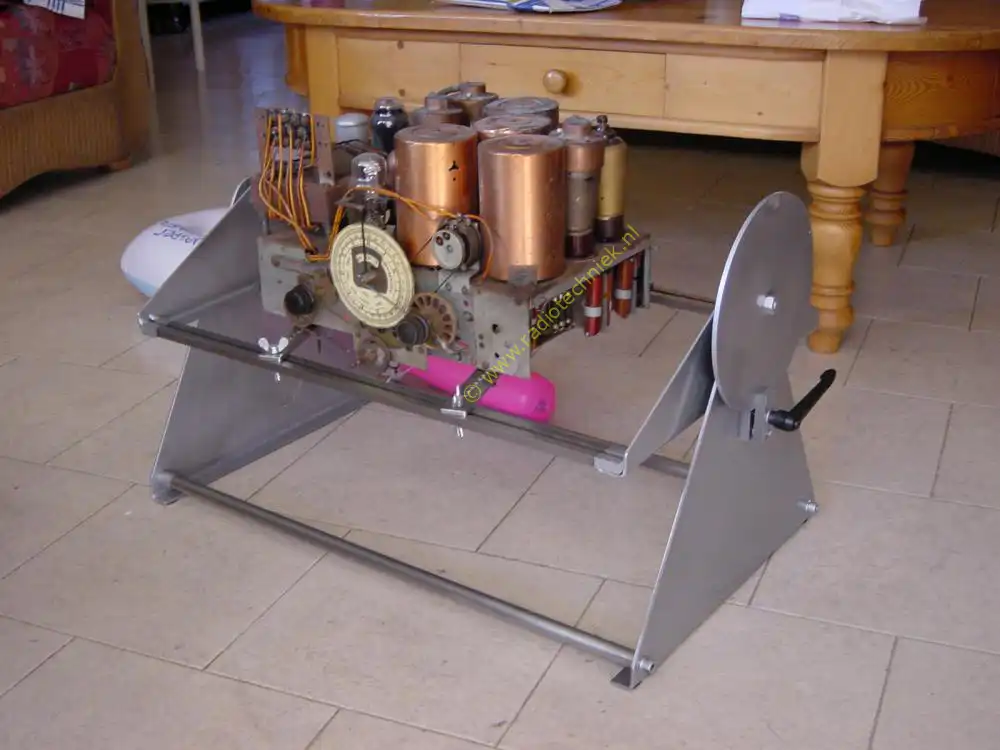
The repair trestle proves to be a useful tool. Thanks Ben.
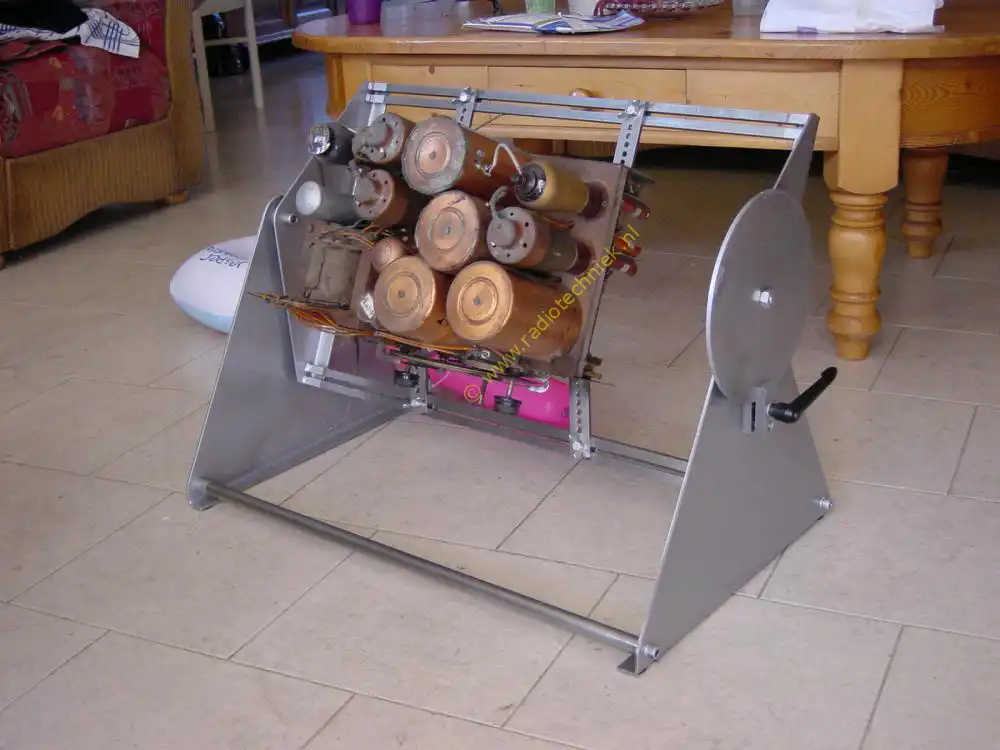
The chassis can be rotated in any position you want.
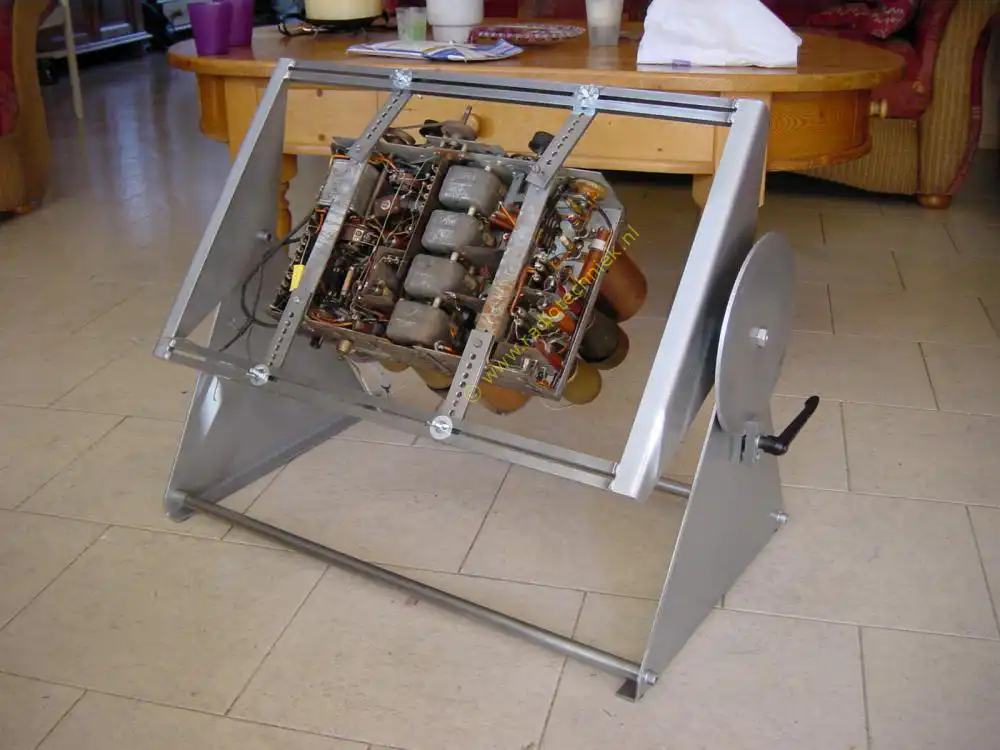
To restore a chassis, a repair trestle is indispensable.
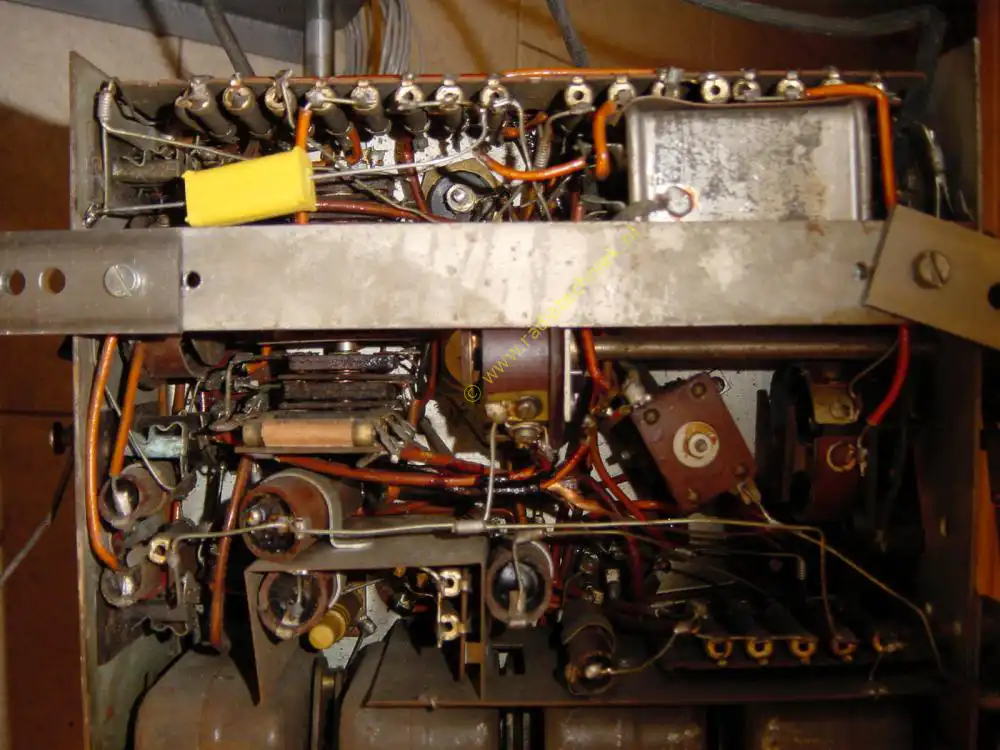
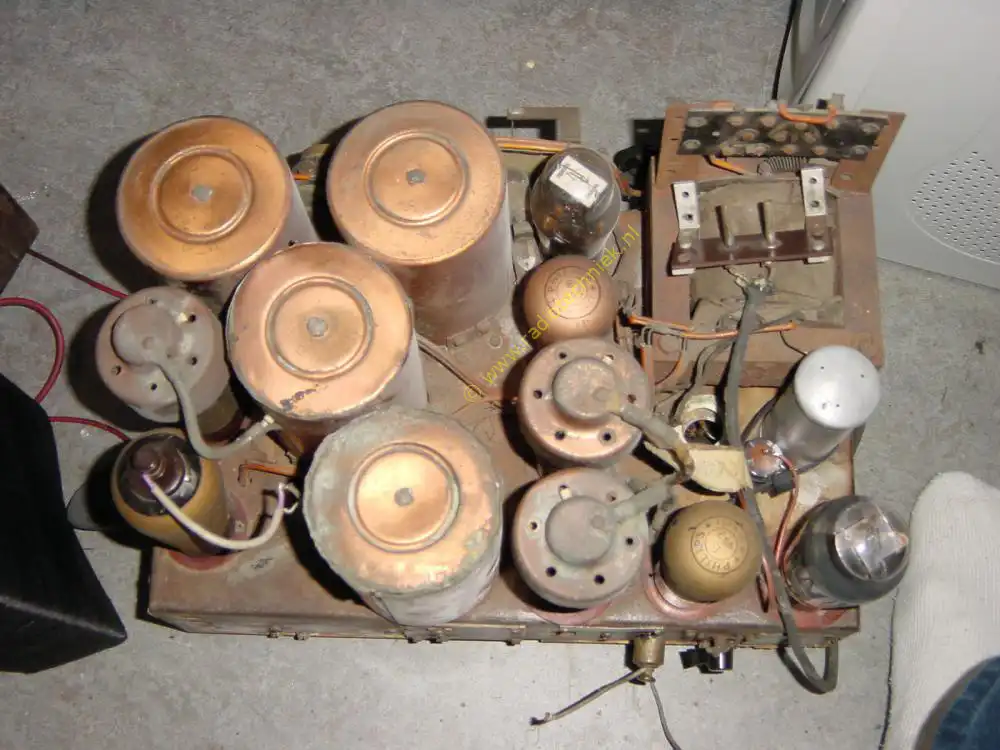
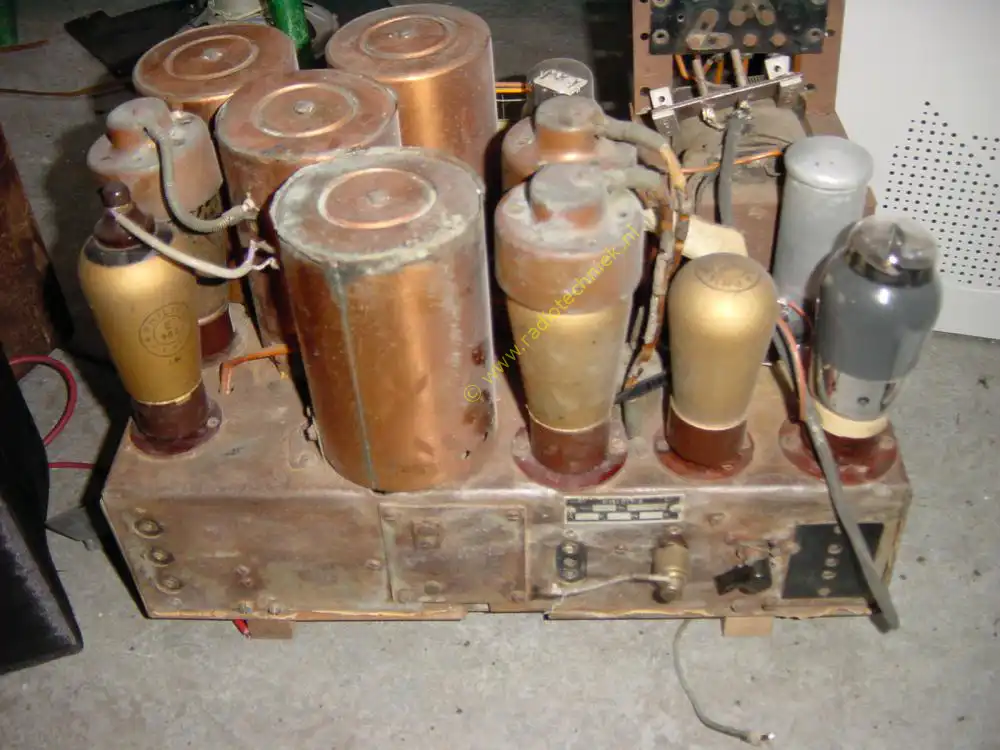
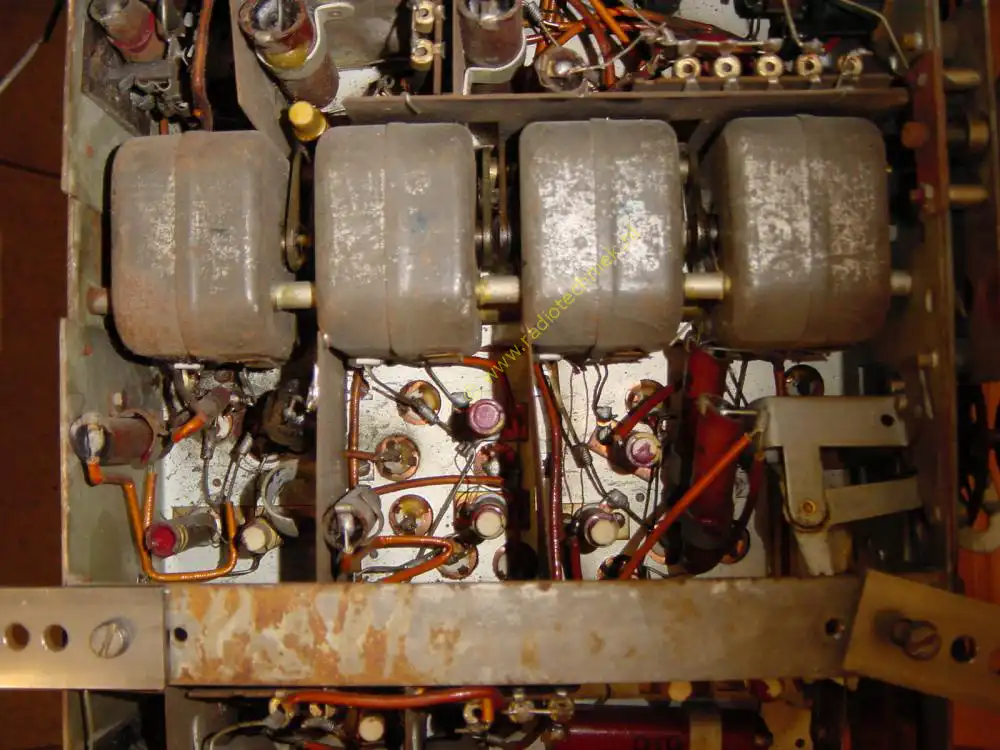
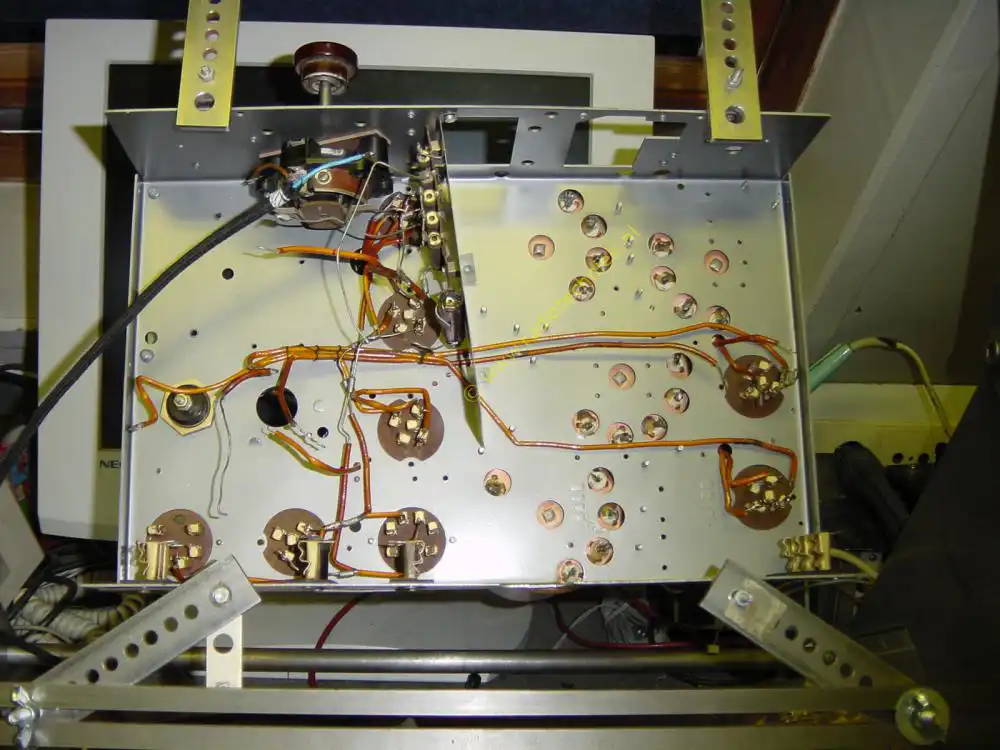
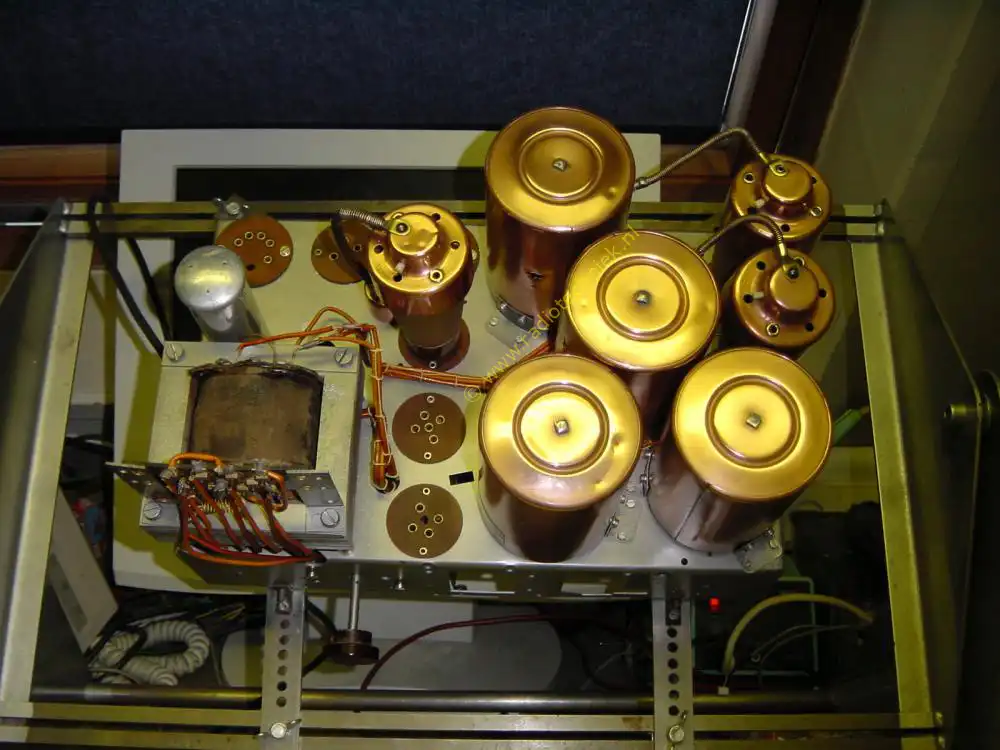
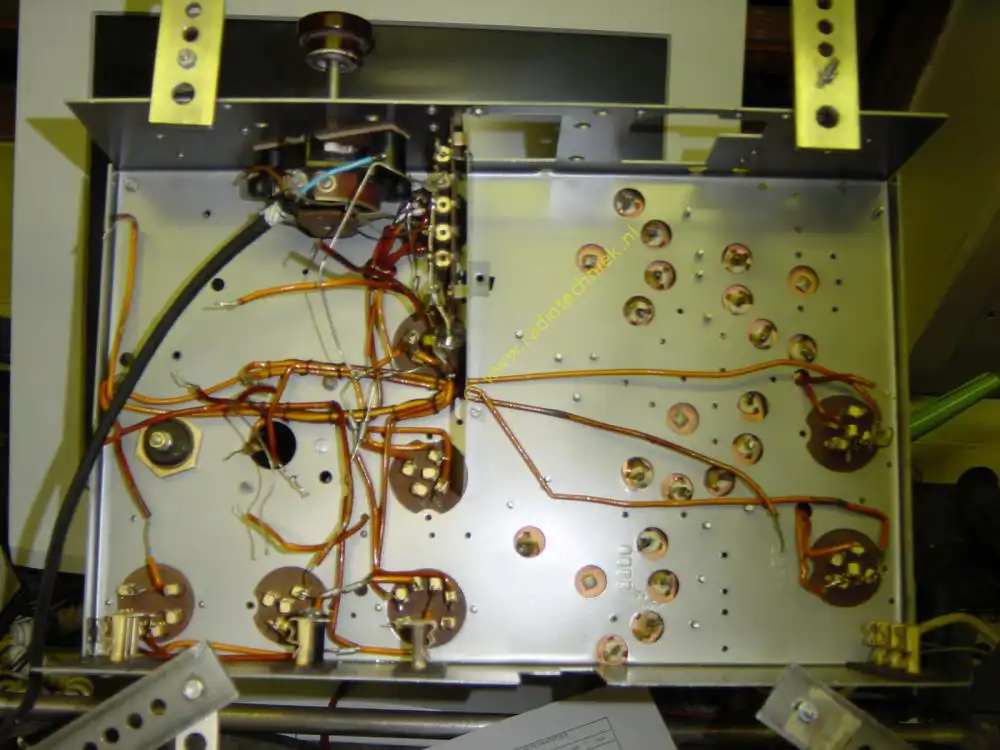
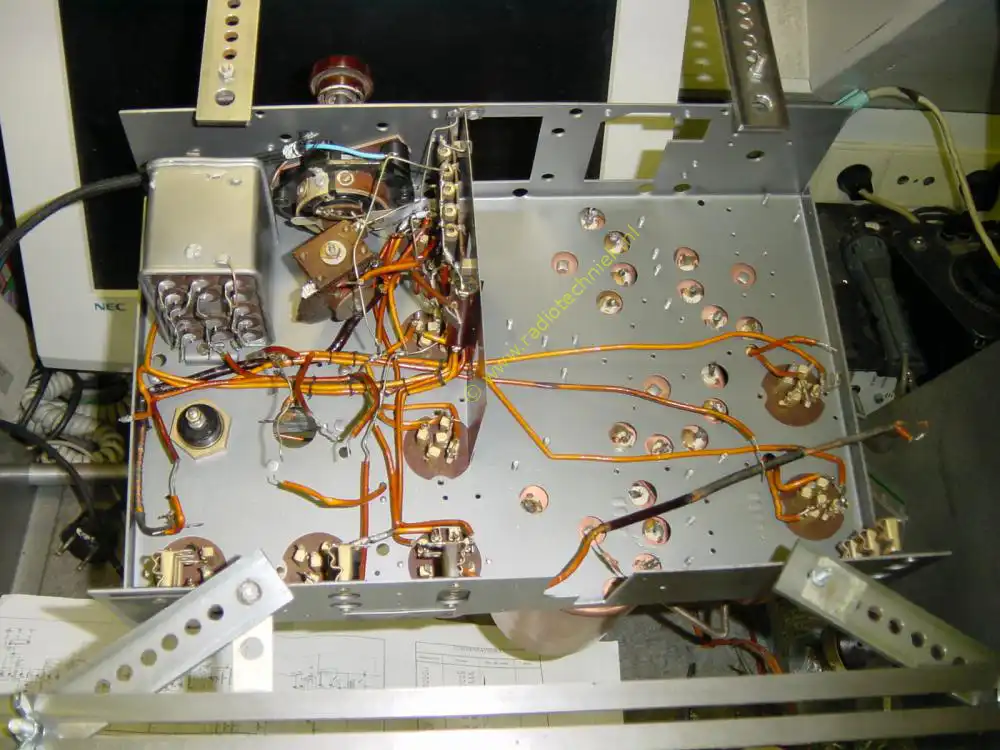
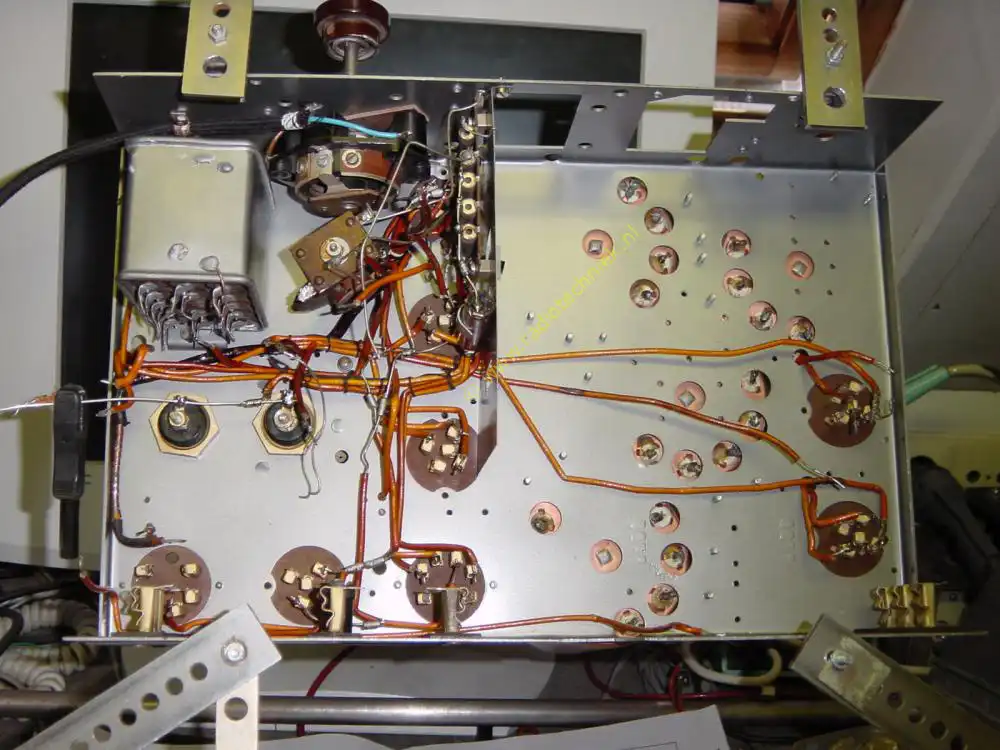
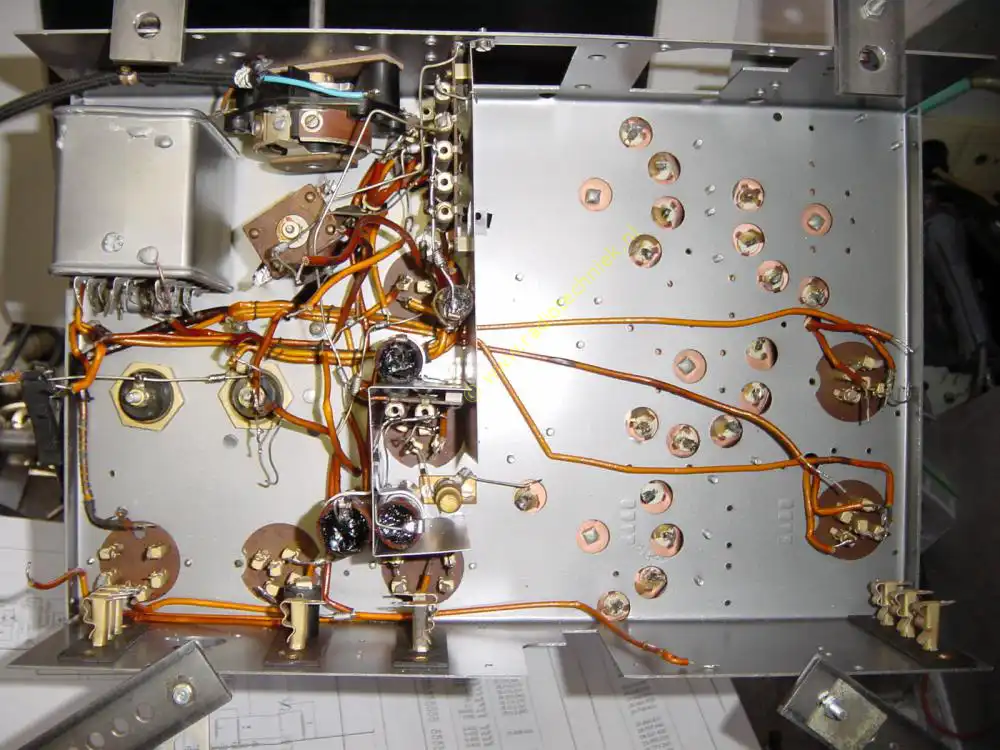
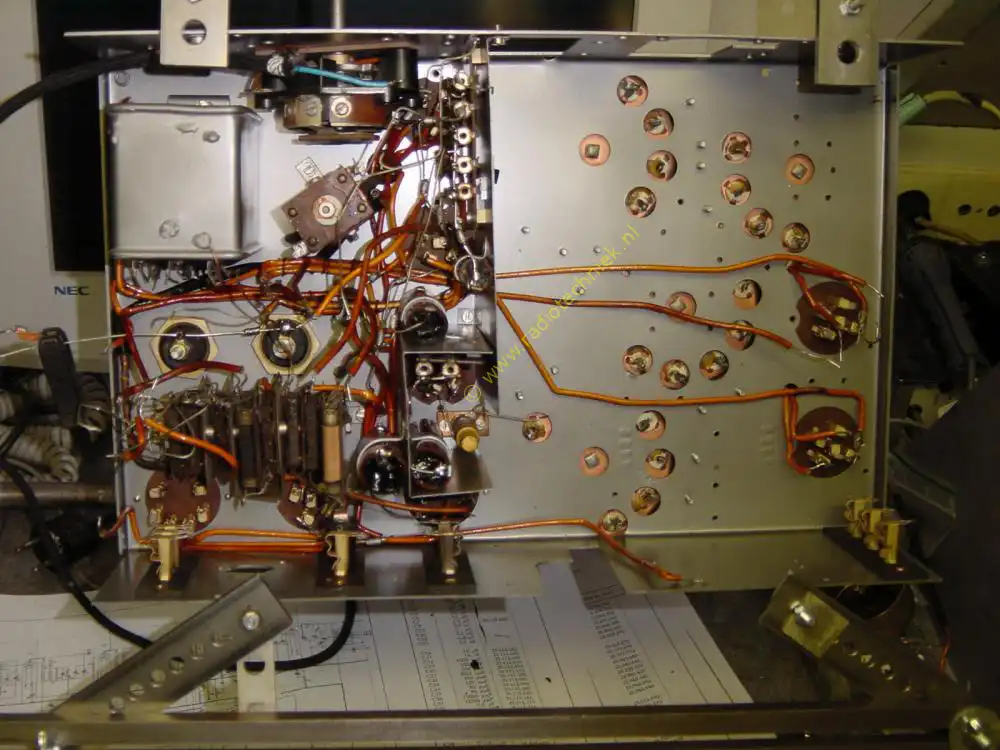
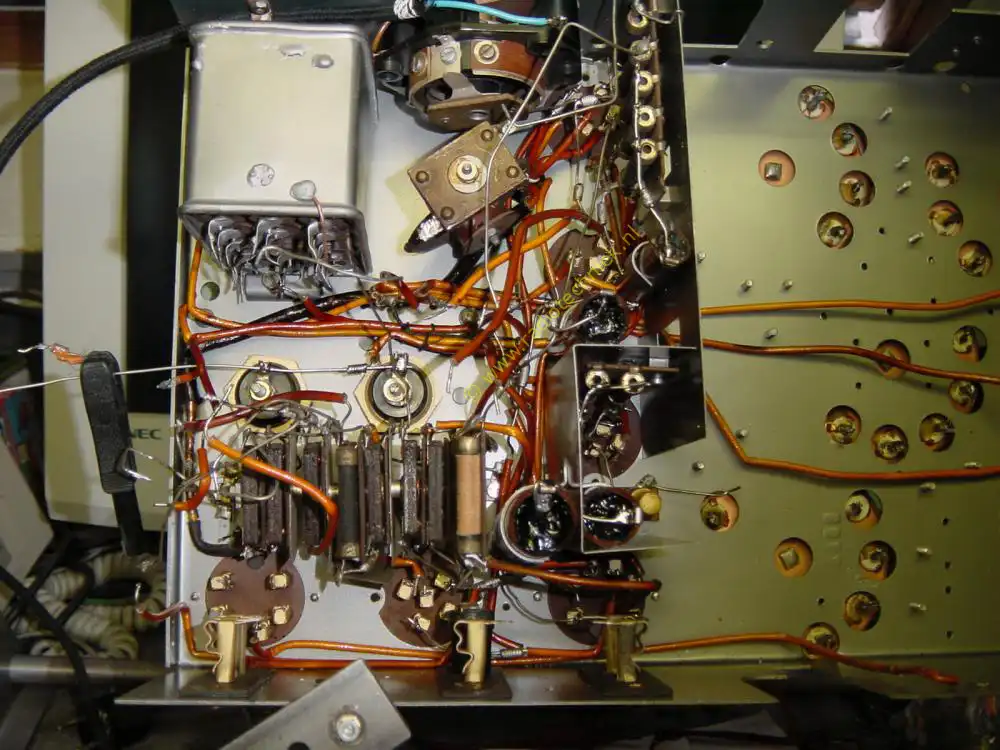
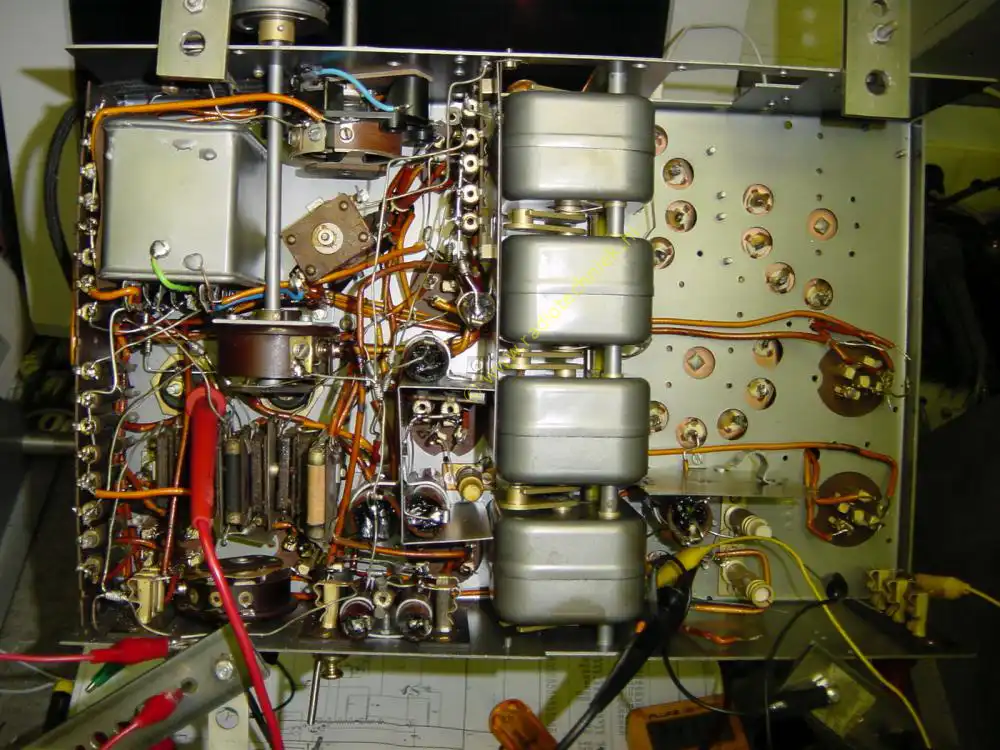
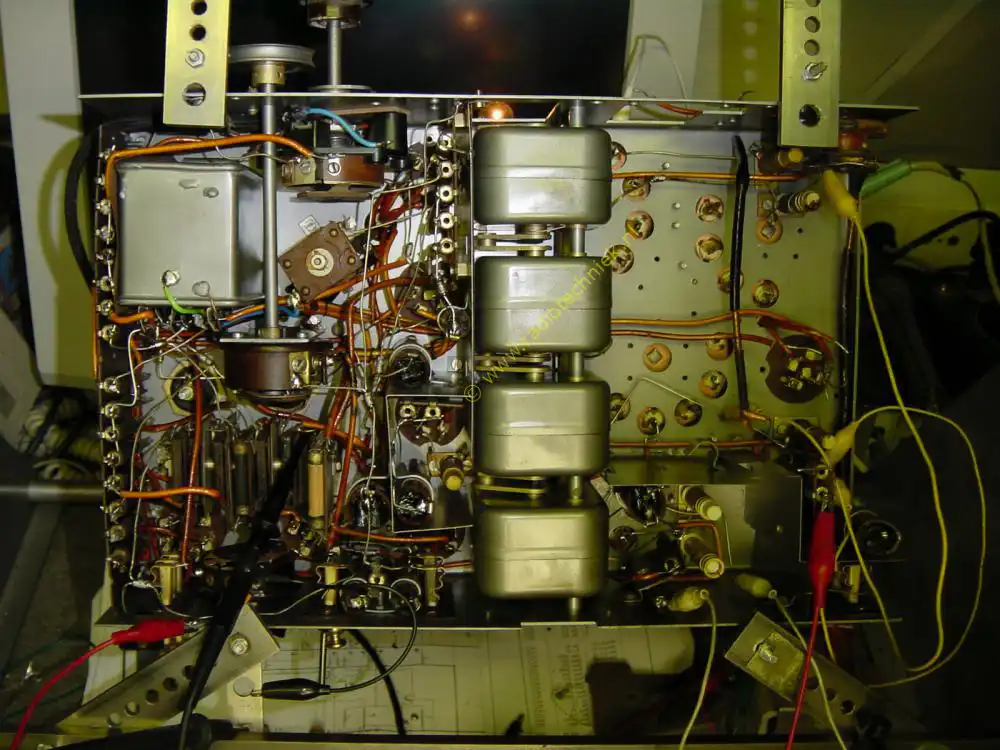
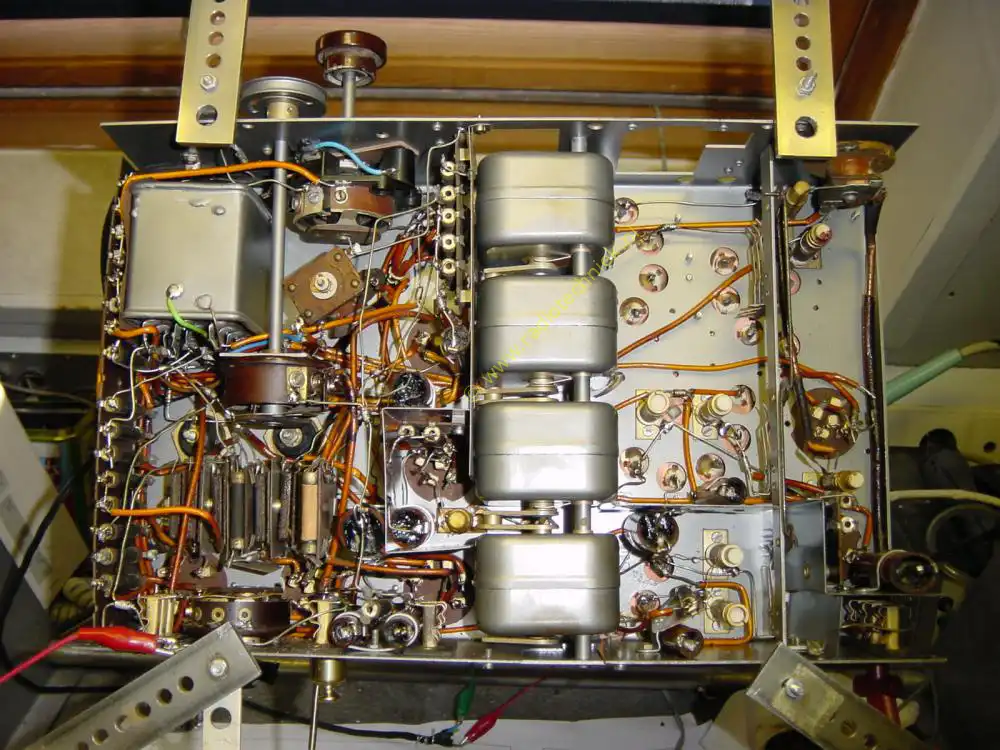
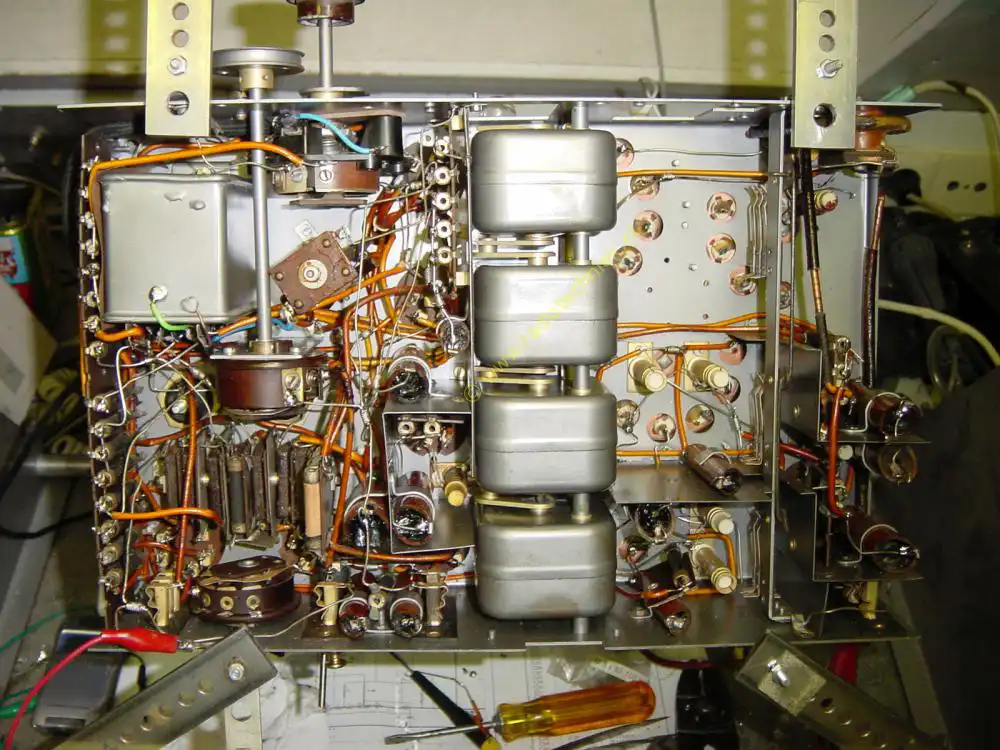
Detail photos before the restoration.

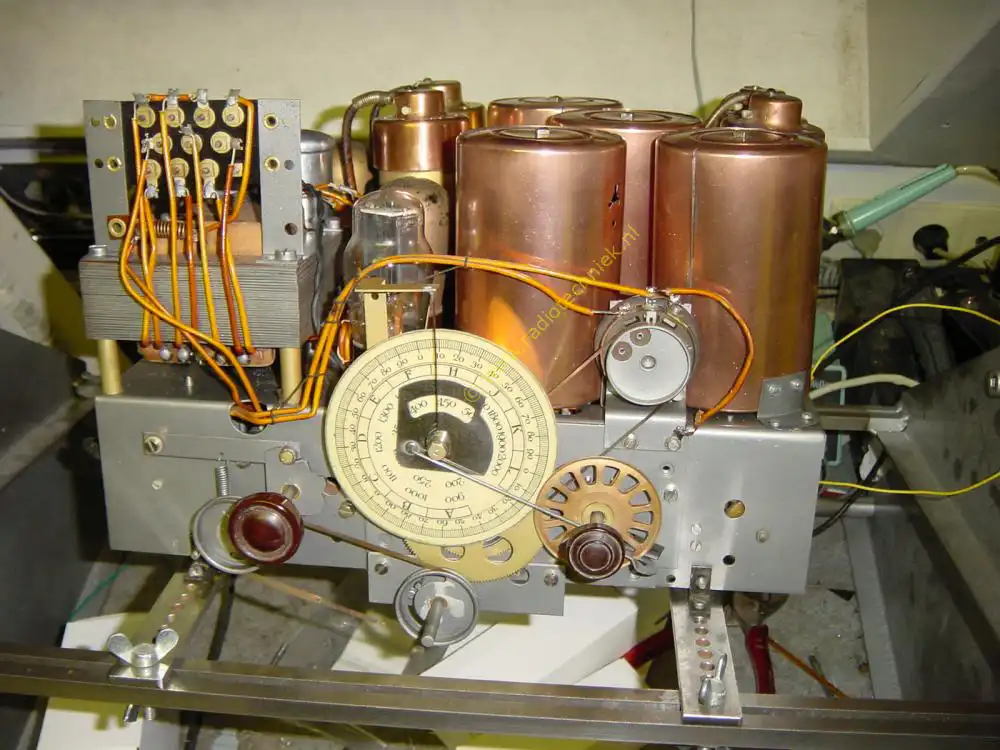
The low frequency part.
The tuning capacitors.
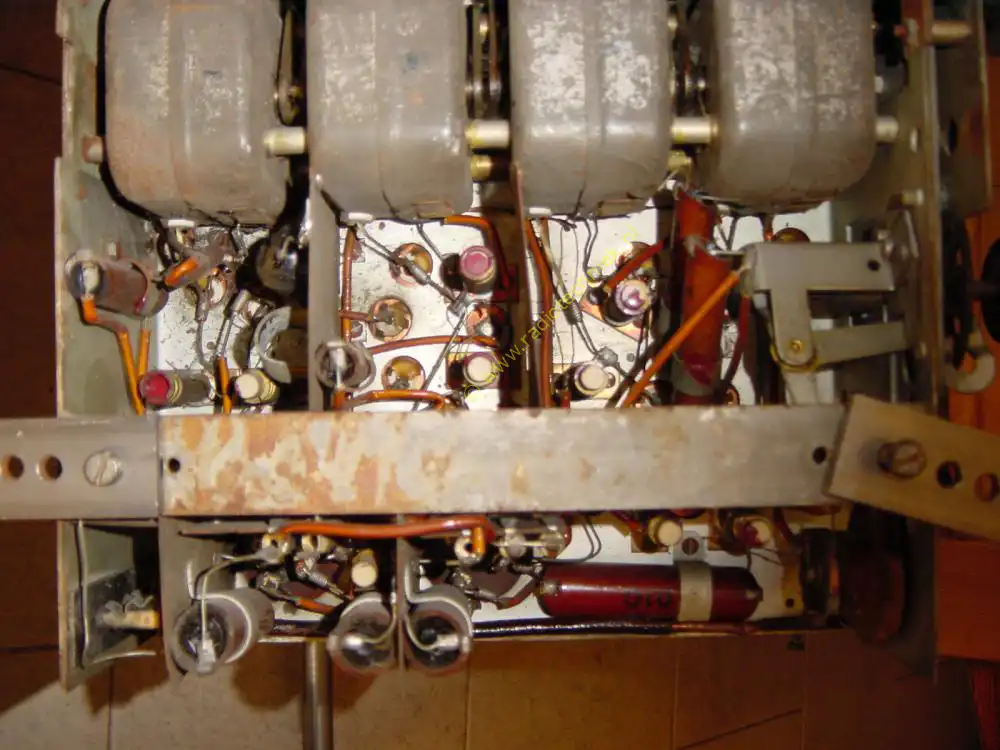
And the high frequency part
Everyone will understand now that I don't care what you think. Whether or not the chassis may be restored. It is my property and no one else has anything to do with it. And yes I'm done. with the dear understanding full collectors.

No more rust on this chassis.
The chassis is treated with a special layer of paint.
Here the chassis in mint condition.

You can also restore coil buses, here again with original lampshades.
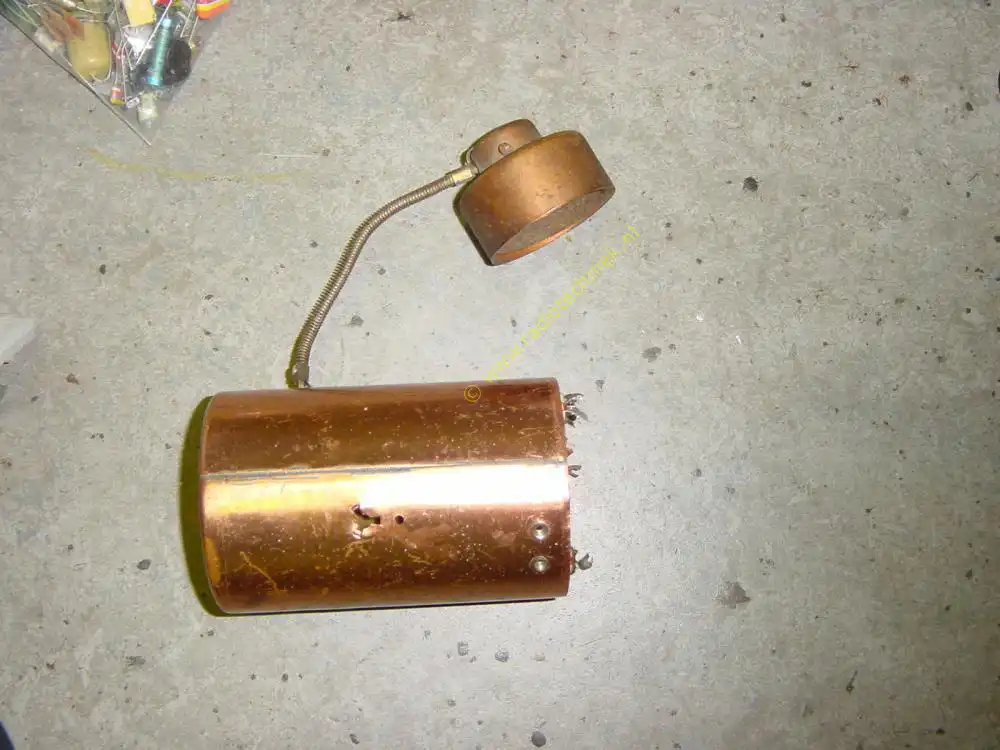
Side view of the coil canister.
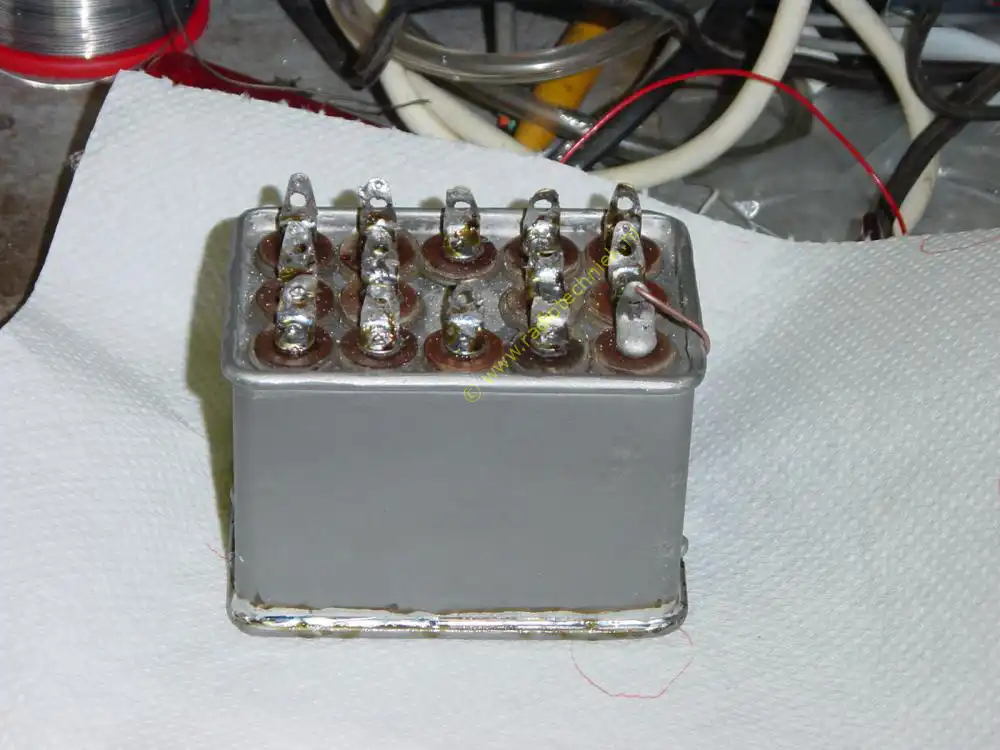
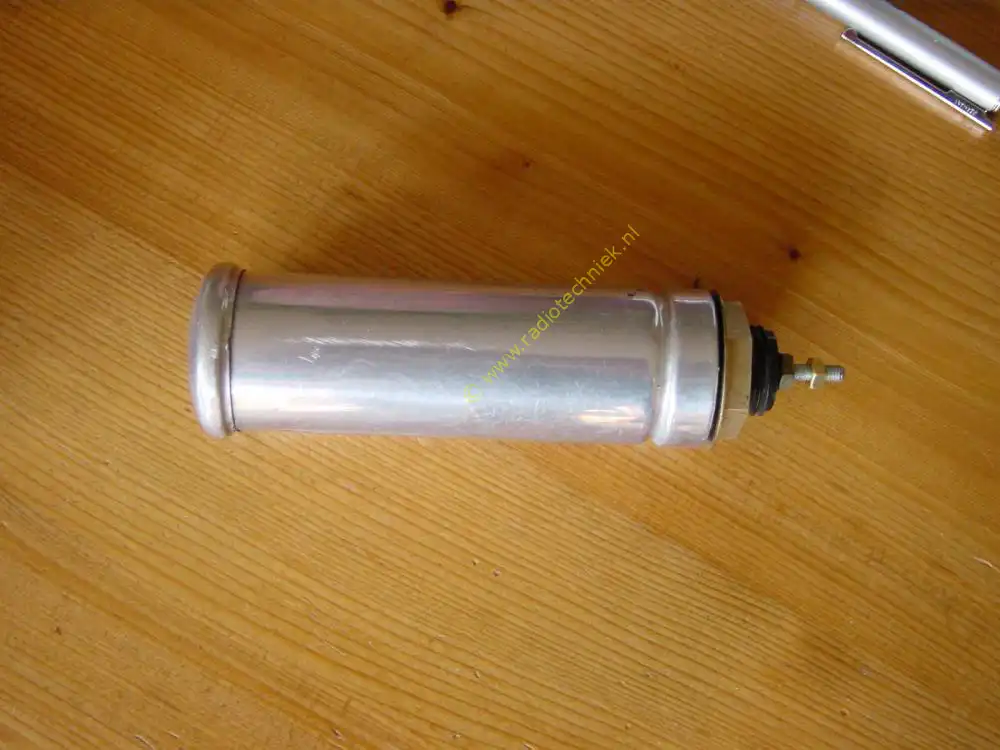
A restored block capacitor.
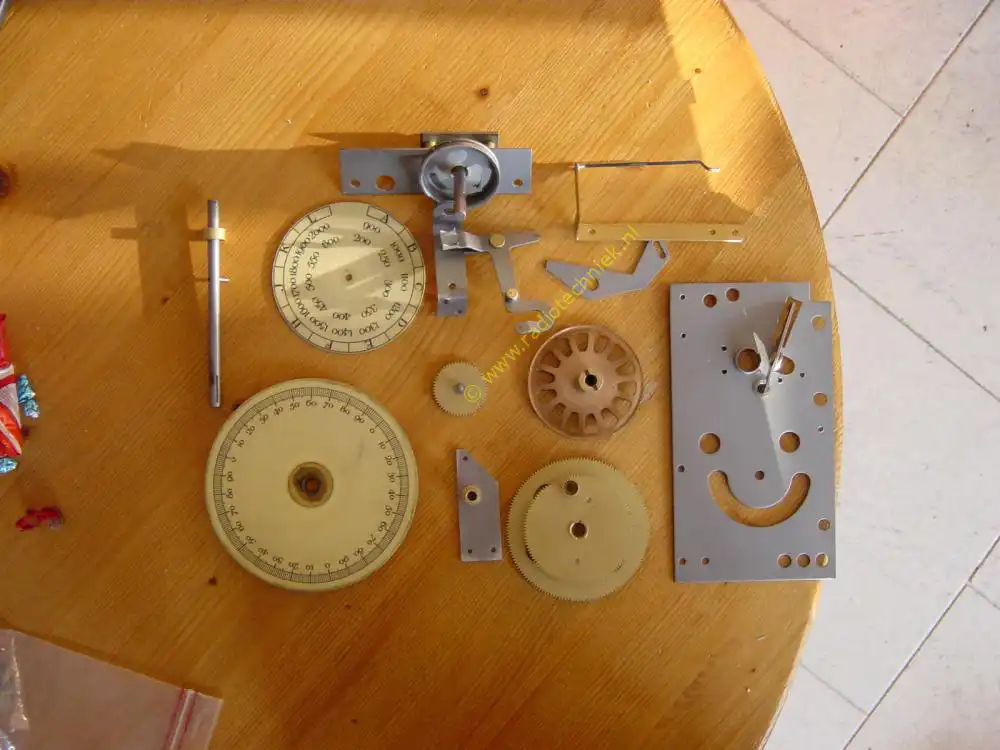
The micrometer scale ready to be assembled.
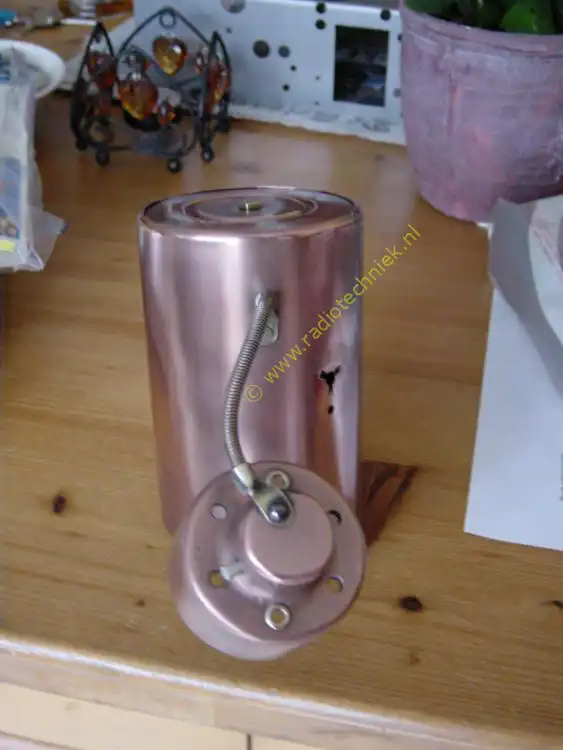
The copper coil bushes look like new again.
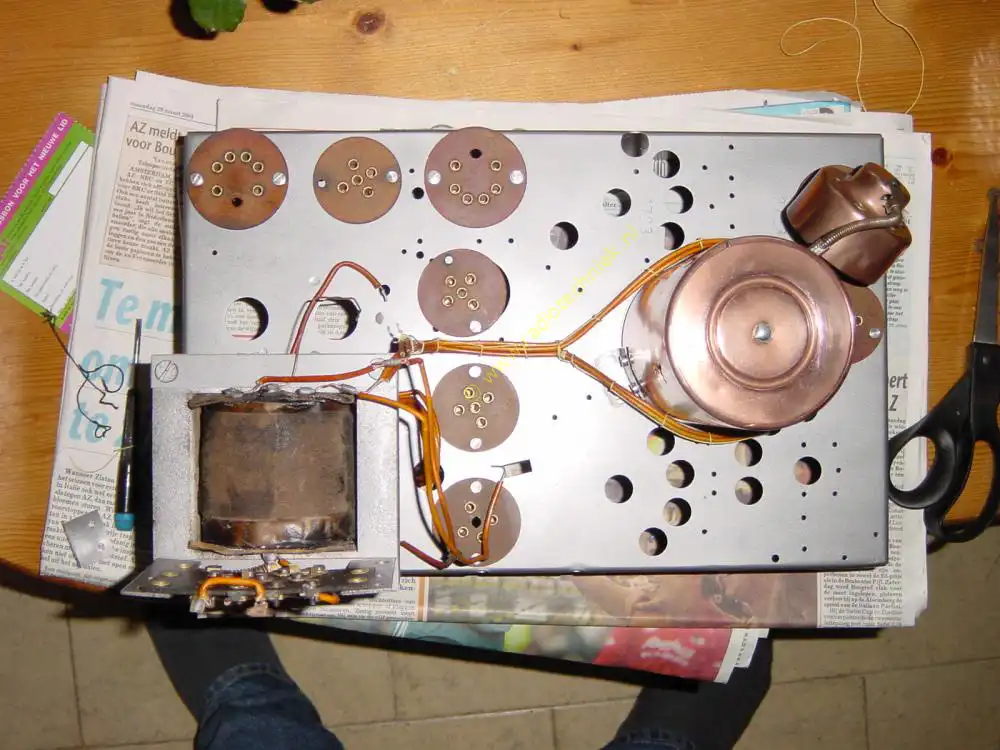
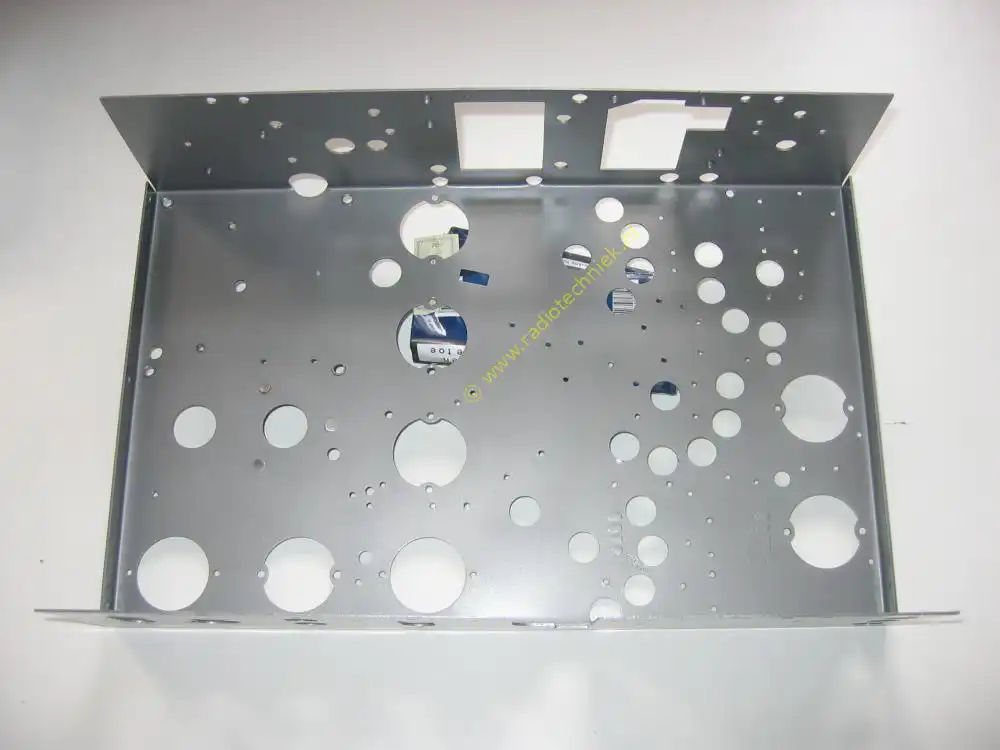
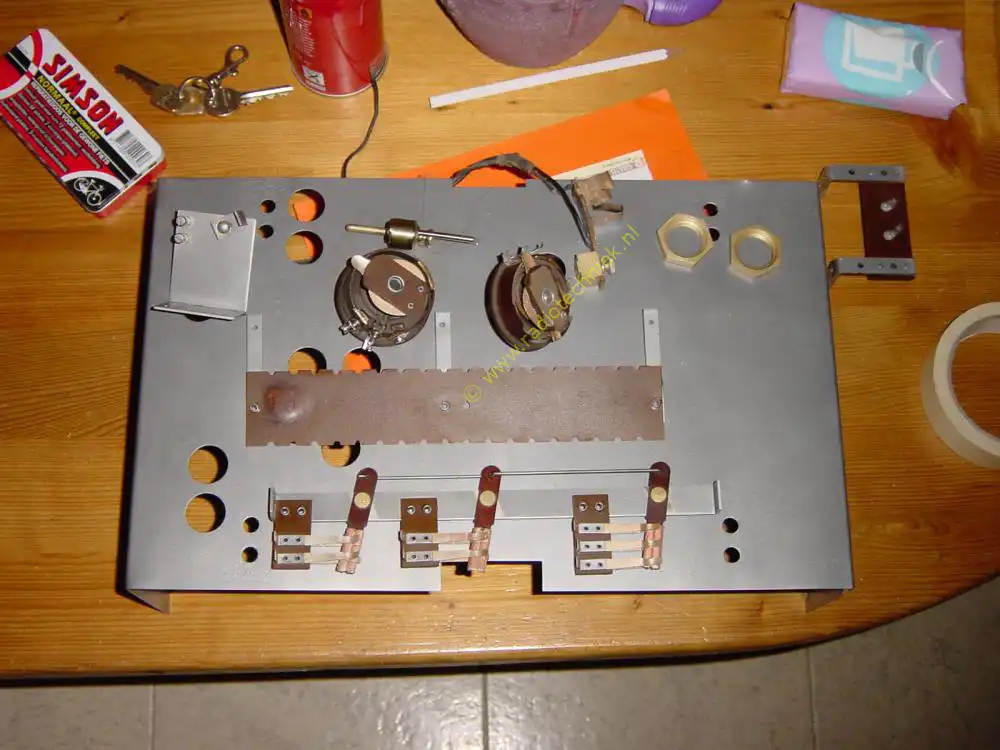
The rebuild of the chassis.
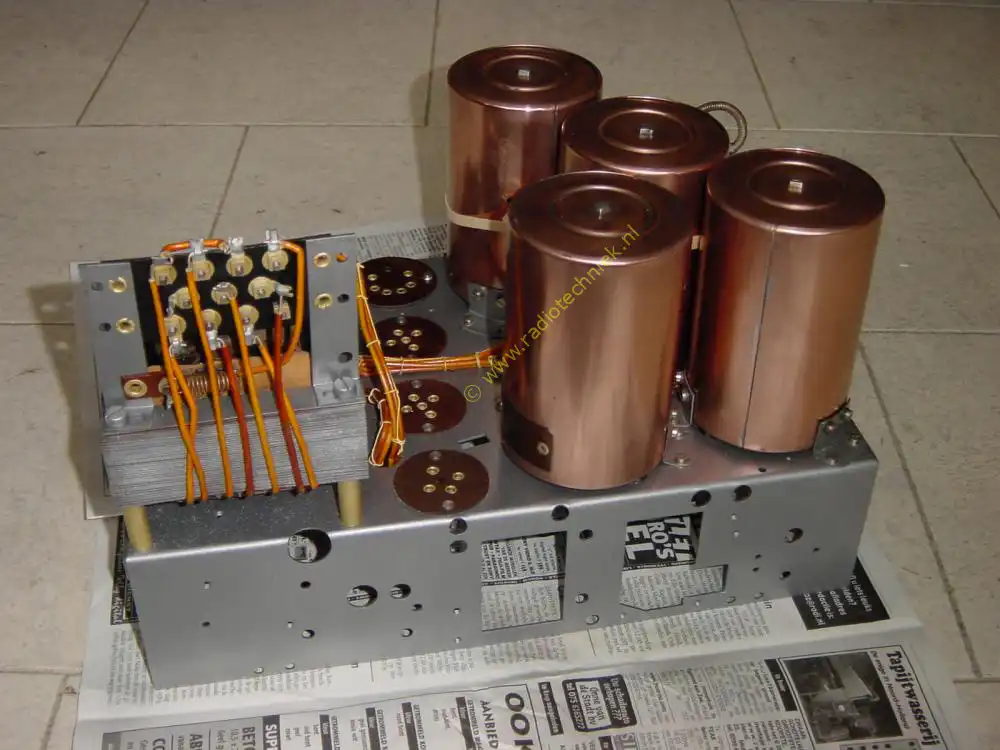
The chassis top side already looks nice.
Just from a different angle.
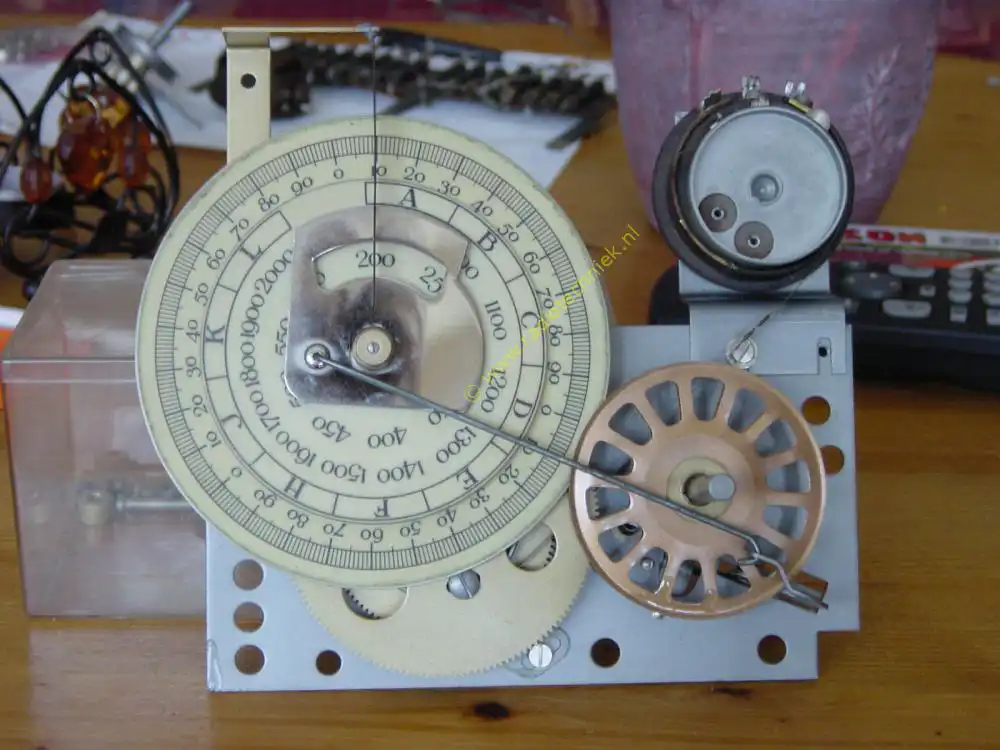
The micrometer scale.
A new cabinet.

The chassis in the new cabinet.
Various parts.
Mushroom electrolytic.
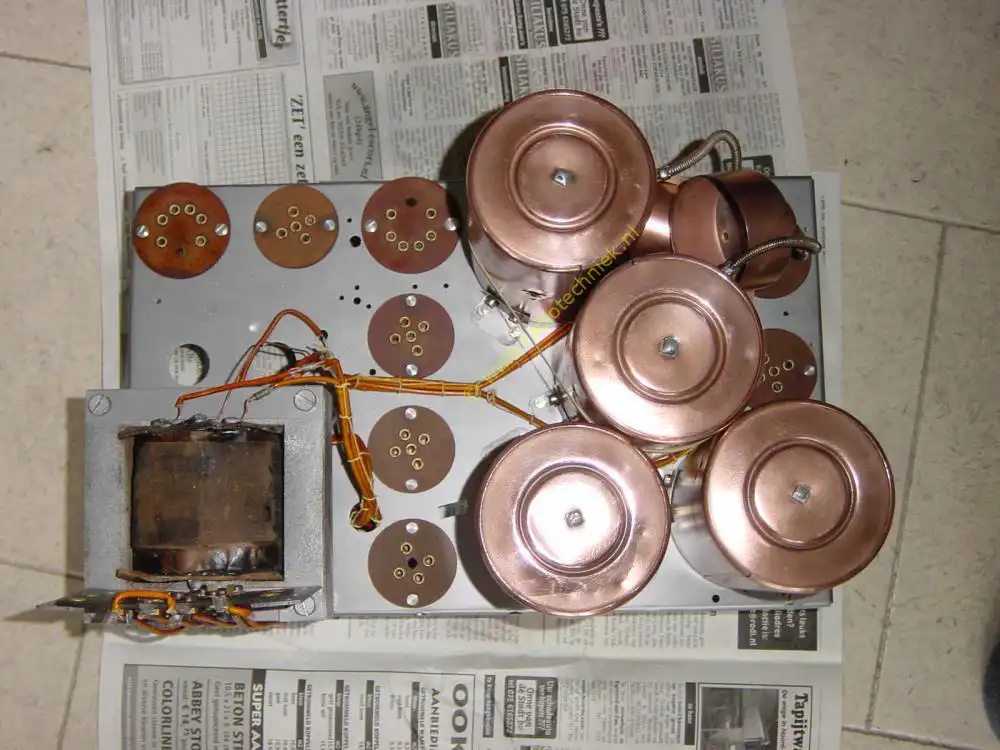
The reconstruction of the chassis.
The chassis in the repair trestle.
Installed the first parts.
The block capacitor.
The rebuild of the power supply.
The original wiring is used again.
The rebuild of the low-frequency part.
The plate detector is a strange design in this device.
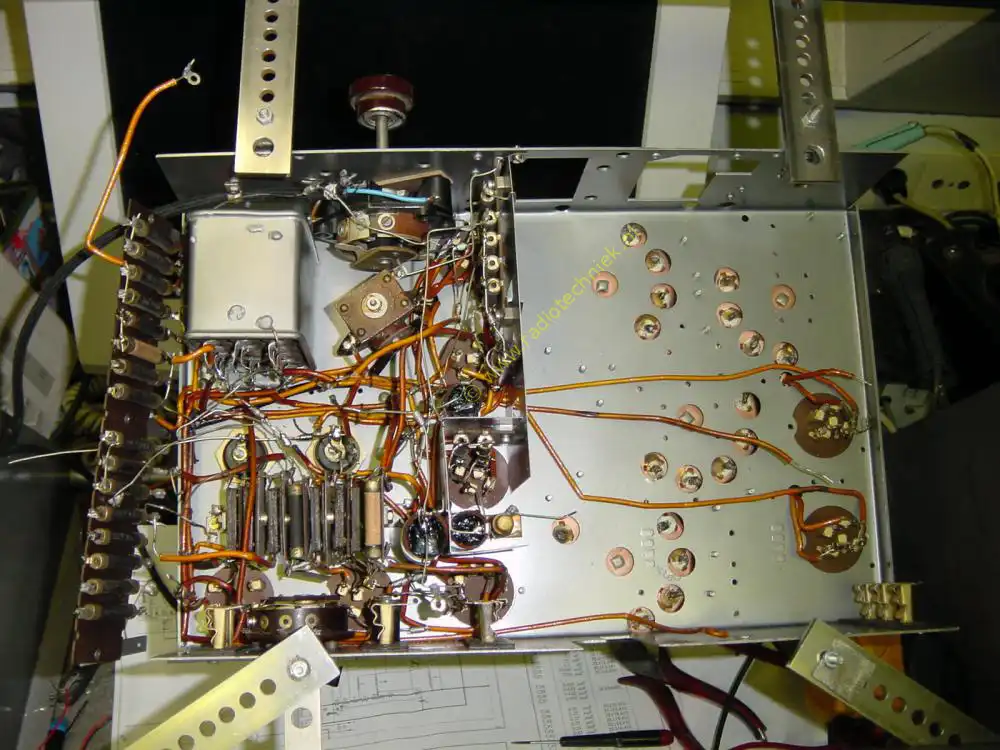
The plate detector gives a lot of distortion and never works properly.
Here the low frequency is almost complete.
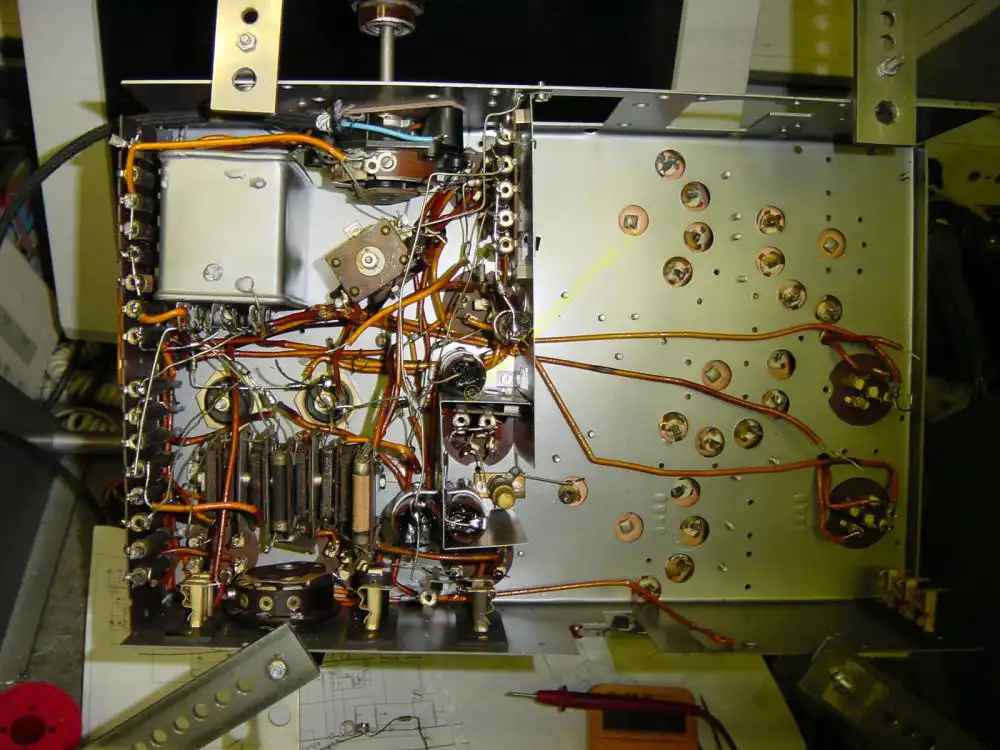
And now we are ready to test the complete low frequency and plate detector.
Here's the modulated HF signal entering the plate detector.
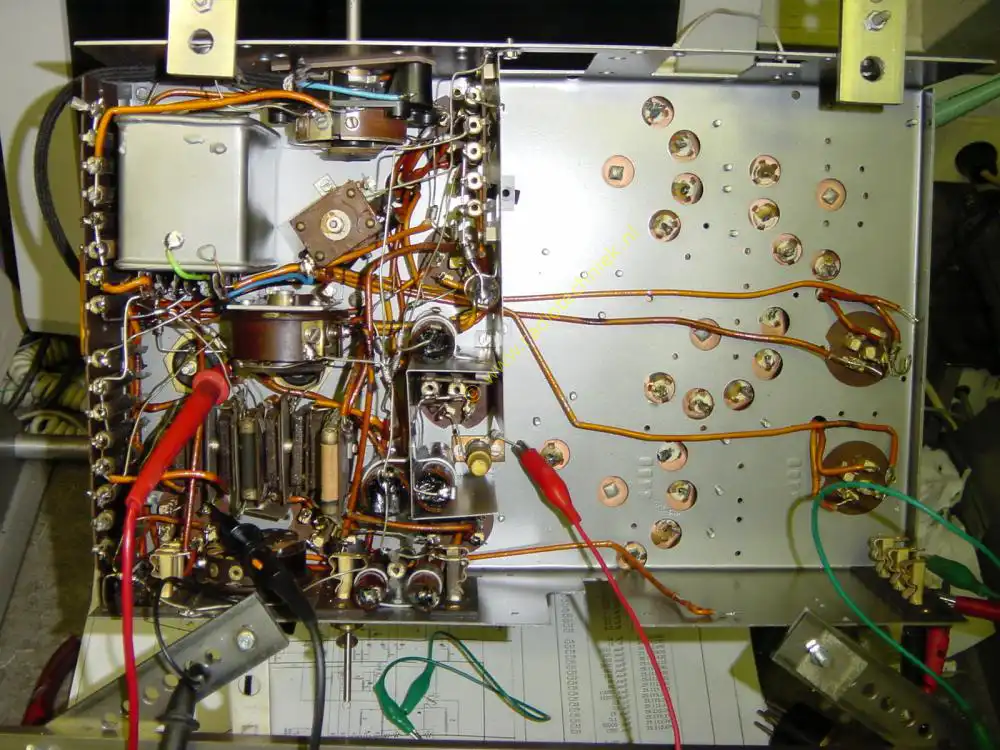
The placement of the tuning capacitors.

The synchronization is very important for the reception sensitivity.
Testing the fourth HF circuit.
It is sometimes very difficult to get the synchronization right because the tuning capacitors deviate too much.
The construction of the further HF stages.
The third and fourth HF stage ready.

The entrance stage ready.
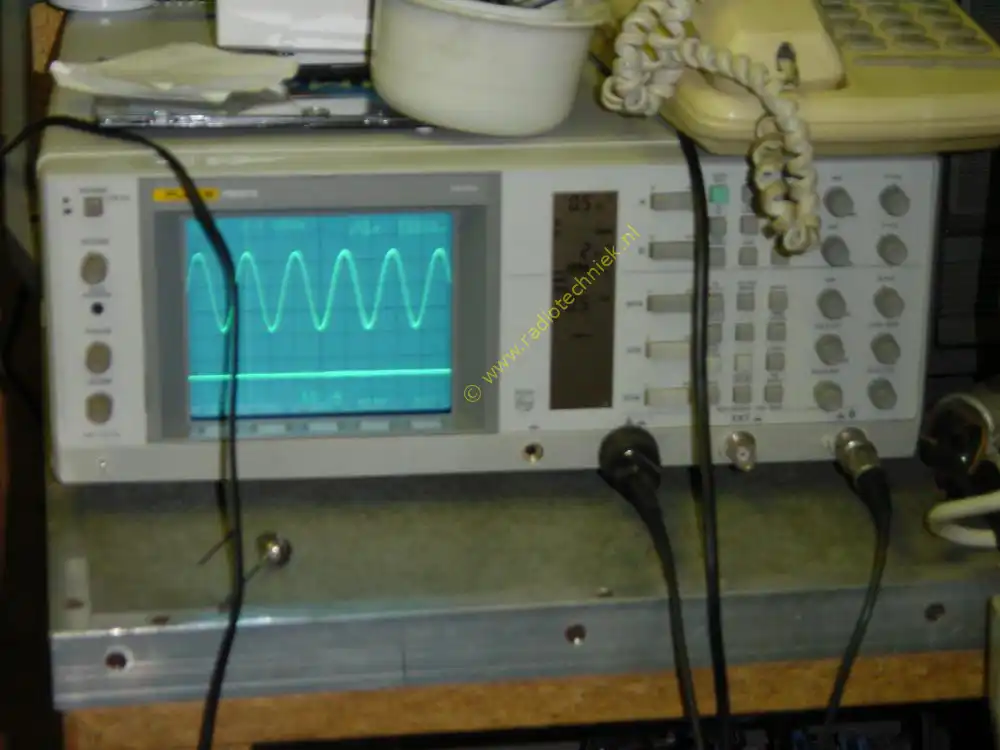
Testing the four HF stages.

The chassis complete.

Because we didn't have a speaker shelf I sawed one myself.
The Philips 636A ready.
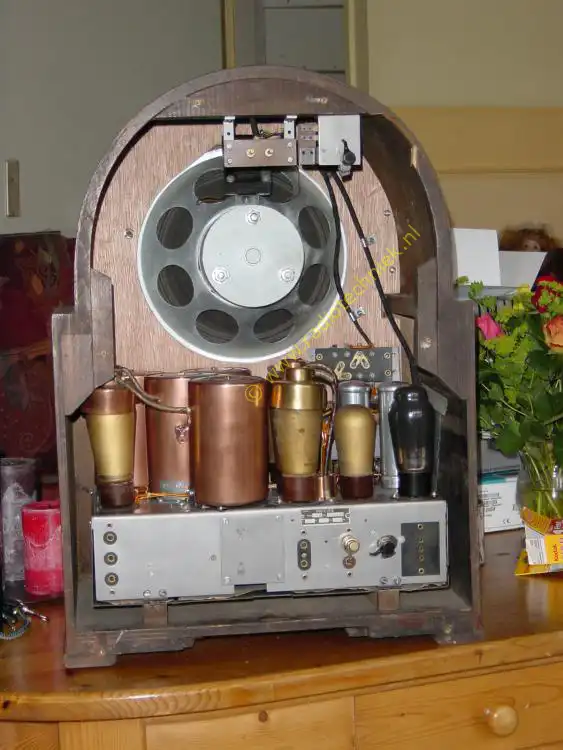
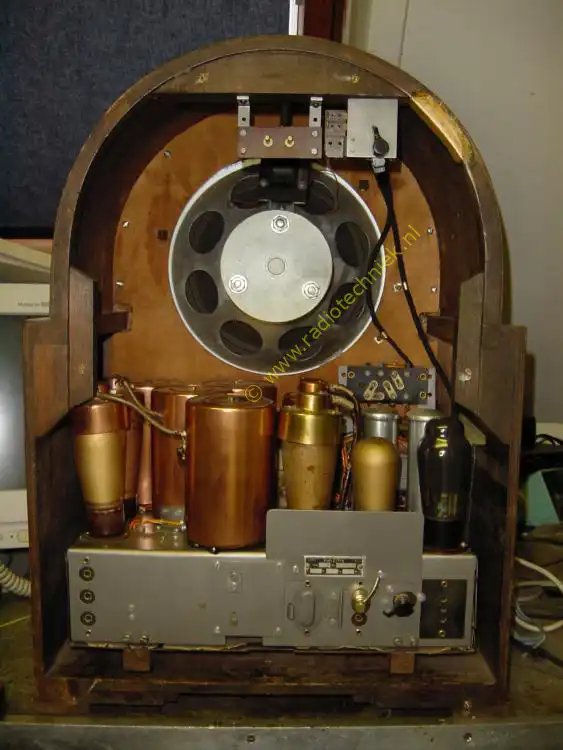
The inside.
And there was the original speaker shelf.
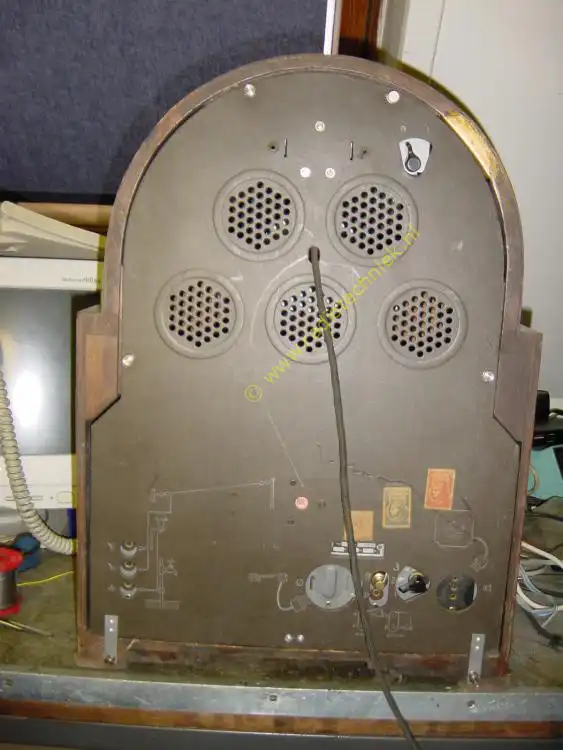
Rear shot on and ready.